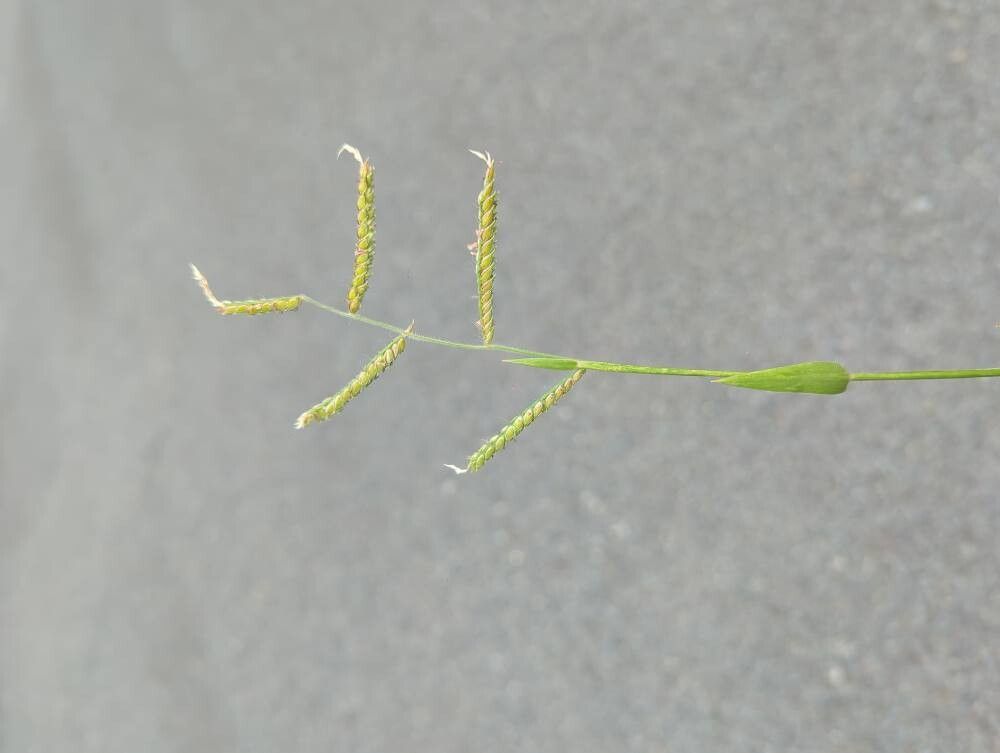
Oh, hello there! Come on in, grab a mug. We’re going to talk about a truly under-appreciated beauty today: Urochloa trichopus, often known as signalgrass. Now, I know what you might be thinking – another grass? But trust me, this one has a certain charm. Its fine texture, the way it dances in the breeze, and the subtle beauty of its seed heads make it a wonderful addition to any garden. And the best part? It’s surprisingly rewarding to propagate!
For beginners, I’d say Urochloa trichopus falls into the “moderately easy” category. It’s not as foolproof as some succulents, but it’s certainly not something to shy away from. With a little patience and these tips, you’ll be well on your way to a whole patch of signalgrass before you know it.
The Best Time to Start
My favorite time to get my hands dirty with Urochloa trichopus propagation is late spring to early summer. This is when the plant is actively growing and has plenty of energy to put into developing new roots. Warm temperatures and longer daylight hours really give it the boost it needs.
Supplies You’ll Need
Here’s what you’ll want to have on hand:
- Sharp pruning shears or a clean knife: For making precise cuts.
- Small pots or containers: With drainage holes, of course!
- A well-draining potting mix: I usually opt for a mix of potting soil, perlite, and a bit of coarse sand. This ensures good aeration.
- Rooting hormone (optional but recommended): A powdered or liquid form can give your cuttings a head start.
- A watering can with a fine rose: For gentle watering.
- A plastic bag or propagation dome: To create a humid environment.
- Bottom heat source (optional but beneficial): A seedling heat mat can speed things up.
Propagation Methods
Let’s dive into the ways you can multiply your signalgrass.
1. Stem Cuttings: My Go-To Method
This is usually the most straightforward and successful way to go.
- Select your parent plant: Look for healthy, vigorous stems on your established Urochloa trichopus.
- Take your cuttings: Using your sharp pruning shears, cut stems that are about 4-6 inches long. Make the cut just below a node – that’s a point on the stem where leaves emerge.
- Prepare the cuttings: Gently remove the lower leaves from the bottom half of each stem. You want at least one or two nodes to be bare.
- Apply rooting hormone (if using): Dip the cut end of each stem into your rooting hormone, tapping off any excess.
- Plant your cuttings: Fill your small pots with your prepared potting mix. Make a small hole in the center of each pot with your finger or a pencil. Insert the cut end of a stem into the hole, ensuring at least one bare node is below the soil surface. Gently firm the soil around it.
- Water gently: Give your freshly planted cuttings a light watering so the soil is moist but not waterlogged.
- Create humidity: Cover each pot with a plastic bag secured with a rubber band, or place them under a propagation dome. This keeps the humidity high, which is crucial for preventing the cuttings from drying out.
- Provide light and warmth: Place the pots in a bright location, but out of direct, harsh sunlight. If you have a heat mat, place the pots on it.
2. Division: For Established Clumps
If you have a mature Urochloa trichopus plant that’s looking a bit crowded, division is a great option.
- Gently excavate: Carefully dig up the entire plant clump.
- Inspect and separate: You’ll see that the plant has likely formed multiple sections. Gently pull or use a clean spade to divide the clump into smaller sections. Each section should have its own roots and some top growth.
- Replant immediately: Pot up the divided sections into their own containers with fresh potting mix, or replant them directly into your garden beds, ensuring they are at the same depth they were previously growing. Water them in well.
The “Secret Sauce” (Pro Tips)
Here are a few things I’ve learned over the years that can really help:
- Don’t let leaves touch the water: If you opt for water propagation (though I find stem cuttings in soil much more reliable for this one), make sure the leaves of your cuttings are well above the water level. Any submerged foliage will likely rot and hinder root development.
- Bottom heat is your friend: As I mentioned, bottom heat from a seedling heat mat significantly speeds up root formation. It mimics the warmth of spring soil and really encourages those roots to get going.
- Patience is key with the pruning shears: When harvesting cuttings, try to make a clean, swift cut. Ragged edges can invite disease.
Aftercare & Troubleshooting
Once you see new growth emerging from your cuttings – hooray! – it’s time to adjust their care.
- Acclimate gradually: Once roots have formed (you might see roots peeking out of the drainage holes, or new leaves unfurling), slowly begin to acclimate them to drier air. Loosen the plastic bag or lift the propagation dome for increasingly longer periods over a week.
- Watering: Continue to keep the soil consistently moist but not soggy. As the plant grows, you can reduce watering frequency, allowing the top inch of soil to dry out between waterings.
- Troubleshooting rot: The most common issue you’ll encounter is rot. If your cuttings look limp, mushy, or are turning brown and falling off, it’s likely due to too much moisture and not enough air circulation. Ensure your potting mix is draining well and don’t overwater. If you see rot, sometimes you can save a cutting by trimming away the rotted section and replanting in fresh, drier soil.
So there you have it! Propagating Urochloa trichopus is a wonderful way to expand your garden and share these lovely grasses with friends. Don’t be discouraged if your first few attempts aren’t perfect. Every gardener has their learning curve. Just keep at it, enjoy the process, and soon you’ll have a beautiful abundance of signalgrass to enjoy. Happy gardening!
Resource:
https://identify.plantnet.org/k-world-flora/species/Urochloa%20trichopus%20(Hochst.)%20Stapf/data