Hey there, fellow plant lovers! My name is Clara, and for the past two decades, my hands have been in the dirt, getting to know the wonderful world of plants. Today, I’m absolutely thrilled to dive into a subject near and dear to my heart: propagating Megastylis montana.
The Allure of Megastylis Montana
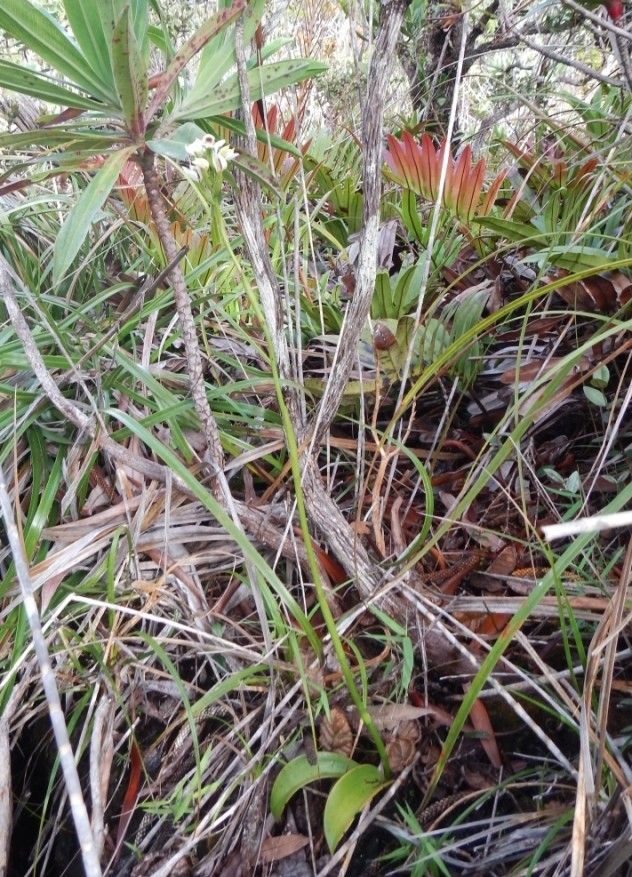
Oh, Megastylis montana, you beauty! Known for its striking foliage and often elegant, sometimes dramatic, flower spikes, this orchid offers such a unique touch to any collection. And the joy of watching a tiny cutting transform into a full-fledged plant? It’s pure magic, I tell you. While Megastylis montana can be a bit particular, propagating it successfully is incredibly rewarding. It’s a project that requires a touch of patience, but definitely not beyond the reach of a keen beginner ready to learn.
When is the Growing Season for Success?
The sweet spot for propagating Megastylis montana is generally during its active growing season. For many, this aligns with spring and early summer. You’ll see the plant pushing out new shoots and leaves; that’s your cue that it has plenty of energy to spare for building new roots. Trying to propagate when the plant is dormant isn’t impossible, but the chances of success are significantly lower.
Your Propagation Toolkit
Here’s what you’ll want to have on hand before you get started:
- Sharp, sterile pruning shears or a clean knife: Essential for making clean cuts, which prevents disease.
- Rooting hormone (optional but recommended): A powder or gel can give your cuttings a helpful nudge.
- Well-draining potting mix: A good orchid mix, or a blend of bark chips, perlite, and sphagnum moss, works wonders.
- Small pots or propagation trays: Whatever suits your space and the size of your cuttings.
- Clear plastic bags or propagation domes: These help maintain humidity.
- Spray bottle: For gentle misting.
- Labeling stakes and a marker: Because trust me, you will forget which is which!
Bringing New Life: Propagation Methods
Let’s get our hands dirty! For Megastylis montana, the most commonly successful method is through stem cuttings.
- Identify a healthy stem: Look for a mature, healthy stem that has at least two or three healthy leaves and is showing signs of new growth or is actively growing.
- Make the cut: Using your sterile shears or knife, make a clean cut just below a leaf node. A node is a slightly swollen bump on the stem where a leaf attaches. This is where new roots are most likely to form. Aim for a cutting that is about 4-6 inches long.
- Prepare the cutting: Gently remove any lower leaves that might fall below the surface of your growing medium once planted.
- Apply rooting hormone (if using): Dip the cut end of the stem into the rooting hormone, tapping off any excess.
- Plant your cutting: Fill your small pot or propagation tray with your well-draining potting mix. Make a small hole with your finger or a pencil and gently insert the cut end of your Megastylis montana cutting. Firm the soil around it to ensure good contact.
- Create a humid environment: Water your potting mix lightly, just enough to moisten it. Then, cover the pot with a clear plastic bag or place it under a propagation dome. This creates a mini-greenhouse effect, keeping the humidity high, which is crucial for successful rooting.
The “Secret Sauce”: My Insider Tips
Over the years, I’ve learned a few things that can really make a difference:
- The importance of air circulation: While humidity is key, stagnant air can breed fungal issues. I like to gently lift the plastic bag or dome for a few minutes each day to allow for some fresh air exchange. It’s a balancing act!
- Warmth is wonderful: Megastylis montana loves a bit of warmth to encourage root development. If your home is on the cooler side, placing your propagation pots on a heated propagation mat can significantly speed things up. Just make sure the mat provides gentle warmth, not intense heat.
- Patience with the pebbles: When I do water propagation (which is less common for this one but can work), I absolutely avoid letting the delicate leaves dip into the water. They’re prone to rot. I’ll ensure the cut end is submerged, but the foliage stays dry.
Nurturing New Sprouts and What to Watch For
Once your cuttings are planted, the real waiting game begins. Keep them in a bright spot with indirect light. Water sparingly – the soil should be kept consistently moist but never waterlogged. You’ll know your cutting is happy when you see new leaf growth or feel gentle resistance when you lightly tug on it. This usually means roots have formed!
However, keep an eye out for problems. Rot is the most common foe. If you see your cutting turn mushy, black, or slimy, it’s likely succumbed to rot. This is often due to too much moisture and poor air circulation. Don’t be disheartened; it happens to the best of us! Just discard the affected cutting and clean your tools thoroughly.
Keep Growing!
Propagating Megastylis montana is a journey, and each attempt is a learning experience. Be patient with yourself and the process. Celebrate every little sign of growth, and take pride in nurturing these new plants from a single stem. Happy propagating!
Resource:
https://identify.plantnet.org/k-world-flora/species/Megastylis%20montana%20(Schltr.)%20Schltr./data