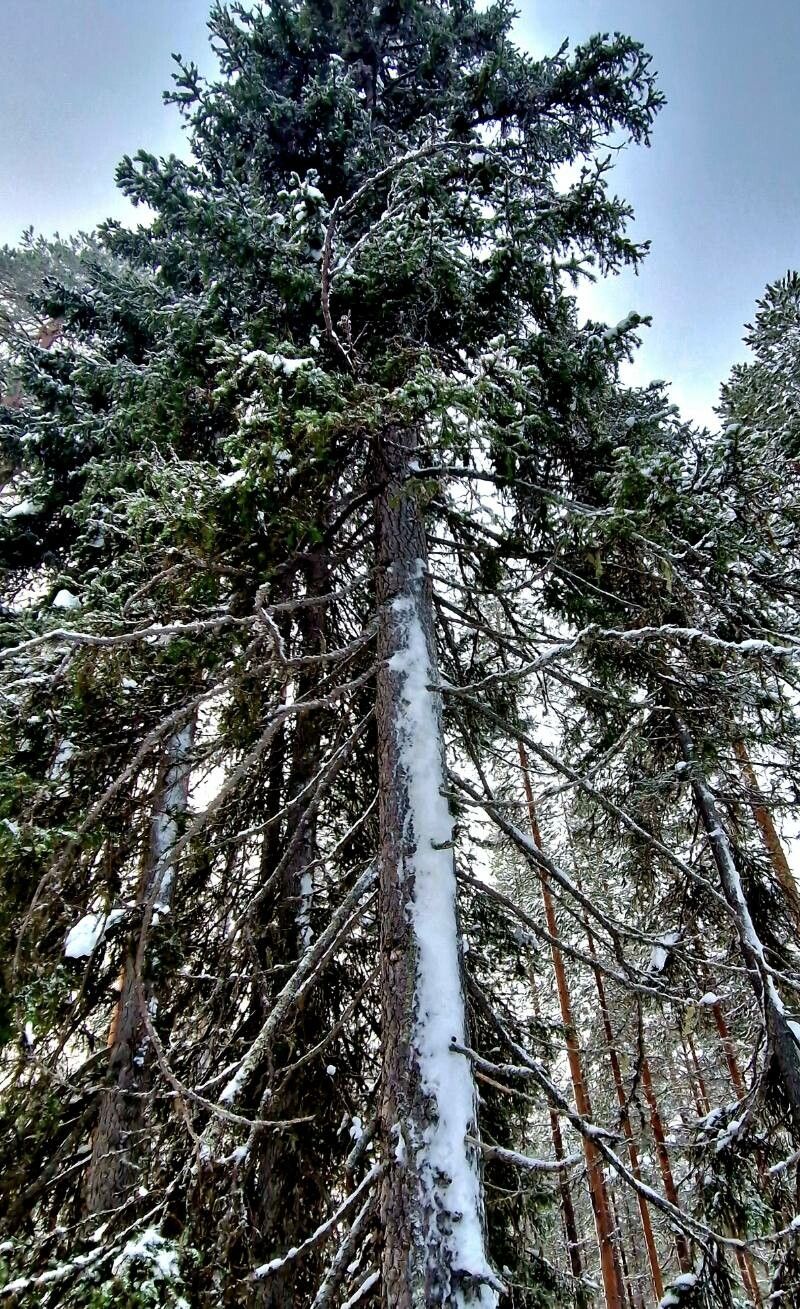
Oh, Western Hemlocks! Aren’t they just lovely? I’ve always admired the soft, feathery needles and the graceful, often somewhat whimsical way they grow. Their weeping forms can be so enchanting in the garden. If you’ve ever fallen in love with a Tsuga mertensiana, or Western Hemlock, and wished you could have another one gracing your landscape, you’re in luck! Propagating them can be a wonderfully rewarding experience, though I’ll be honest, they can be a little less eager to root than some of the more common shrubs. Don’t let that deter you though – with a bit of patience and the right approach, you can absolutely succeed!
The Best Time to Start
For Western Hemlocks, late spring to early summer is generally your best bet. This is when the plant is actively growing, and you’ll be taking cuttings from this year’s new growth. This tender material often has a better chance of developing roots than older, woodier stems.
Supplies You’ll Need
Gathering your supplies beforehand makes the whole process so much smoother. Here’s what I usually have on hand:
- Sharp, clean pruning shears or a sterile knife: The cleaner your tools, the less chance of introducing disease.
- Rooting hormone: This isn’t strictly essential for every plant, but for Western Hemlocks, I find it significantly boosts my success rate. Look for one formulated for woody plants.
- Propagating medium: A good mix is crucial. I like a blend of perlite and peat moss or coir, roughly 50/50. This provides good drainage and aeration, which is key for preventing rot. Some growers also add a bit of coarse sand.
- Small pots or trays: Clean, small containers work best, especially for cuttings.
- Plastic bags or a propagation dome: To create a humid environment for your cuttings.
- A fine misting bottle: For keeping the cuttings hydrated.
- Labels and a permanent marker: To keep track of what you’ve planted and when!
Propagation Methods
While you might find techniques for other methods, stem cuttings are the most reliable way for us home gardeners to propagate Western Hemlocks.
Here’s how I do it:
- Take Your Cuttings: Select healthy, vigorously growing shoots from your established Western Hemlock. Look for stems that are about 4-6 inches long and have some soft, new growth at the tip.
- Prepare the Cuttings: Using your sharp shears or knife, make a clean cut just below a leaf node (where a leaf meets the stem). Remove the lower leaves from the bottom 2-3 inches of the cutting. You want a bare stem to stick into the soil. You can leave the remaining foliage intact; this is how the cutting will photosynthesize.
- Apply Rooting Hormone: Dip the cut end of each prepared cutting into your rooting hormone powder or gel, tapping off any excess. Make sure the lower portion of the stem is coated.
- Plant Your Cuttings: Fill your pots or trays with your well-draining propagating mix. poked a small hole in the medium with a pencil or your finger. Gently insert the prepared cutting into the hole, making sure the rooting hormone-coated part is buried. Firm the medium gently around the stem.
- Create a Humid Environment: Water the medium gently from the bottom or with a very fine mist so you don’t disturb the cuttings. Then, cover the pots with a clear plastic bag or place them under a propagation dome. The goal is to keep the leaves from drying out. Make sure the leaves aren’t touching the plastic if possible.
- Provide Light and Warmth: Place your cuttings in a bright, but indirect light location. Avoid direct sun, which can scorch them. If you have a heat mat, placing the pots on it can really accelerate root development, but it’s not absolutely essential.
The “Secret Sauce” (Pro Tips)
After years of tinkering, there are a few little tricks that really make a difference:
- Don’t Over-Mist the Leaves: While humidity is vital, constantly soaking the leaves can encourage fungal diseases. A gentle, infrequent misting is usually enough. The goal is consistent moisture in the air, not a waterlogged cutting.
- Bottom Heat is Your Friend: I’ve already mentioned this, but I can’t stress it enough! A gentle warmth from below encourages root formation much faster than relying on ambient air temperature alone. It mimics natural conditions where the soil is warmer than the air.
- Be Patient with the Rooting Hormone: Sometimes, it’s tempting to poke and prod to see if roots have formed. Resist the urge! Every time you disturb a cutting, you risk damaging new, delicate roots. Wait at least 6-8 weeks, and even then, you might find it’s better to gently tug. If there’s resistance, you likely have roots.
Aftercare & Troubleshooting
Once you start to see new growth on your cuttings, that’s a great sign that roots are forming! You can also very carefully give a cutting a gentle tug. If you feel resistance, it’s probably rooted.
- Acclimate Gradually: Before removing the plastic bag entirely, gradually start ventilating the space. Open the bag for increasingly longer periods over a week or two. This helps the new plant get used to the drier air of your home or greenhouse.
- Potting Up: Once your cuttings have a good root system, you can pot them up into a slightly larger container with a good quality potting mix. Keep them in a protected spot for their first growing season.
- Watch for Rot: The most common problem you’ll encounter is rot, often caused by overwatering or poor drainage. If your cuttings turn mushy, black, or develop a foul smell, they’ve likely succumbed to rot. Discard them and start fresh, ensuring better drainage and a less soggy medium next time. Another sign of failure is yellowing leaves and complete wilting that doesn’t perk up with misting.
A Encouraging Closing
Propagating plants is a journey, and Western Hemlocks are a lovely companion for that journey. Don’t get discouraged if your first attempt isn’t a resounding success. Every gardener has had cuttings fail! Learn from it, adjust your approach, and try again. The satisfaction of nurturing a tiny cutting into a beautiful new tree is truly unparalleled. So, get your hands dirty, enjoy the process, and celebrate every bit of new growth you see! Happy gardening!
Resource:
https://identify.plantnet.org/k-world-flora/species/Tsuga%20mertensiana%20(Bong.)%20Carrière/data