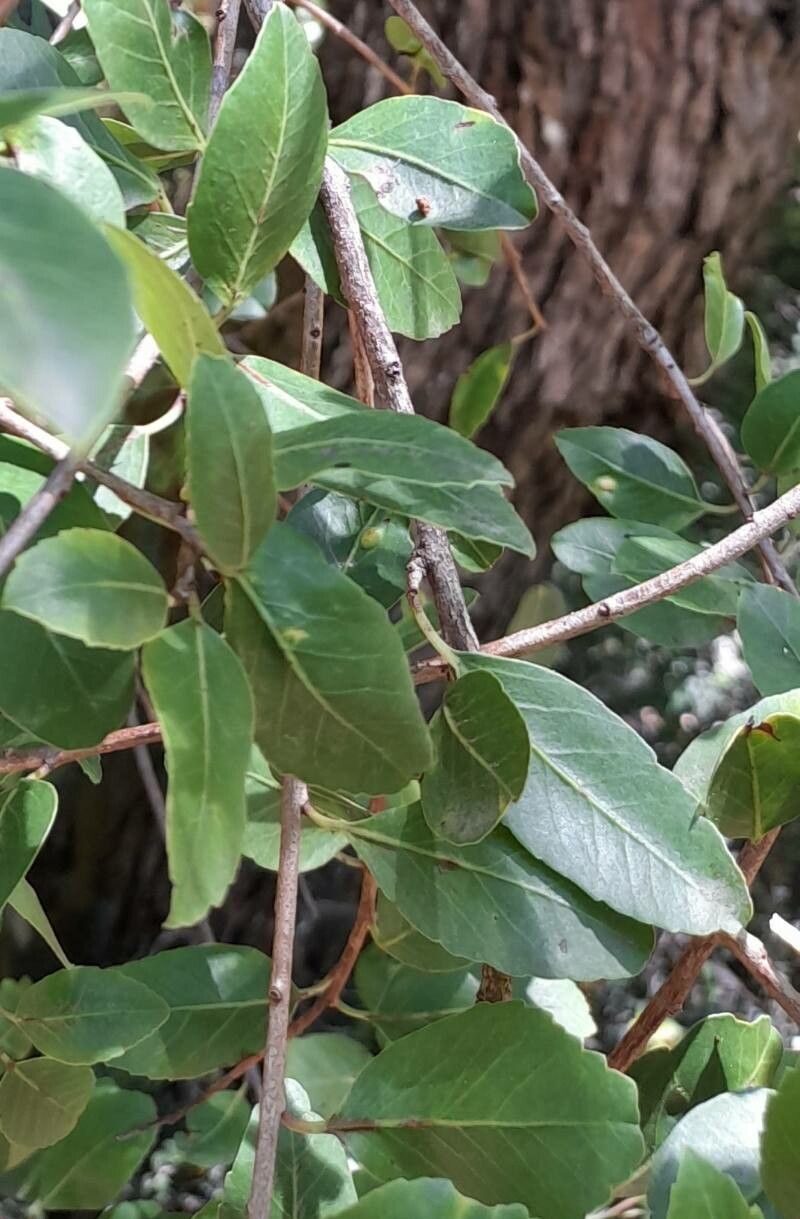
Hello fellow garden enthusiasts! Today, I want to talk about a plant that truly brightens my little corner of the world: Diplolepis diemii. If you’ve ever seen this beauty with its delicate, almost ethereal blooms and lush foliage, you know exactly why it’s so captivating. Beyond its visual charm, propagating Diplolepis diemii is an incredibly rewarding journey. Watching a tiny cutting transform into a thriving new plant is one of those quiet joys that makes gardening so special.
For those new to the plant world, I’d say Diplolepis diemii falls into the “moderately easy” category for propagation. It’s not quite as foolproof as a succulent, but with a little care and attention, you’ll be well on your way to success. Don’t let that deter you – it’s a fantastic plant to practice your skills on!
The Best Time to Start
Timing is everything when coaxing new life from existing plants. For Diplolepis diemii, spring is your golden ticket. Aim to start your propagation efforts as new growth begins to emerge and before the plant fully enters its peak flowering season. This is when the plant has the most energy reserves to dedicate to root development.
Supplies You’ll Need
Gathering your supplies beforehand makes the whole process smoother. Here’s what I recommend:
- Sharp Pruning Shears or a Clean Knife: For making clean cuts.
- Potting Mix: A well-draining mix is crucial. I often use a blend of peat moss, perlite, and a bit of compost. A mix specifically for cuttings is also a great option.
- Rooting Hormone (Optional but Recommended): This can significantly increase your success rate.
- Small Pots or Trays: Clean containers with drainage holes are a must.
- Plastic Bags or a Propagation Dome: To create a humid environment.
- Watering Can with a Fine Rose: For gentle watering.
- Labels: To keep track of your efforts!
Propagation Methods
Let’s get our hands dirty with some proven ways to multiply your Diplolepis diemii.
Stem Cuttings – My Go-To Method
This is usually the most successful method for Diplolepis diemii.
- Select Your Cuttings: Look for healthy, non-flowering stems that are about 4-6 inches long. The stem should be firm but not woody. Ideally, take cuttings from the current season’s growth.
- Make the Cut: Using your sharp pruning shears or knife, make a clean cut just below a leaf node (where a leaf meets the stem). This is where roots are most likely to form.
- Prepare the Cutting: Gently remove the lower leaves, leaving only the top two or three leaves intact. This reduces water loss and prevents leaves from rotting in the soil.
- Apply Rooting Hormone (Optional): Dip the cut end of the stem into your rooting hormone, tapping off any excess.
- Plant Your Cuttings: Fill your small pots with your prepared potting mix. Make a small hole with your finger or a pencil, and insert the cutting so that the leaf node is buried. Gently firm the soil around the stem.
- Water Gently: Water thoroughly but gently so the soil is moist but not waterlogged.
- Create Humidity: Cover the pot with a plastic bag (propped up with stakes so it doesn’t touch the leaves) or place it under a propagation dome.
Water Propagation (For the Patient Observer)
While I often lean towards soil, a few select cuttings can do quite well in water.
- Take Cuttings: Follow steps 1 and 2 from the stem cutting method.
- Remove Lower Leaves: As before, remove lower leaves.
- Place in Water: Place your cuttings in a clean glass or jar filled with fresh water. Make sure no leaves are submerged.
- Change Water Regularly: This is key! Change the water every 2-3 days to prevent bacterial growth and keep the water fresh.
- Wait for Roots: You’ll start to see tiny root nubs forming from the leaf nodes. Once the roots are about an inch long, they are ready to be transplanted into soil using steps 5-7 from the stem cutting method.
The “Secret Sauce” (Pro Tips)
Here are a few things I’ve learned over the years that make a big difference:
- Bottom Heat is Your Friend: If you have a heat mat designed for seedlings, place your pots on it. Consistent warmth from below significantly speeds up root development and increases your chances of success, especially if your spring is a bit cool. This is my absolute favorite hack.
- Don’t Overcrowd: Give your cuttings space in the pot. Ample airflow around each cutting helps prevent disease and encourages healthy rooting. If you’re using a tray, think about planting them an inch or two apart.
- Sterilize Everything: A clean environment is crucial to avoid introducing pests and diseases. Always use clean pots, tools, and your hands. A quick wipe down with rubbing alcohol can work wonders.
Aftercare & Troubleshooting
Once you see signs of new growth or roots emerging from the drainage holes, you’re on the home stretch!
- Gradual Acclimation: If you used a plastic bag or dome, gradually introduce your new plants to open air over a few days. Start by removing the cover for a few hours each day.
- Light Needs: Place your new Diplolepis diemii in a bright spot with indirect sunlight. Avoid harsh, direct sun until they are well-established.
- Watering: Keep the soil consistently moist but not soggy. Water when the top inch of soil feels dry.
- Troubleshooting: The most common issue you’ll face is rot. This is usually due to overwatering or poor drainage. If a cutting wilts and turns mushy and brown, it’s likely rotted. Remove it immediately to prevent it from affecting other cuttings. If you see mold on the soil, improve airflow and be careful not to overwater.
Keep Growing!
Propagating plants is a beautiful exercise in patience and observation. Don’t be discouraged if your first attempts aren’t perfect. Each effort is a learning experience, and the satisfaction of nurturing new life from a simple cutting is truly unparalleled. Happy gardening, and may your Diplolepis diemii thrive!
Resource: