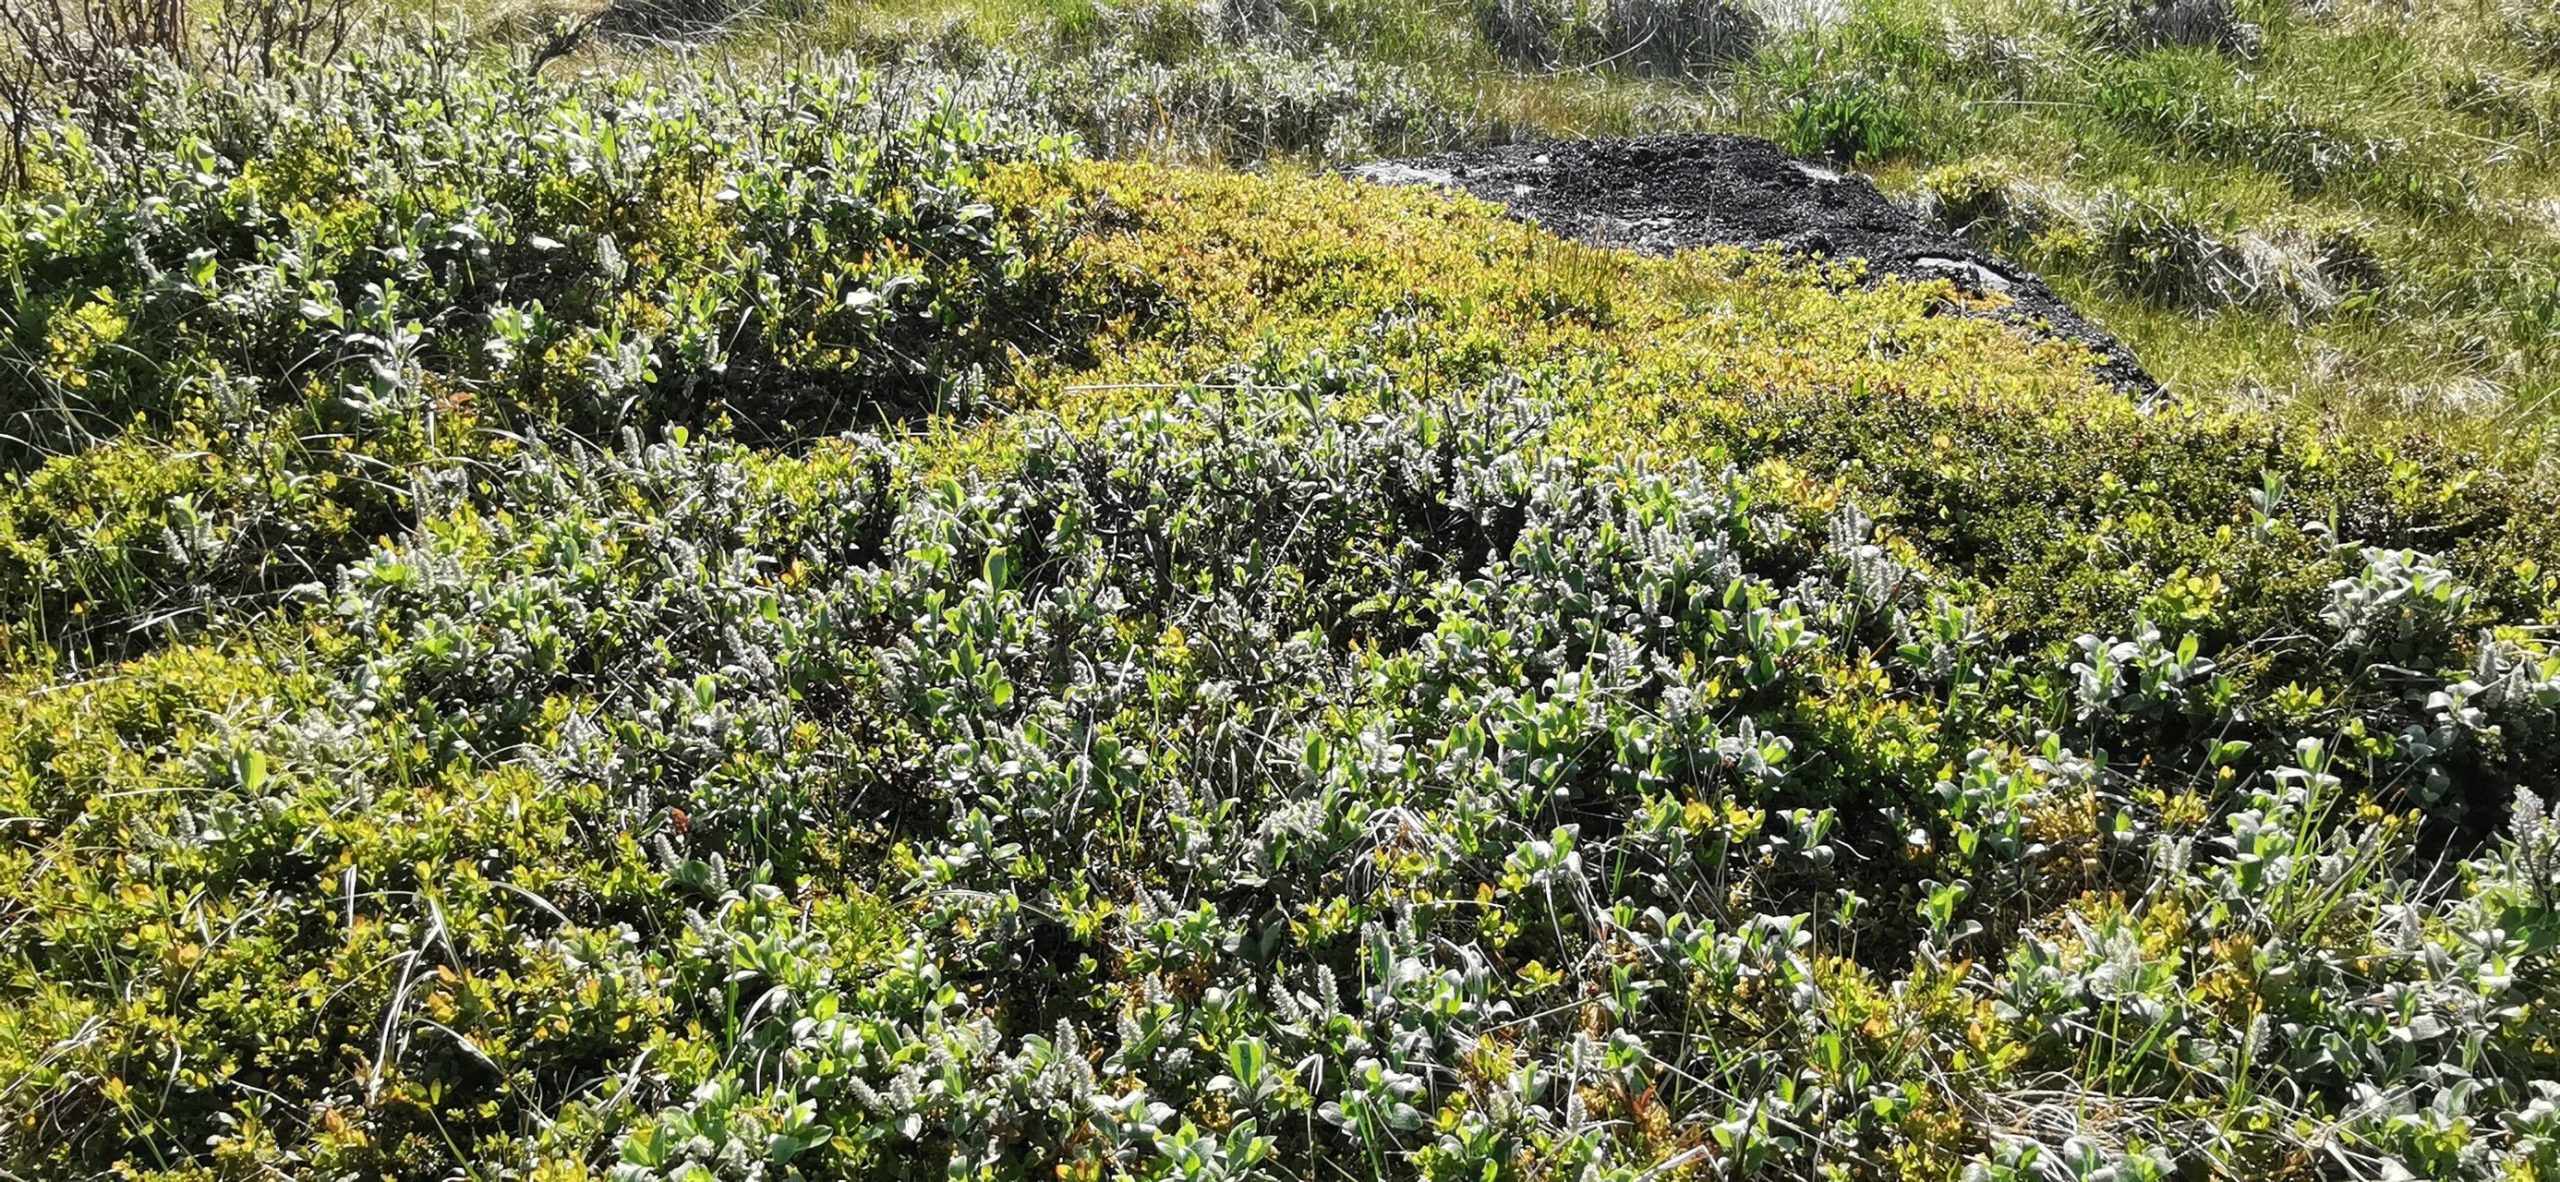
Ah, Salix arctica! You know, the Arctic Willow. It’s a little gem, isn’t it? With its fuzzy silver-green leaves and its low-growing habit, it brings a touch of the wild, resilient north right into our gardens. And honestly, there’s something incredibly satisfying about watching a tiny twig transform into a new, flourishing plant. It feels like a little bit of magic you’ve conjured yourself. For beginners? I’d say it’s moderately easy. It’s not as fussy as some of the more delicate specialties, but it does appreciate a bit of know-how.
The Best Time to Start
For the highest success rate with Salix arctica, I always recommend waiting until late spring or early summer. This is when the new growth is nice and soft, what we call “semi-hardwood.” It’s pliable and eager to root. Trying to take cuttings from very old, woody stems in the middle of winter is generally a recipe for disappointment. We want that vibrant, growing energy on our side!
Supplies You’ll Need
Gathering your supplies beforehand makes the whole process so much smoother. Here’s what I usually have on hand:
- Sharp pruning shears or a clean knife: For making clean cuts.
- Rooting hormone powder or gel: Not strictly essential for willow, but it does give you a significant boost.
- Small pots or trays: With drainage holes, of course!
- A good, well-draining potting mix: I like a blend of peat moss, perlite, and a bit of compost. Or, a dedicated seed starting mix works brilliantly.
- A clear plastic bag or a propagator: To create a humid environment.
- Labels and a permanent marker: Because trust me, you’ll forget which cutting is which.
- Watering can with a fine rose: For gentle watering.
Propagation Methods
There are a couple of ways we can coax new life from our Arctic Willow. Stem cuttings are my go-to method for this one.
Stem Cuttings
- Select your parent plant: Look for a healthy, vigorous Salix arctica.
- Take your cuttings: Using your sharp pruners, take cuttings about 4-6 inches long from the current season’s growth. Aim for pieces that have at least two sets of leaves.
- Prepare the cuttings: Gently remove the lower leaves from the bottom half of the cutting. If you’re using rooting hormone, dip the cut end into it.
- Plant the cuttings: Fill your pots or trays with your pre-moistened potting mix. Make a hole with a pencil or your finger and insert the cut end of the willow cutting. Make sure at least one leaf node (where the leaves were removed) is buried in the soil. Gently firm the soil around the cutting.
- Create humidity: Water the soil gently. Then, cover the pots with a clear plastic bag or place them in a propagator. This traps moisture and keeps those precious cuttings from drying out.
The “Secret Sauce”
Now, for a few little tricks I’ve picked up over the years. These aren’t in every book, but they make a real difference:
- Don’t let the leaves touch the water (if water propagating): While stem cuttings are my preferred method, some folks try water. If you go that route, ensure no leaves are submerged. Any submerged leaves will rot and can take the whole cutting down with them.
- Bottom heat is your friend: A little warmth from below can really encourage root development. Placing your pots on a heat mat designed for propagation can speed things up considerably. You can often find these at garden centers or online.
- Be patient with the cutting surface: After you’ve taken your cuttings, I like to let the cut end of the stem “callus” over for a few hours on the counter before dipping it in rooting hormone and planting. It seems to help prevent rot and encourages better rooting.
Aftercare & Troubleshooting
Once your cuttings are planted, keep them somewhere bright but out of direct, scorching sunlight. Mist them lightly every day or two or whenever the soil surface begins to dry out. The goal is consistently moist, not soggy, soil.
You’ll know your cuttings are rooting when you see new leaf growth and you can feel a bit of resistance when you gently tug on the cutting. This usually takes anywhere from 3 to 6 weeks, depending on the conditions.
The biggest thing to watch out for is rot. If your cuttings turn black and mushy at the base, or if the leaves wilt and turn brown without any new growth, it’s a sign that they’ve gotten too wet and haven’t been able to establish roots to take up moisture. In this case, it’s usually best to discard them and try again, perhaps with less water or better drainage.
A Encouraging Closing
Growing new plants is such a rewarding journey, and propagating your own Salix arctica is a wonderful way to get started. Don’t be discouraged if your first attempt isn’t a perfect success. Gardening is all about learning and adapting. Be patient, embrace the process, and soon you’ll have your own little Arctic Willows to admire and share! Happy growing!
Resource:
https://identify.plantnet.org/k-world-flora/species/Salix%20arctica%20Pall./data