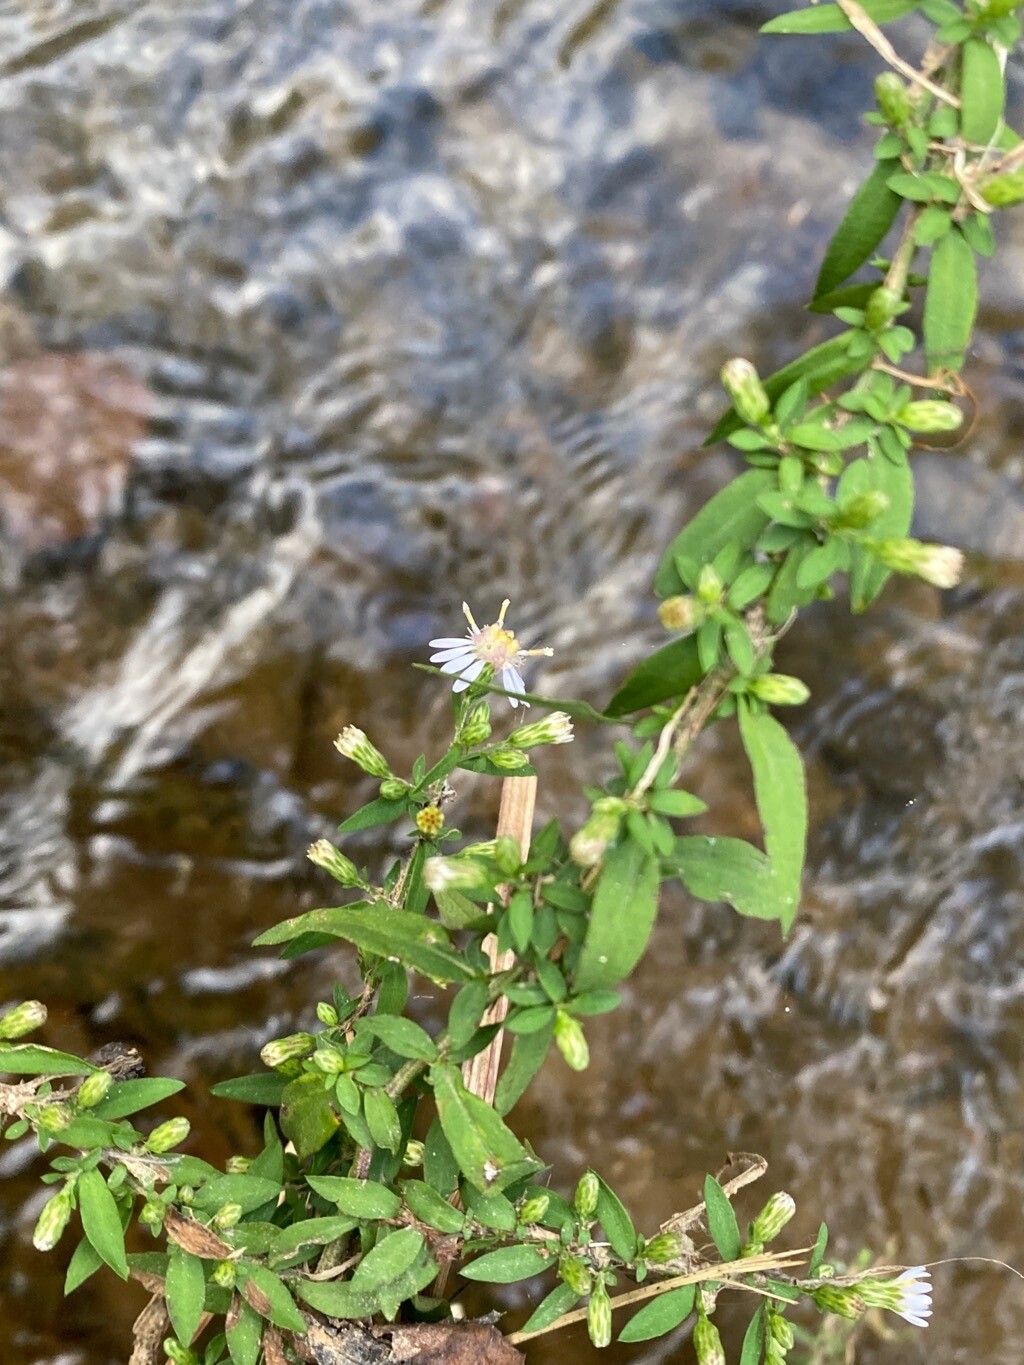
Hello, fellow garden enthusiasts! I’m so excited to chat with you today about a plant that I absolutely adore and find incredibly rewarding to share: Symphyotrichum ontarionis, or what many of us fondly call Ontario Aster. These charming native beauties bring such a burst of late-season color to the garden, a welcome sight when everything else is starting to fade. Their delicate, daisy-like flowers are a magnet for pollinators, and there’s a special kind of joy in multiplying these little wonders yourself.
For those just starting out on their propagation journey, I’d say Ontario Aster is moderately easy. It’s not quite as foolproof as, say, a begonia cutting, but with a little attention and care, you’ll be rewarded with plenty of new plants to share with friends or fill in those bare spots in your own beds.
The Best Time to Start
Hands down, the best time to propagate Symphyotrichum ontarionis is in the late spring to early summer. Think after the initial burst of growth has really settled in, but before the plant gets too committed to blooming. This is when the stems are firm and vigorous, and they have plenty of energy to put into rooting. You can also have success with division in the early spring, right as new shoots are emerging.
Supplies You’ll Need
Here’s a handy list of what you’ll want to have on hand:
- Sharp, clean pruning shears or a utility knife: For making precise cuts without crushing the stems.
- A well-draining potting mix: I like to use a blend of peat moss, perlite, and a little compost. Some growers swear by pure perlite for cuttings, which works wonderfully too!
- Rooting hormone (optional but recommended): A good powder or gel will significantly boost your success rate.
- Small pots or seedling trays: Whatever you have available that will hold your cuttings snugly.
- A spray bottle: For keeping your cuttings moist.
- A clear plastic bag or propagation dome: To create a humid environment.
- For division: A sturdy trowel or spade.
Propagation Methods
Let’s get our hands dirty with the two most reliable ways to multiply your Ontario Aster.
Stem Cuttings (My Favorite!)
- Take the Cuttings: In late spring or early summer, select healthy, non-flowering stems. Using your clean shears, take cuttings that are about 4-6 inches long. Make the cut just below a leaf node (where a leaf attaches to the stem).
- Prepare the Cuttings: Gently remove the lower leaves, leaving just a couple of sets at the top. This prevents them from rotting in the soil and also reduces water loss.
- Apply Rooting Hormone: Dip the cut end of each stem into your rooting hormone, tapping off any excess. This step is like a little boost of encouragement for your new plant!
- Plant the Cuttings: Fill your small pots with your prepared potting mix. Make a small hole in the center of each pot with your finger or a pencil. Insert the cutting into the hole, making sure the lower leaf nodes are below the soil surface. Gently firm the soil around the stem.
- Create a Humid Environment: Water the cuttings lightly. Then, cover the pots with a clear plastic bag or place them under a propagation dome. This traps moisture and creates the humid microclimate these cuttings need to thrive.
- Provide Light and Warmth: Place the pots in a bright location that receives indirect sunlight. Avoid direct sun, which can scorch them. If you have a heat mat, placing it underneath the pots can speed up root development considerably, but it’s not strictly necessary.
Division (Best for Established Plants)
- Timing is Key: This is best done in early spring as soon as the ground can be worked and you see new growth emerging.
- Gently Excavate: Carefully dig around the base of your established Ontario Aster plant with a trowel or spade. You want to lift the entire root ball out of the ground.
- Separate the Divisions: Gently shake off excess soil. You should be able to see where the plant naturally wants to divide into smaller sections. You can often pull these apart with your hands. If a clump is particularly stubborn, use your trowel or a sharp knife to cut through the root ball, ensuring each division has plenty of healthy roots and at least a few shoots or buds.
- Replant Immediately: Plant each division back into the garden or into pots with fresh, well-draining soil. Water them in well.
The “Secret Sauce” (Pro Tips)
Here are a couple of things I’ve learned over the years that really make a difference:
- Don’t let the leaves touch the water (if using water propagation as an alternative): While some plants root easily in water, for aster cuttings, I find sticking them directly into a gritty soil mix avoids potential rot. If you do decide to try water, make sure only the bare stem segments are submerged, not the leaves.
- Bottom heat is your friend: As I mentioned, if you can provide a bit of gentle bottom heat (around 70-75°F), you’ll see roots develop much faster. It mimics the warmth of springtime soil wonderfully.
- Air circulation is crucial: Once your cuttings have rooted and you remove the plastic bag or dome, make sure they’re still in a humid environment but have some gentle air circulation. This helps prevent fungal diseases. You can achieve this by just leaving the bag loosely open or by misting the leaves daily.
Aftercare & Troubleshooting
Once you see new growth appearing on your cuttings or divisions, that’s a good sign roots are forming!
- Gradually Acclimate: If you’ve been using a plastic bag or dome, gradually remove it over a few days to let your new plants adjust to normal humidity levels.
- Water Wisely: Keep the soil consistently moist but not waterlogged. Overwatering is the quickest way to invite problems. Stick your finger into the soil; if the top inch feels dry, it’s time to water.
- Transplant Carefully: Once the new plants have a good root system (you’ll often see them peeking out of the drainage holes), you can transplant them into larger pots or into their permanent garden locations.
The most common issue you’ll likely encounter is rot. If you see your cuttings turning black and mushy, it’s usually a sign of too much moisture and not enough air circulation. Don’t be discouraged! Just start fresh with a new batch, ensuring your soil is well-draining and your environment isn’t too damp.
A Little Encouragement
Propagating Symphyotrichum ontarionis is a journey, and like any rewarding endeavor, it takes a little patience. Don’t be afraid to experiment and learn from each attempt. Seeing those tiny roots emerge and a new plant unfurl is such a joy. Happy propagating, and may your gardens be filled with the cheerful blooms of Ontario Aster!
Resource: