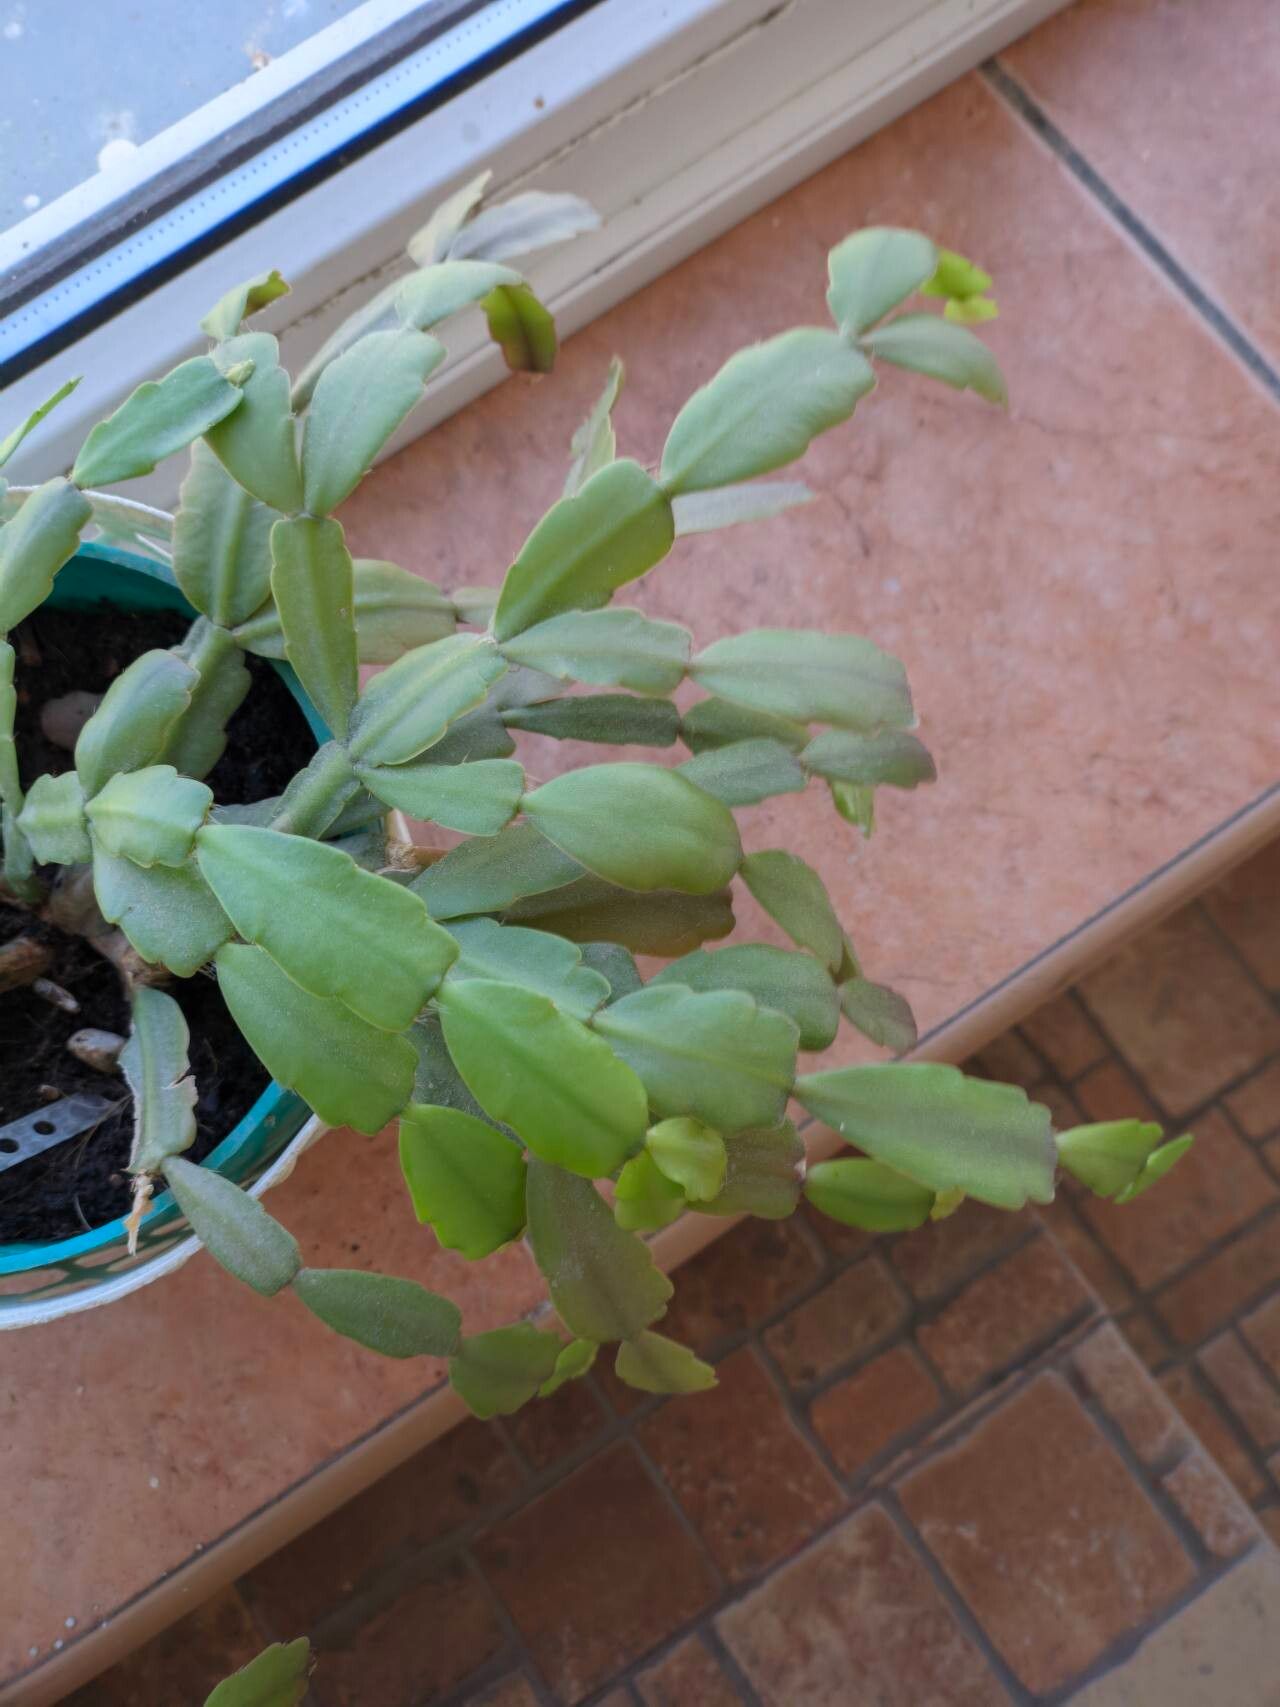
Hello, plant pals! It’s me, your garden mentor, ready to dive into a truly charming subject today: Schlumbergera russelliana, also known as the Christmas Cactus or Thanksgiving Cactus (they’re close cousins, and often mistaken for one another!).
I’ve always adored these elegant cacti. Their delicate, segmented stems unfurl with such grace, and when they burst into bloom, it’s a spectacular display of vibrant color that feels like a gift from the plant gods themselves. Bringing new life into the world from a piece of an existing plant is one of the most rewarding acts in gardening, and thankfully, propagating S. russelliana is a journey that’s quite accessible, even for those new to the plant world. You can absolutely do this!
The Best Time to Start
For the most success, I find the sweet spot for propagating your Schlumbergera russelliana is during its active growth period. This usually falls in the late spring or early summer. The plant is building energy then, and those cuttings are more robust and eager to put down roots. You can sneak in a few around late summer, too, but spring is my absolute favorite.
Supplies You’ll Need
Gathering your tools is part of the fun, isn’t it? Here’s what you’ll want on hand:
- Sharp, clean pruning shears or a sharp knife: Essential for making clean cuts so they heal well. Sterilize them in rubbing alcohol between cuts!
- Rooting hormone (optional but recommended): A little dip can give your cuttings a significant boost. I like the powder forms for this.
- Well-draining potting mix: A cactus/succulent mix is perfect, or you can create your own by mixing equal parts potting soil, perlite, and coarse sand.
- Small pots or containers: Clean ones, of course. About 3-4 inches wide is usually ideal to start.
- Spray bottle filled with water: For gentle misting.
- Plastic bag or clear dome (optional): To create a humid environment for your cuttings.
Propagation Methods
Let’s get our hands dirty! The most reliable way to propagate S. russelliana is through stem cuttings. It’s straightforward and yields fantastic results.
- Take the Cuttings: Gently twist or snip off a healthy stem segment from your mature plant. Aim for segments that have 2-3 flattened, leaf-like sections. Make sure your cut is clean and close to where the segments connect.
- Let Them Callus: This is crucial! Do not plant them immediately. Lay your cuttings on a dry paper towel in a bright spot, out of direct sunlight, for 2-7 days. You want the cut end to dry out and form a callus. This prevents rot when you plant them.
- Apply Rooting Hormone (Optional): Once callused, dip the cut end of the stem into rooting hormone, tapping off any excess.
- Planting: Fill your small pots with your well-draining potting mix. Make a small hole in the center with your finger or a pencil. Gently insert the callused end of your cutting into the hole, pushing it down about half an inch to an inch.
- Watering (Lightly!): Water very sparingly. You want the soil to be barely moist, not wet. A good misting from your spray bottle is often enough. Overwatering is the biggest enemy at this stage.
- Create Humidity (Optional): You can place a clear plastic bag loosely over the pot, or use a clear dome, to keep humidity around the cuttings. Make sure to open it daily for a few minutes to allow for air circulation and prevent mold.
The “Secret Sauce” (Pro Tips)
After years of nurturing these beauties, I’ve picked up a few tricks that seem to make a real difference:
- Patience with the “Dip”: If you choose that optional plastic bag route, resist the urge to let the leaves touch the inside of the bag if condensation forms. It’s just asking for a soggy situation that can lead to rot.
- Warmth is Wonderful: While not strictly necessary, a little bottom heat can significantly speed up rooting. I sometimes place my pots on a heat mat designed for seedlings, or even on top of a gently warmed, unused appliance (like a router that’s on but not heavily used). Just enough warmth to make the soil pleasantly tepid.
- Don’t Rush the Roots: When you’re checking for roots (gently tugging to feel resistance), don’t overdo it. A gentle tug is all you need. If you feel a bit of resistance, congratulations! If not, give it more time. Sometimes it takes several weeks.
Aftercare & Troubleshooting
Once you feel some good resistance when gently tugging your cutting, or if you see new growth emerging, you’ve got roots! Now, it’s time for a little more attentive care.
- Gradual Acclimation: If you’ve used a plastic bag or dome, slowly start introducing your new plant to drier air over a few days by opening the cover more and more.
- Watering: Continue to water sparingly, allowing the soil to dry out slightly between waterings. Feel the soil with your finger; if the top inch feels dry, it’s time for a light watering.
- Light: Keep it in bright, indirect light. Think of where your established Christmas Cactus thrives – that’s a good spot for your new baby too.
- Common Problems: The biggest culprit is rot. If your cutting turns mushy, black, or starts to fall apart, it’s usually a sign of overwatering. Unfortunately, at this stage, a rotted cutting is usually a goner. You might also see cuttings shriveling up, which can happen if they are too dry or didn’t callus properly. If this happens, give it a little more water and patience, but don’t be discouraged if not every cutting makes it. Nature has her own way!
A Little Encouragement
See? It’s quite manageable, isn’t it? Propagating Schlumbergera russelliana is a rewarding process that allows you to share these beautiful plants with friends or simply expand your own blooming collection. Be patient with your little cuttings, trust your instincts, and most importantly, enjoy the magic of watching life unfurl. Happy propagating!
Resource: