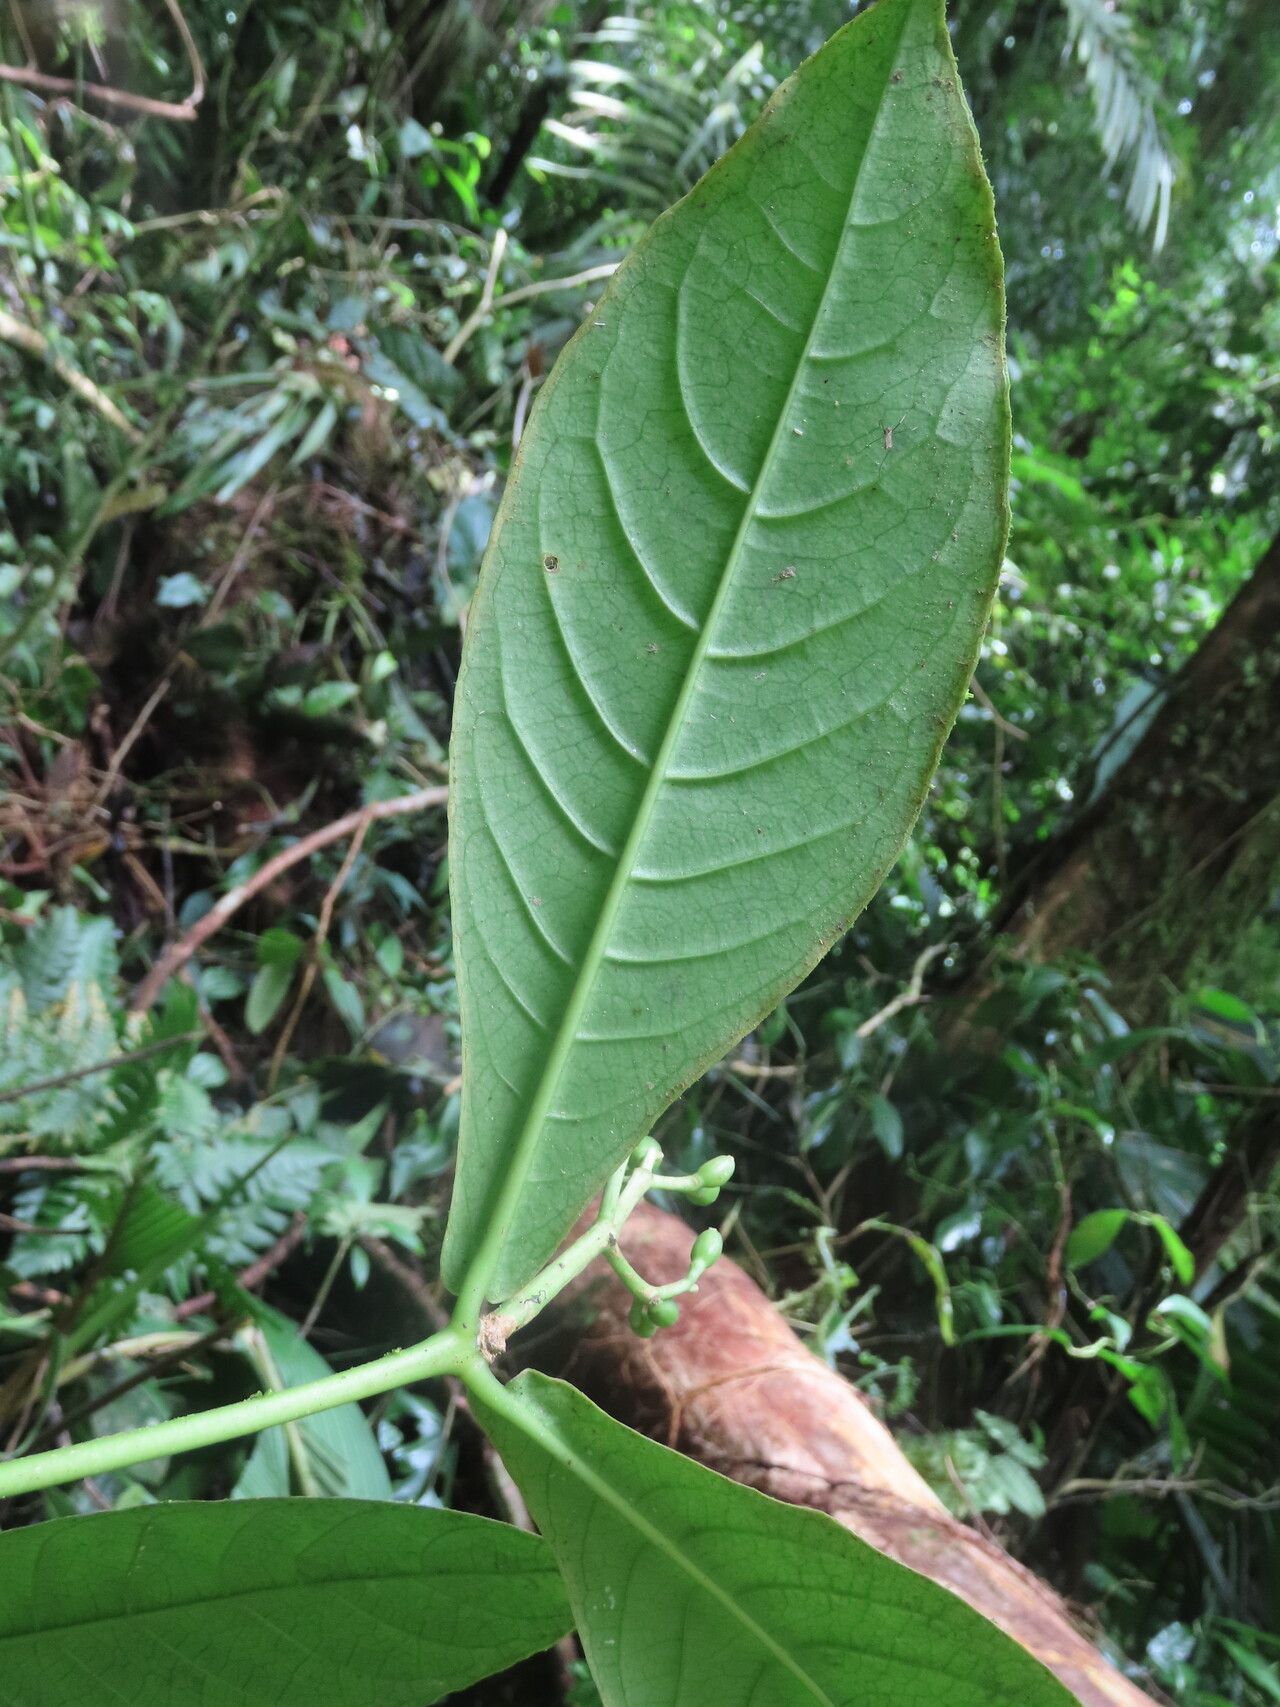
Hello, fellow plant lovers! I’m so delighted to have you join me today. We’re going to talk about a truly special plant: Rudgea reducticalyx. If you’ve ever had the pleasure of seeing this beauty, you know why I’m so smitten. Its unique foliage and sometimes surprising blooms are a real showstopper. And the best part? You can bring more of that magic into your own home by propagating it. It’s incredibly rewarding to watch a tiny cutting transform into a thriving new plant. Now, I’ll be honest, Rudgea reducticalyx can be a tad on the discerning side for absolute beginners, but with a little guidance and patience, you’ll be well on your way. Think of this as a fun challenge to elevate your green thumb!
The Best Time to Start
When it comes to getting the most bang for your propagation buck, spring and early summer are your golden ticket. This is when the plant is actively growing and bursting with energy. It’s like they’re at their most enthusiastic about making new roots. You’re looking for new, healthy growth – stems that are flexible but not overly woody. Avoid trying to root old, hard stems.
Supplies You’ll Need
Don’t worry, we won’t need a whole shed full of gear. Just a few thoughtful essentials will do:
- Sharp Pruning Shears or a Clean Knife: For making clean cuts. I always wipe mine down with rubbing alcohol between plants.
- A Well-Draining Potting Mix: I tend to use a mix of potting soil, perlite, and a bit of coco coir. Something that lets water escape easily is key.
- Small Pots or Containers: Clean ones, please! Seedling pots or even small yogurt cups with drainage holes work wonders.
- Rooting Hormone (Optional but Recommended): A little dab can really boost your success rate, especially for fussier plants.
- Watering Can or Mister: Gentle is the name of the game.
- Plastic Bag or Humidity Dome: To create that essential humid environment.
- Slow-Release Fertilizer (for later): Once you see roots, this will help them get established.
Propagation Methods
Let’s get our hands dirty! For Rudgea reducticalyx, I find stem cuttings to be the most reliable method.
Stem Cuttings:
- Find Your Cutting: Look for healthy, semi-hardwood stems. You want a stem that feels firm but still has some give to it – not brittle, not floppy. Aim for a cutting that’s about 4-6 inches long.
- Make the Cut: Using your sterilized pruning shears or knife, make a clean cut just below a leaf node. A leaf node is where a leaf emerges from the stem. This is where the magic of root formation usually begins.
- Prepare the Cutting: Gently remove the lower leaves from the cutting, leaving just a few at the very top. This prevents them from rotting in the soil or water. If the remaining leaves are very large, I like to cut them in half horizontally. This reduces water loss from the leaf surface.
- Apply Rooting Hormone (If Using): Dip the cut end of the stem into your rooting hormone powder or gel. Tap off any excess.
- Plant Your Cutting: Fill your small pot with your prepared, damp potting mix. Make a small pilot hole with a pencil or your finger. Gently insert the prepared cutting into the hole, making sure the leaf nodes are below the soil surface. Firm the soil gently around the stem.
- Create Humidity: Water the soil lightly. Then, cover the pot with a plastic bag or a humidity dome. Make sure the leaves aren’t touching the plastic if possible. You can use stakes to prop up the bag. Place the pot in a bright location, but out of direct sunlight.
The “Secret Sauce” (Pro Tips)
Here are a few little tricks I’ve picked up along the way that can make a big difference:
- Bottom Heat is Your Friend: If you have a seedling heat mat, place your pot on it. A little warmth from below can significantly encourage root development. Just make sure it’s not too hot.
- Don’t Let Leaves Touch the Water (if you opt for water propagation): While I prefer soil for Rudgea, some might try water. If you do, crucially, ensure no leaves are submerged in the water. Any foliage below the waterline is a recipe for rot and an unhappy cutting.
- Be Patient with Air Circulation: While you want humidity, you don’t want stagnation. Lightly vent the plastic bag or dome daily for a few minutes. This prevents fungal issues and allows for fresh air exchange.
Aftercare & Troubleshooting
Once your cutting has developed a good root system – you might see roots peeking out of the drainage holes or feel a gentle resistance when you tug lightly – it’s time for a little extra TLC. Transplant your new plant into a slightly larger pot with fresh potting mix. Continue to keep it in bright, indirect light. Water it when the top inch of soil feels dry. You can start feeding it with a diluted liquid fertilizer about once a month.
Now, what if things go wrong? The most common sign of trouble is rotting. If your cutting turns mushy, black, or smells foul, it’s likely rot. This usually happens from too much moisture and poor air circulation. If you catch it early, you might be able to salvage a healthy section by cutting it above the rot and starting again. Yellowing leaves on an otherwise healthy-looking cutting can sometimes mean it’s just acclimatizing, but often signals that roots haven’t formed or there’s an issue with watering.
And there you have it! Propagating Rudgea reducticalyx is a journey, one that requires a bit of faith and a gentle hand. Don’t be discouraged if your first attempt isn’t perfect. Each plant is an opportunity to learn and grow, just like the plant itself. Enjoy the process, celebrate the small victories, and soon you’ll have a whole collection of these gorgeous plants. Happy propagating!
Resource:
https://identify.plantnet.org/k-world-flora/species/Rudgea%20reducticalyx%20Dwyer/data