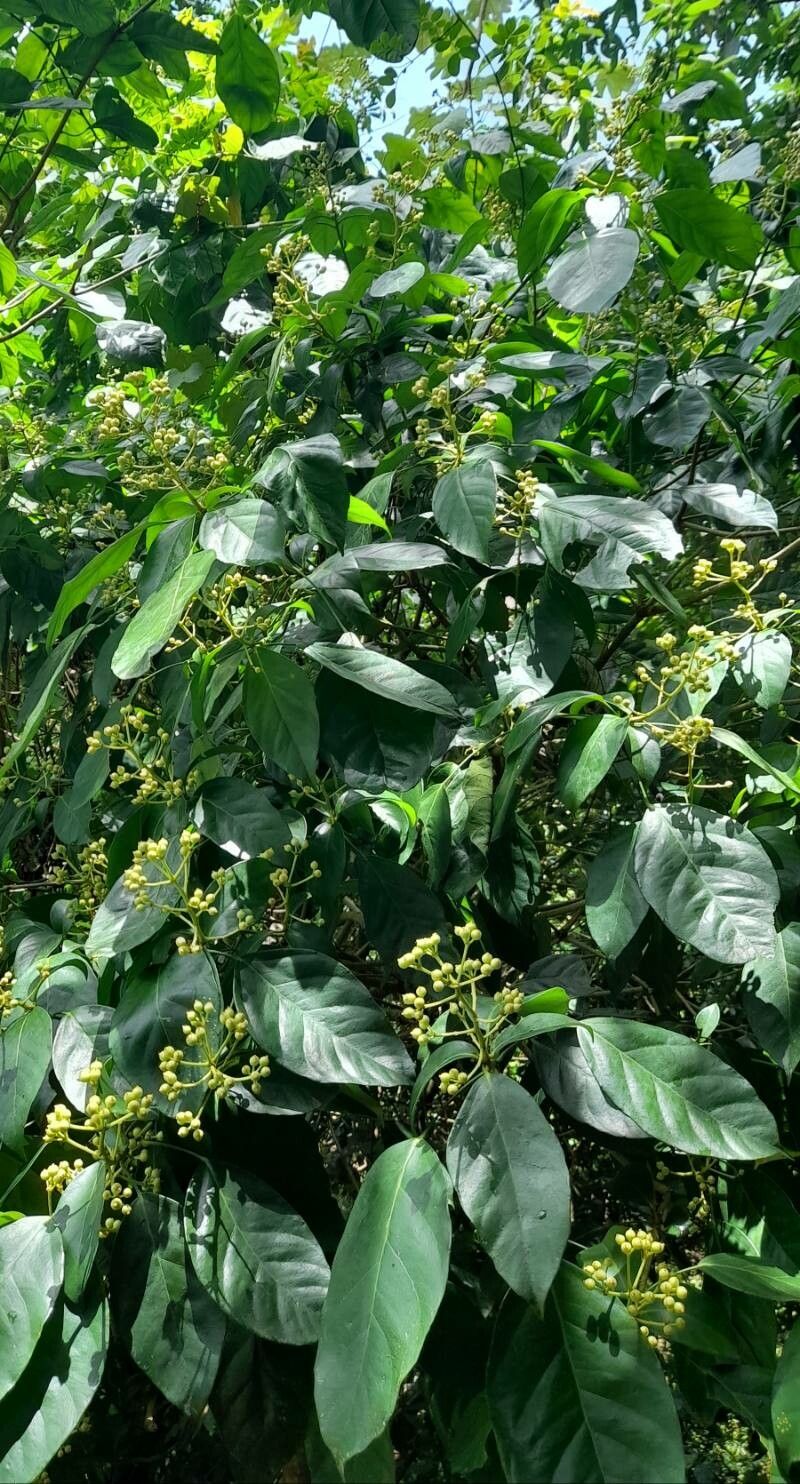
Hello, fellow plant lovers! Today, I want to chat about a botanical beauty that’s been gracing my garden for years: Dendropanax arboreus. You might know it as the Philippine Holly or Umbrella Tree, and honestly, it’s a real showstopper. Its glossy, hand-shaped leaves add such an architectural flair, and it thrives in bright, indirect light, making it a wonderful addition to both indoor and outdoor spaces.
There’s something incredibly satisfying about taking a piece of a beloved plant and coaxing it into a whole new, independent life. It’s like magic, but with dirt! And the good news? Propagating Dendropanax arboreus is surprisingly achievable, even for those just dipping their toes into the wonderful world of plant propagation.
When to Get Your Hands Dirty
For the best results, I always recommend starting your Dendropanax arboreus propagation attempts in the late spring or early summer. This is when the plant is actively growing, meaning it has the energy reserves to push out new roots. You’re looking for healthy, semi-hardwood stems – they should be firm but still have a little flexibility, not brittle and old, nor super soft and brand new.
Your Propagation Toolkit
Gathering your supplies beforehand makes the whole process a breeze. Here’s what you’ll want to have on hand:
- Sharp Pruning Shears or a Knife: Clean, sterile tools are crucial to prevent disease.
- Rooting Hormone: I find a powder or gel works wonderfully for encouraging root development.
- Potting Mix: A well-draining mix is key. I like a blend of equal parts peat moss or coco coir, perlite, and a bit of sterile potting soil. This ensures good aeration.
- Small Pots or Containers: Clean pots with drainage holes are a must.
- Plastic Bag or Dome: To create a humid environment for your cuttings.
- Spray Bottle: For misting.
Bringing Your Dendropanax to Life
There are a couple of reliable ways to propagate Dendropanax arboreus. I’ve had great luck with stem cuttings, which is generally the most straightforward method.
Stem Cuttings:
- Select Your Cuttings: Look for healthy stems that are about 4-6 inches long. You want to make your cuts just below a leaf node (where a leaf attaches to the stem). This is where the plant has a higher concentration of rooting hormones.
- Prepare the Cuttings: Gently remove the lower leaves from your cuttings, leaving only a few at the top. This reduces water loss and prevents leaves from rotting in the soil.
- Apply Rooting Hormone: Dip the cut end of each stem into your rooting hormone, tapping off any excess.
- Plant the Cuttings: Fill your small pots with your prepared potting mix. Make a small hole with your finger or a pencil and insert the cutting, ensuring the nodes are buried in the soil. Gently firm the soil around the stem.
- Water Gently: Water the soil thoroughly but gently, making sure it’s moist but not waterlogged.
- Create Humidity: Place a clear plastic bag loosely over the pot, or use a propagator lid. This creates a mini-greenhouse effect.
The “Secret Sauce” – My Insider Tips
Over the years, I’ve learned a few little tricks that can make all the difference with tricky propagations.
- Don’t Let Those Leaves Touch the Water (Even in Soil Mist): If any of your top leaves happen to droop down and touch the moist soil surface within the humid dome, gently reposition them. Leaves sitting in constant moisture when they aren’t yet rooted can invite fungal issues.
- Consider Bottom Heat: Dendropanax roots are often keen to sprout when their environment is a bit warmer from below. Placing your pots on a gentle heating mat designed for propagation can significantly speed up root development. It mimics the warmth of spring soil.
Nurturing Your New Sprouts & What to Watch For
Once your cuttings are planted, find them a bright spot with indirect sunlight. Avoid direct sun, which can scorch those tender leaves. Keep the soil consistently moist but not soggy, and mist the leaves lightly every few days, especially if you’re not using a humidity dome.
You’ll know your cutting has rooted when you see new leaf growth or feel a gentle resistance when you tug lightly on the stem. This typically takes anywhere from 4 to 8 weeks, but sometimes it takes a bit longer. Be patient!
If you notice your leaves turning yellow and dropping, or if the stem starts to look mushy and dark, that’s often a sign of root rot. This is usually due to overwatering or poor drainage. Don’t be discouraged! Sometimes, you have to try again, perhaps adjusting your watering schedule or ensuring your soil mix is airy enough.
Go Forth and Propagate!
Watching those tiny roots form and a new plant unfurl is one of gardening’s greatest joys. So, grab your shears, get a little soil under your fingernails, and give propagating Dendropanax arboreus a try. Enjoy the process, celebrate each new leaf, and before you know it, you’ll have a whole collection of these beautiful plants! Happy gardening!
Resource: