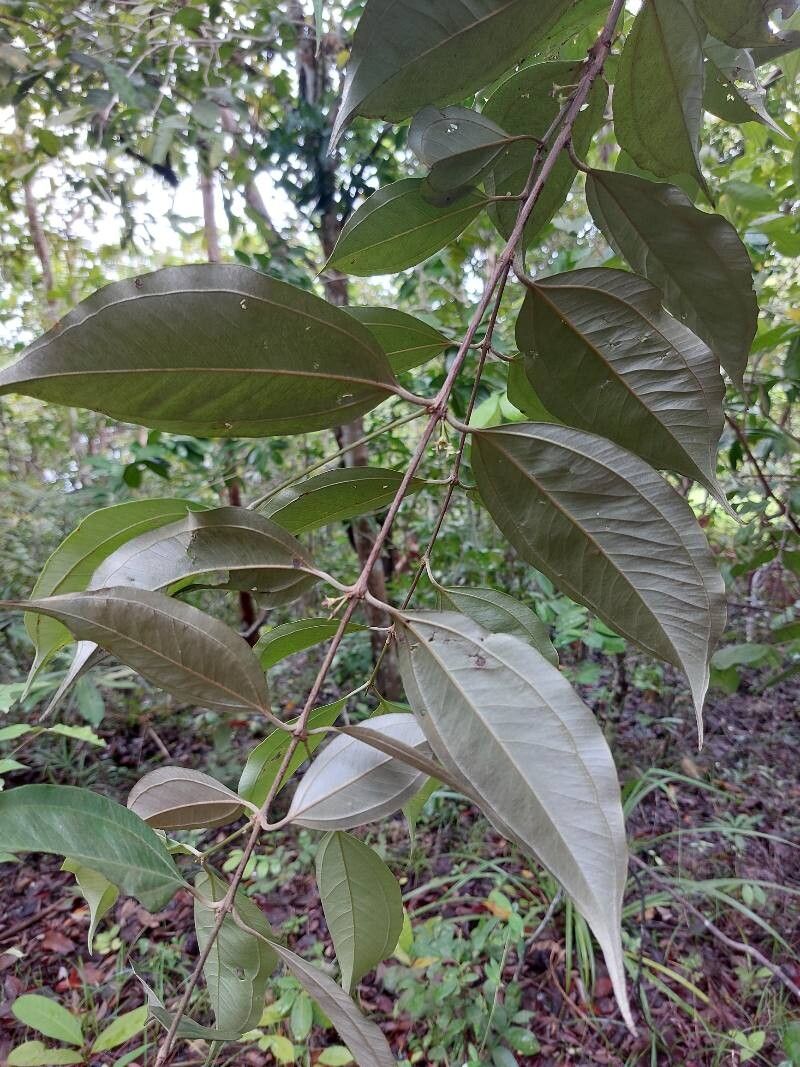
Hey there, fellow plant enthusiasts! Today, we’re diving into the wonderful world of Rhodamnia cinerea. If you’ve ever admired this beauty with its lovely foliage and subtle charm, you might be wondering how to get more of it. And let me tell you, propagating it yourself is incredibly rewarding. It’s not the absolute easiest plant to start with if you’re brand new to propagation, but with a little care and attention, you’ll be amazed at what you can achieve. Let’s get growing!
The Best Time to Start
For Rhodamnia cinerea, I find that the late spring to early summer is absolutely prime time to take cuttings. This is when the plant is actively growing and has plenty of energy to put into rooting. You want to look for stems that are firm but not woody – we call these “semi-hardwood” cuttings. Avoid taking cuttings from brand new, floppy growth or old, fully lignified stems.
Supplies You’ll Need
Here’s a quick rundown of what will help you on your propagation journey:
- Sharp Pruning Shears or a Craft Knife: Cleanliness is key here!
- Rooting Hormone: A good quality rooting powder or gel.
- Potting Mix: A well-draining mix is crucial. I like a blend of perlite, peat moss, and a bit of fine bark. Some people use a straight compost with lots of perlite added.
- Small Pots or Trays: Clean containers for your cuttings.
- Plastic Bag or Humidity Dome: To create a mini greenhouse effect.
- Watering Can with a Fine Rose: For gentle watering.
- Labels: To keep track of your projects!
Propagation Methods: Stem Cuttings
This is my go-to method for Rhodamnia cinerea. It’s reliable and yields great results.
- Select Your Cuttings: Look for healthy stems that are about 4-6 inches long. Gently snap a stem and see if it bends slightly rather than breaking cleanly. That’s a good indicator.
- Prepare the Cuttings: Using your sharp shears, make a clean cut just below a leaf node (where leaves attach to the stem). Remove the lower leaves, leaving just a few at the top. If the leaves are quite large, you can even cut them in half horizontally to reduce water loss.
- Apply Rooting Hormone: Dip the cut end of the stem into your rooting hormone, tapping off any excess. This step really encourages root development.
- Plant Your Cuttings: Fill your clean pots with your well-draining potting mix. Make a small hole with a pencil or your finger, and gently insert the cutting into the mix, ensuring the nodes where you removed leaves are buried. Firm the soil gently around the stem.
- Water Gently: Water your cuttings from the base if possible, or use a fine mist to avoid disturbing the soil or cuttings. You want the soil to be moist, but not waterlogged.
- Create a Humid Environment: Place the potted cuttings inside a plastic bag or cover them with a humidity dome. This keeps the moisture levels high, which is vital for cuttings to root without drying out. Ensure the bag doesn’t directly touch the leaves.
The “Secret Sauce” (Pro Tips)
Here are a few little tricks that have helped me over the years:
- The Bottom Heat Trick: If you can, place your pots on a gentle heat mat. This warmth stimulates root growth from the bottom up, dramatically increasing your success rate. It’s like giving your cuttings a warm hug to get them started!
- Don’t Drown Them: While humidity is key, standing water on the leaves or in the soil for too long is the quickest way to rot your cuttings. Make sure your pots have good drainage and that the humidity dome has some ventilation holes, or lift the bag for a bit each day to let in fresh air.
- Patience is a Virtue, Especially with Leaves: If you do a water propagation to see roots form first (which is possible, though I find stem cuttings more reliable for Rhodamnia!), never let the leaves dip into the water. Only the stem should be submerged. Leaves in water will quickly rot and can infect the entire cutting.
Aftercare & Troubleshooting
Once your Rhodamnia cinerea cuttings have started to show signs of rooting – you might see tiny roots poking out of the drainage holes or feel a gentle resistance when you lightly tug on the stem – it’s time for a little extra TLC.
Gradually acclimate your new plants to normal room conditions. Start by opening the humidity dome or bag a little more each day for a week. Continue to keep the soil consistently moist but not soggy.
Common signs of failure? The most common foe is rot. If your cuttings turn black and mushy, or if you see mold growing on the soil, it’s usually a sign of too much moisture and not enough air circulation. If a cutting wilts dramatically and never recovers, it might have simply dried out too much, or the rooting hormone wasn’t effective. Don’t despair if a few don’t make it – that’s part of the learning process! Just try again.
Happy Growing!
Propagating Rhodamnia cinerea is a wonderful way to multiply your enjoyment of these lovely plants. Don’t be discouraged if your first attempts aren’t perfect. Gardening is a journey, and each cutting you take teaches you something new. Be patient, observe your plants, and celebrate every tiny root that emerges. You’ve got this!
Resource:
https://identify.plantnet.org/k-world-flora/species/Rhodamnia%20cinerea%20Jack/data