Hello, fellow garden enthusiasts! It’s so lovely to have you here. Today, we’re diving into the wonderful world of propagating Rubus campaniensis.
Unearthing the Charm of Rubus campaniensis
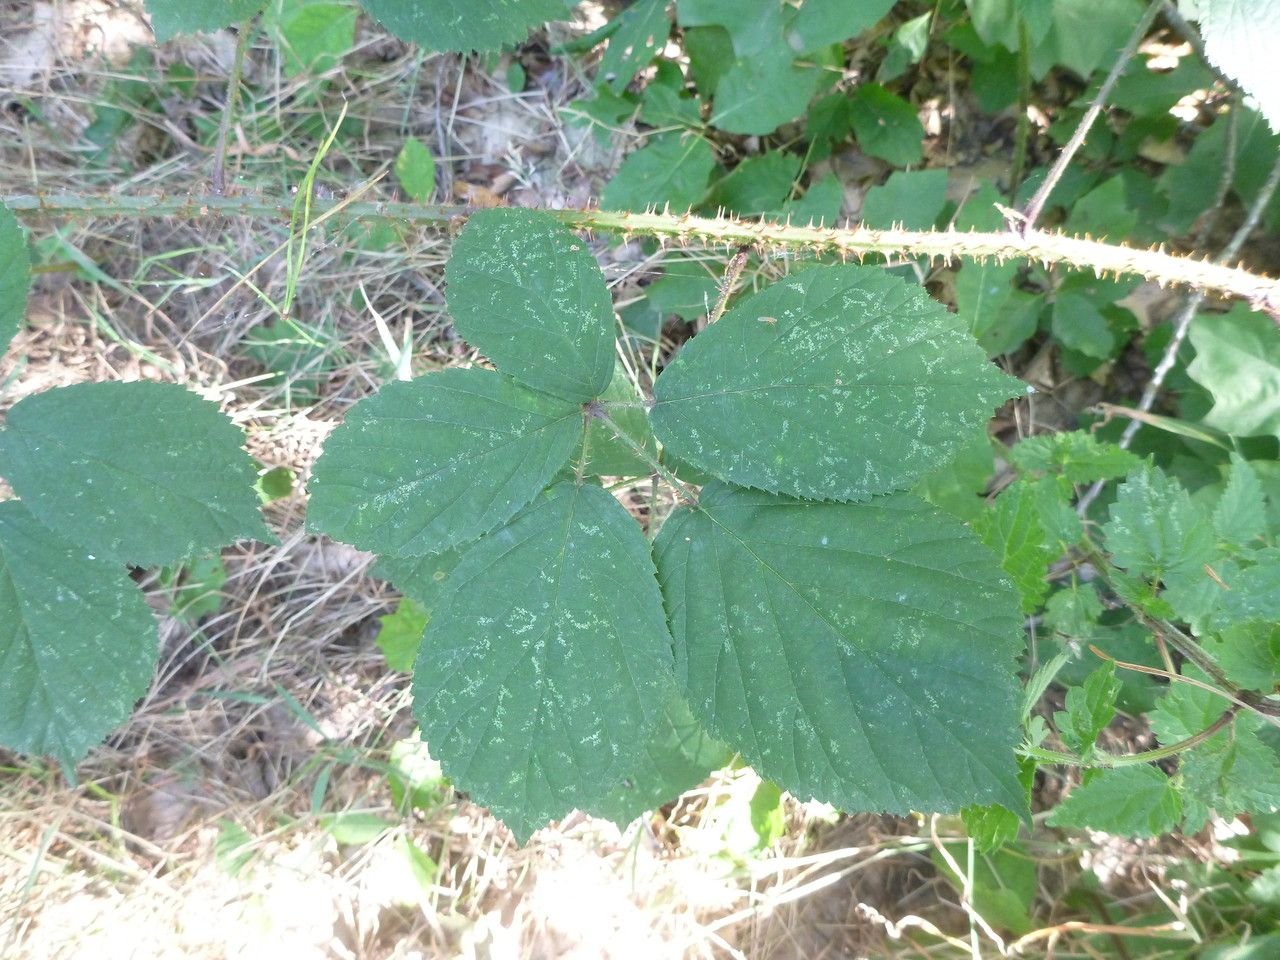
If you’re drawn to plants with a bit of wild beauty and a sweet reward, then Rubus campaniensis, often known as the Mountain Bramble, is a fantastic choice. Its delicate foliage and potential for delicious berries make it a real treasure. And the best part? Sharing its bounty through propagation is incredibly satisfying. For beginners, I’d say this one leans towards the moderately easy side – a little patience will go a long way!
The Best Time to Start Your Bramble Journey
Generally, the prime time to get your hands dirty with Rubus campaniensis propagation is in late spring to early summer. This is when the plant is actively growing and has plenty of energy to spare for creating new life. You’re looking for healthy, new growth that’s not too woody or too flimsy.
Supplies You’ll Need to Get Growing
Here’s what I like to have on hand before I begin:
- Sharp Pruning Shears or a Craft Knife: For clean cuts, which are crucial for healthy new plants.
- Well-Draining Potting Mix: A good starting point is a blend of equal parts peat moss or coco coir, perlite, and compost. This prevents soggy roots.
- Small Pots or Seed Trays: Clean containers are a must!
- Rooting Hormone (Optional but Recommended): This can give your cuttings a real boost. Look for a powdered or gel form.
- Watering Can with a Fine Rose: For gentle watering.
- Plastic Bags or a Propagation Dome: To create a humid environment for your cuttings.
- Labels: Don’t underestimate the power of labeling – trust me on this!
Propagation Methods That Work Like a Charm
Rubus campaniensis is quite generous and can be propagated through a couple of reliable methods.
Stem Cuttings: My Personal Favorite
This is my go-to for expanding my collection.
- Select Your Cuttings: Choose healthy, non-flowering shoots from the current year’s growth. Aim for pieces that are about 4-6 inches long.
- Make the Cut: Using your sharp shears, make a clean cut just below a leaf node (that little bump on the stem where a leaf grows). This node is where roots love to form. Remove the lower leaves, leaving just one or two at the top.
- Dip and Pot: If you’re using rooting hormone, dip the cut end into the powder or gel. Then, gently insert the cutting into your prepared potting mix. Make sure not to knock off the rooting hormone. Gently firm the soil around the stem.
- Create Humidity: Water the soil thoroughly but gently. Then, cover the pot with a plastic bag or place it under a propagation dome. Ensure the leaves don’t touch the plastic, as this can encourage rot.
Layering: A Gentle Approach
This method is a bit more hands-off and is great when you have low-growing branches.
- Find a Suitable Stem: Locate a long, flexible stem that’s growing close to the ground.
- Wound and Bend: Gently wound about an inch of the stem on the underside (just a small scrape will do). Then, bend this section of the stem down to the soil.
- Bury and Secure: Bury the wounded section of the stem in the ground or a pot filled with potting mix. You can use a U-shaped staple or a small rock to keep it in place. Make sure the tip of the stem is still exposed above the soil.
- Wait and Watch: Keep the soil consistently moist. Over the next few weeks to months, you should see roots forming from the buried section. Once it has developed a good root system, you can carefully sever the new plant from the parent stem.
The “Secret Sauce” (Insider Tips)
Here are a couple of things I’ve learned over the years that really make a difference:
- Bottom Heat is Your Friend: If you’re struggling with cuttings taking time to root, using a heated propagation mat under your pots can significantly speed things up. It encourages root development from below.
- Don’t Overwater! This is the most common pitfall. Your cuttings need moisture, but they hate sitting in soggy soil. If you see condensation building up heavily inside your plastic bag, open it up for a few hours to let things air out.
Aftercare & Troubleshooting: Nurturing Your New Bramble
Once you spot those first signs of new growth or a healthy root system emerging from the drainage holes, your cutting is on its way!
- Gradual Acclimation: Slowly remove the plastic bag or propagation dome over a few days to allow the new plant to adjust to the ambient humidity.
- Consistent Moisture: Keep the soil consistently moist, but not waterlogged. Feel the soil an inch down; if it’s dry, it’s time to water.
- Light: Place your new plants in a bright location, but out of direct, scorching sunlight until they are well established.
Now, what if things go sideways? The most common issue you’ll encounter is rot. This is usually a sign of too much moisture and poor air circulation. If you see a cutting turning mushy or black, unfortunately, it’s likely best to discard it and try again, paying close attention to watering and ventilation.
A Little Patience Goes a Long Way
Propagating plants is a journey, and sometimes it’s a slow one. Don’t get discouraged if your first few attempts aren’t perfect. Each plant you nurture from a tiny cutting is a little victory. Take your time, enjoy the process, and soon you’ll have even more of these beautiful brambles to admire and enjoy. Happy gardening!
Resource:
https://identify.plantnet.org/k-world-flora/species/Rubus%20campaniensis%20Winkel%20ex%20A.Beek/data