From Tiny Twig to Blooming Beauty: Propagating the Delightful Kalmia hirsuta
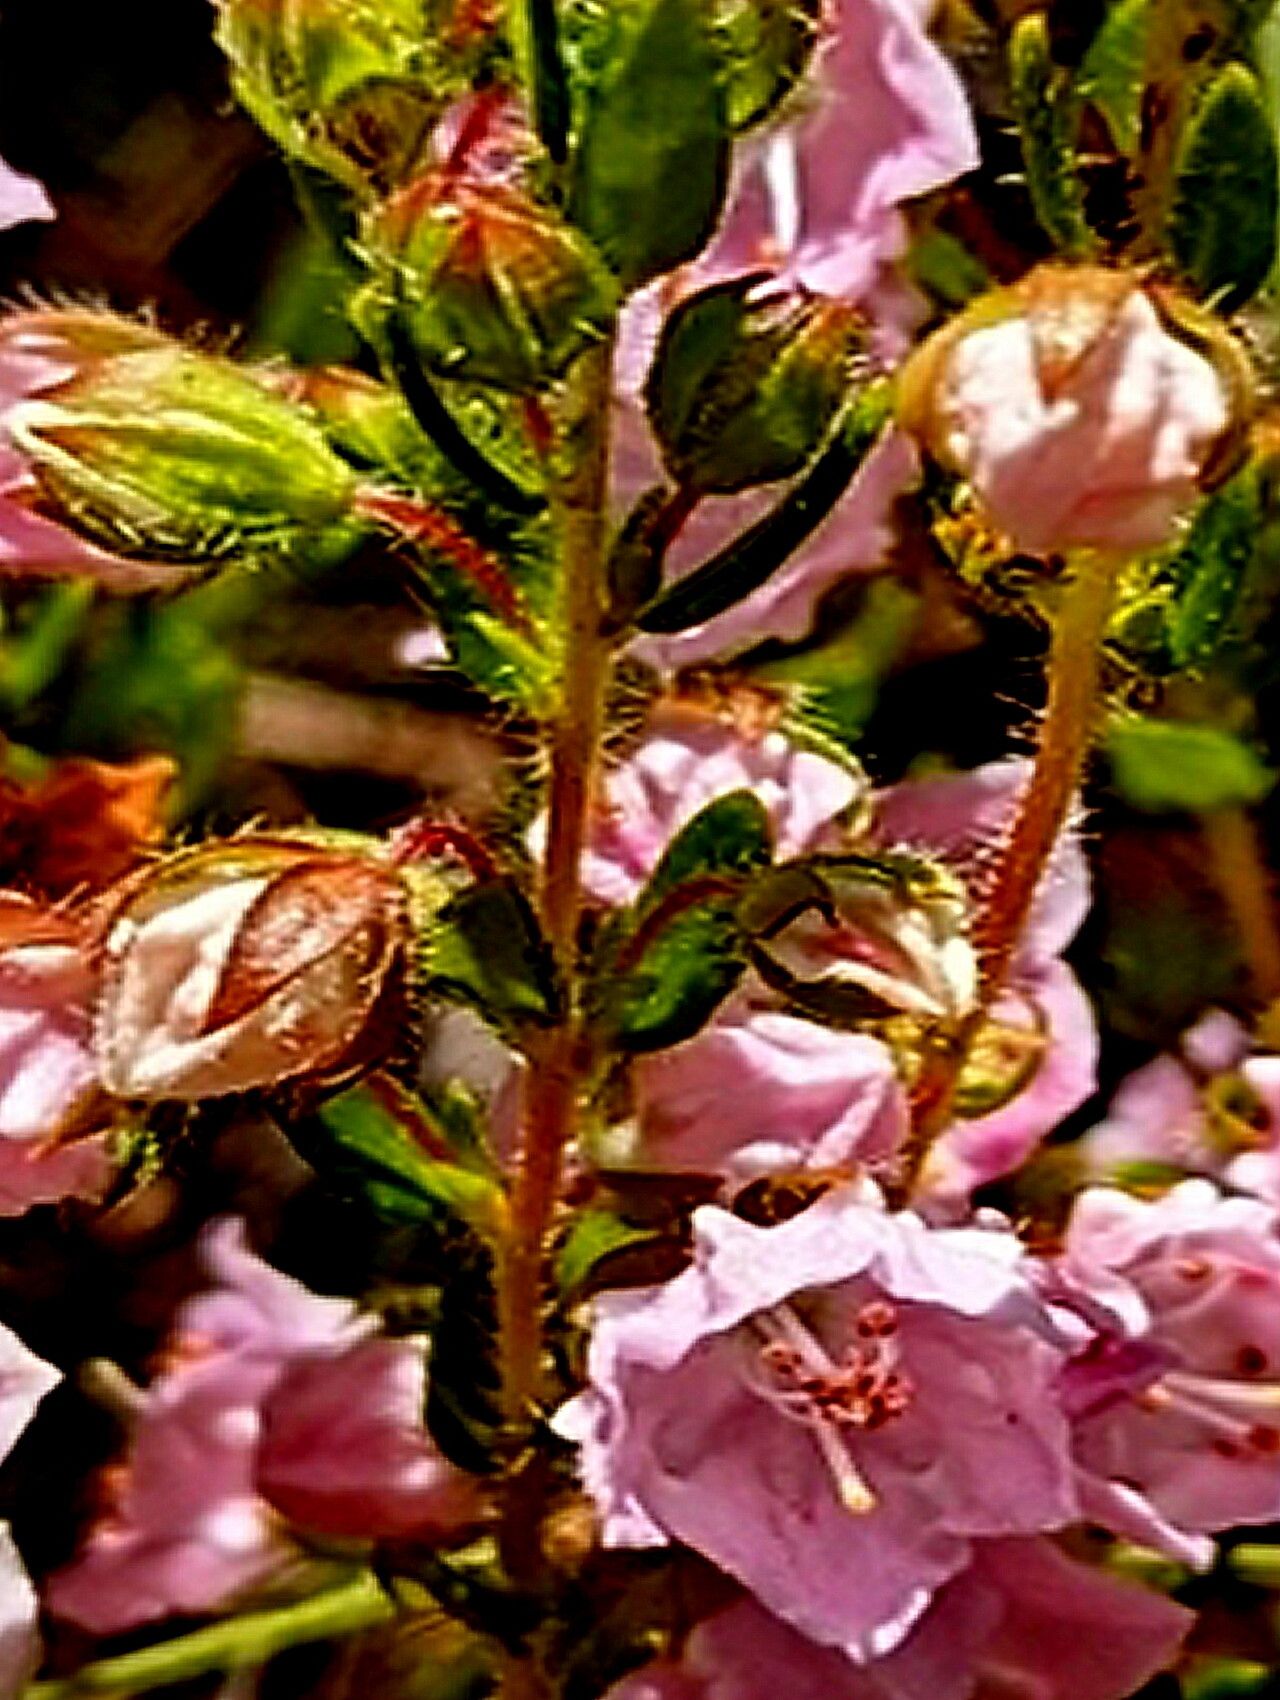
Oh, Kalmia hirsuta! This little evergreen is such a charmer, isn’t it? With its delicate, fringed pink flowers, it feels like a miniature explosion of springtime joy, even when it’s not quite spring. Growing as a low-spreading shrub, it’s perfect for rock gardens, borders, or even a tucked-away corner where its subtle beauty can truly shine.
If you’ve fallen in love with your own Kalmia hirsuta (you know, the one with the especially lovely bloom or the perfect compact habit), you might be thinking about sharing its magic – or just expanding your own collection! Propagating it is a wonderfully rewarding way to get more of these beauties for free. Now, I’ll be upfront: Kalmia hirsuta can be a tad on the trickier side. It’s not quite a “stick it in the ground and forget it” kind of plant, but with a little know-how and some patience, you can absolutely succeed. Think of it as a fun challenge for the budding horticulturist!
The Best Time to Start
For Kalmia hirsuta, the sweet spot for propagation is generally late spring to early summer. This is when the plant is actively growing and has plenty of semi-hardwood growth available. You’re looking for stems that are firm but still have a bit of flexibility. Avoid brand new, super-soft, floppy growth, and also steer clear of old, woody stems. That in-between stage is where the magic happens!
Supplies You’ll Need
Here’s what I like to have on hand when I’m ready to get my hands dirty:
- Sharp Pruning Shears or a Sterile Knife: Cleanliness is key here – no crushed stems! I prefer my bypass pruners.
- Rooting Hormone: This is really helpful for Kalmia hirsuta. Look for a powder or gel that contains an auxin like IBA (indole-3-butyric acid).
- Small Pots or Trays: Clean ones, of course! About 3-4 inch pots are usually a good size.
- A Well-Draining Potting Mix: This is crucial. I usually mix 50% peat moss or coco coir with 50% perlite or coarse sand. This ensures great aeration and prevents soggy bottoms, which these plants really dislike.
- A Clear Plastic Bag or Humidity Dome: To create that humid microclimate new cuttings need.
- A Spray Bottle: For misting.
- Labels: Don’t skip this! Trust me, you’ll forget what you planted where.
Propagation Methods: Stem Cuttings
This is by far the most common and successful method for Kalmia hirsuta.
- Take Your Cuttings: Choose healthy, semi-hardwood stems from your parent plant. Aim for cuttings that are about 4-6 inches long. Make a clean cut just below a leaf node (where a leaf attaches to the stem).
- Prepare the Cuttings: Gently remove the lower leaves from the cutting, leaving just 2-3 leaves at the very top. This reduces water loss. If the remaining leaves are very large, I sometimes snip them in half horizontally to further decrease transpiration.
- Apply Rooting Hormone: Dip the cut end of each stem into your rooting hormone, tapping off any excess.
- Pot Them Up: Fill your clean pots with your prepared rooting medium. Make a small hole in the center of the mix with your finger or a pencil.
- Insert the Cuttings: Carefully place the prepared cuttings into the holes, ensuring the lowest leaf node is buried in the soil. Gently firm the soil around the stem to make good contact.
- Water Gently: Water the pots thoroughly but gently, so the soil is moist but not waterlogged.
- Create Humidity: Cover each pot with a clear plastic bag, securing it around the rim with a rubber band, or place them under a humidity dome. If you’re using a bag, prop it up so it doesn’t touch the leaves of the cuttings.
- Provide Light and Warmth: Place your pots in a bright location out of direct, harsh sunlight. A spot with indirect light is perfect. If you have a heat mat, placing the pots on it will significantly speed up root development.
The “Secret Sauce” (Pro Tips)
Here are a few little tricks that have made all the difference for me over the years:
- Don’t Overdo the Hormone: Too much rooting hormone can actually inhibit root formation. A light coating is all you need.
- Bottom Heat is Your Friend: Seriously, if you can manage it, bottom heat makes a huge difference. It encourages root cells to form and grow, while keeping the foliage cooler helps prevent them from drying out too quickly. I find a consistent temperature between 70-75°F (21-24°C) is ideal.
- Watch for “Wilt”: Even with the humidity cover, you might see a slight wilting initially. This is normal. However, if your cuttings are looking very limp and sad, it could be a sign they’re drying out. Give them a light misting and ensure your humidity cover is functioning well.
Aftercare & Troubleshooting
Once your cuttings have roots (this can take anywhere from 6 weeks to a few months – be patient!), you’ll start to see new growth emerging from the tops. You can gently tug on a cutting; if you feel resistance, roots are forming!
- Acclimatize: Once roots are established, gradually introduce your new plants to the outside environment. Start by opening the humidity cover for a few hours a day, then remove it completely over a week or two.
- Transplant Carefully: When the new plants are robust enough to handle, gently transplant them into slightly larger pots with a good ericaceous (acid-loving) potting mix. Handle the delicate roots with care.
- Keep Them Moist: Continue to keep the soil consistently moist but never soggy.
The most common problem you’ll encounter is rot. This is almost always due to overwatering or poor drainage. If you see stems turning black and mushy at the soil line, it’s usually a sign of rot, and unfortunately, those cuttings are likely lost. Don’t be discouraged if a few fail – it happens to all of us! Just examine your conditions, adjust, and try again.
A Little Bit of Patience Goes a Long Way
Propagating Kalmia hirsuta is a journey, not a race. You’re coaxing new life from a tiny piece of a beloved plant. Enjoy the process, celebrate each small success, and don’t be too hard on yourself if not every cutting makes it. With a little attention to detail and a healthy dose of patience, you’ll soon have a whole collection of these delightful little shrubs to admire – and perhaps even share! Happy propagating!
Resource:
https://identify.plantnet.org/k-world-flora/species/Kalmia%20hirsuta%20Walter/data