Oh, hello there! So, you’ve fallen for the charm of Pseudotsuga sinensis, haven’t you? I don’t blame you! That gorgeous evergreen with its delicate needles and graceful habit is a real treat in any garden. And the idea of coaxing more of these beauties into life yourself? Simply delightful! It’s a wonderfully rewarding experience, though I’ll be honest, for beginners, Pseudotsuga sinensis propagation can be a bit of a gentle learning curve. But don’t you fret, I’m here to hold your hand through it.
The Best Time to Start
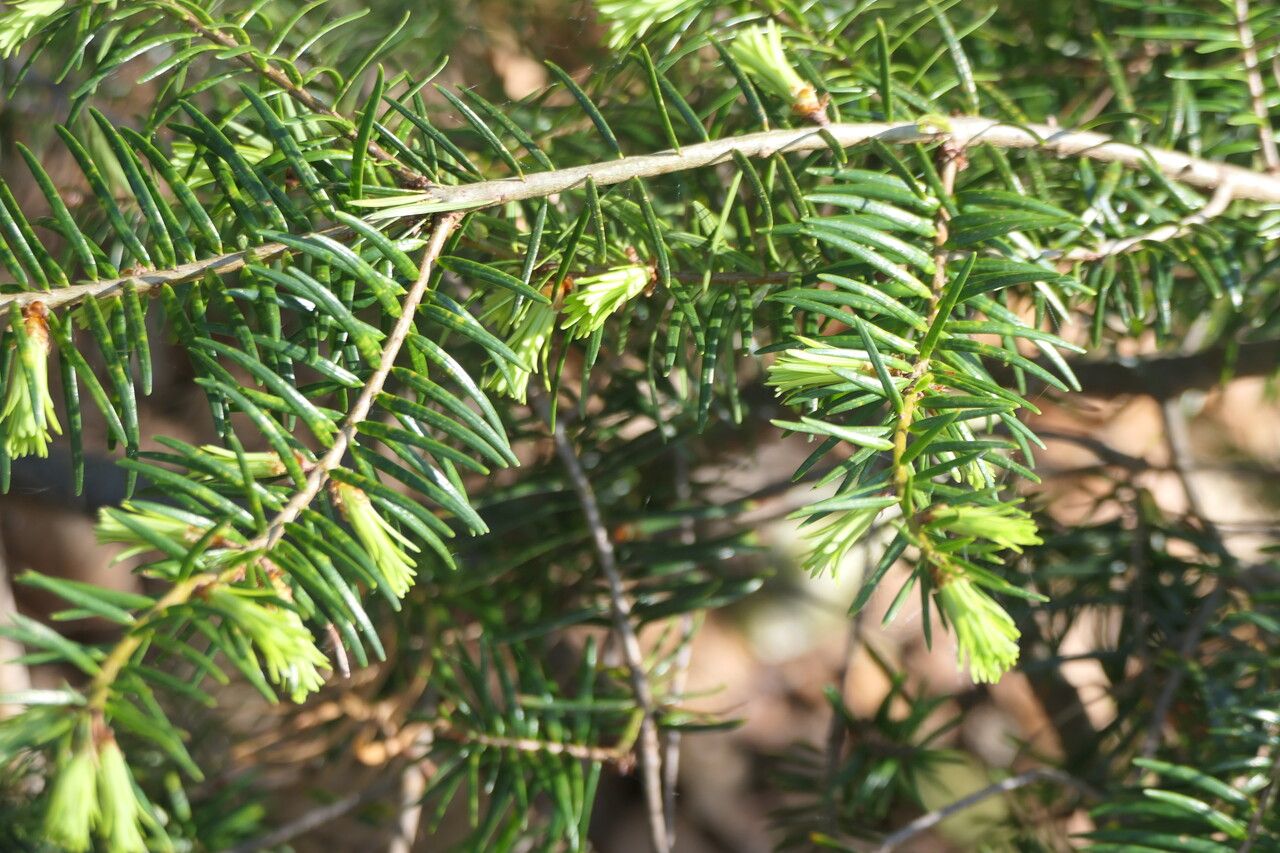
Timing is everything in gardening, isn’t it? For Pseudotsuga sinensis, the sweet spot for taking cuttings is generally late spring to early summer, just as the new growth has started to harden off a little. You’re looking for those semi-ripe shoots – not the super soft, floppy new tips, but not the quite woody old growth either. This stage gives them the best chance of waking up and developing roots.
Supplies You’ll Need
Before we dive in, let’s gather our tools. Having everything ready makes the process so much smoother:
- Sharp, clean pruning shears or a sharp knife: Essential for clean cuts.
- Rooting hormone: This is your best friend for encouraging root development from cuttings. Look for one that contains auxins.
- Propagation tray or small pots: Clean pots are vital to prevent disease.
- Well-draining potting mix: A good mix is key. I like a blend of peat moss or coco coir, perlite, and a little bit of sand. Some of the seed starting mixes work well too.
- Plastic bags or a propagation dome: To create a humid environment.
- Watering can with a fine rose: Gentle watering is a must.
- Labeling stakes: To remember what you’ve planted and when.
Propagation Methods
Now, for the exciting part! Let’s get our hands dirty.
Stem Cuttings
This is the most common and usually the most successful method for Pseudotsuga sinensis.
- Take your cuttings: Using your clean shears, take cuttings about 4-6 inches long from the current season’s growth. Make sure each cutting has at least a few sets of needles.
- Prepare the cuttings: Gently remove the lower needles from the bottom 1-2 inches of the stem. This exposes the node where roots will form.
- Apply rooting hormone: Dip the cut end of each cutting into your rooting hormone, tapping off any excess.
- Pot them up: Make a hole in your propagation mix with a pencil or your finger, then insert the cutting. Gently firm the soil around it.
- Water gently: Water thoroughly to settle the soil around the cuttings.
- Create humidity: Cover the pots or tray with a plastic bag, propped up so it doesn’t touch the needles, or use a propagation dome.
Water Propagation (Less Common for Conifers, but Worth a Try)
While not as typical for conifers like my darling Pseudotsuga, sometimes a bit of patience with water can yield results.
- Take cuttings as described above.
- Remove lower needles.
- Place cuttings in a jar of clean water. Make sure no leaves are submerged – this is crucial to prevent rot.
- Change the water every few days to keep it fresh.
- Place in bright, indirect light. You might see roots develop over several weeks. Once they are an inch or so long, you can transplant them into potting mix.
The “Secret Sauce” (Pro Tips)
Here are a couple of tricks I’ve picked up over the years that can make a real difference:
- Bottom Heat is Your Friend: If you have the setup, placing your propagation tray on a heated propagator mat can significantly speed up root development. It mimics that comforting warmth spring soil provides.
- Don’t Be Afraid of a Little “Wound”: Sometimes, when preparing the cutting, if the bark is a little tough, you can lightly scrape a sliver of bark off the bottom inch of the stem. This can expose more of the cambium layer, giving the rooting hormone and new roots a better starting point. Just a thin scrape, mind you, nothing drastic!
Aftercare & Troubleshooting
Once your cuttings have rooted (you’ll often see new growth or feel a gentle tug when you carefully test the stem), it’s time for their next step.
- Gradually Acclimatize: Slowly introduce your new plants to normal air humidity by opening the plastic bag or dome a little more each day over a week.
- Potting Up: Gently pot your rooted cuttings into individual small pots with fresh, well-draining potting mix.
- Watering: Water them in well and keep the soil consistently moist but not soggy.
- Light: Keep them in bright, indirect light for a few more weeks before moving them to a location with more direct sun, depending on your Pseudotsuga’s specific needs.
Now, what if things go wrong? The most common issue is rot. If your cuttings turn mushy or black, it’s usually a sign of too much moisture and not enough air circulation. Ensure your mix is draining well and that you’re not overwatering. Sometimes, they just don’t take, and that’s okay too! It happens to all of us.
A Little Encouragement to Finish
Propagating plants is an act of faith and patience. It’s about offering a little bit of care and watching life unfold. Don’t get discouraged if your first attempt isn’t a roaring success. Each one is a lesson, and with a little practice, you’ll be filling your garden with these gorgeous Pseudotsuga sinensis in no time. Most importantly, enjoy the process! Happy propagating!
Resource:
https://identify.plantnet.org/k-world-flora/species/Pseudotsuga%20sinensis%20Dode/data