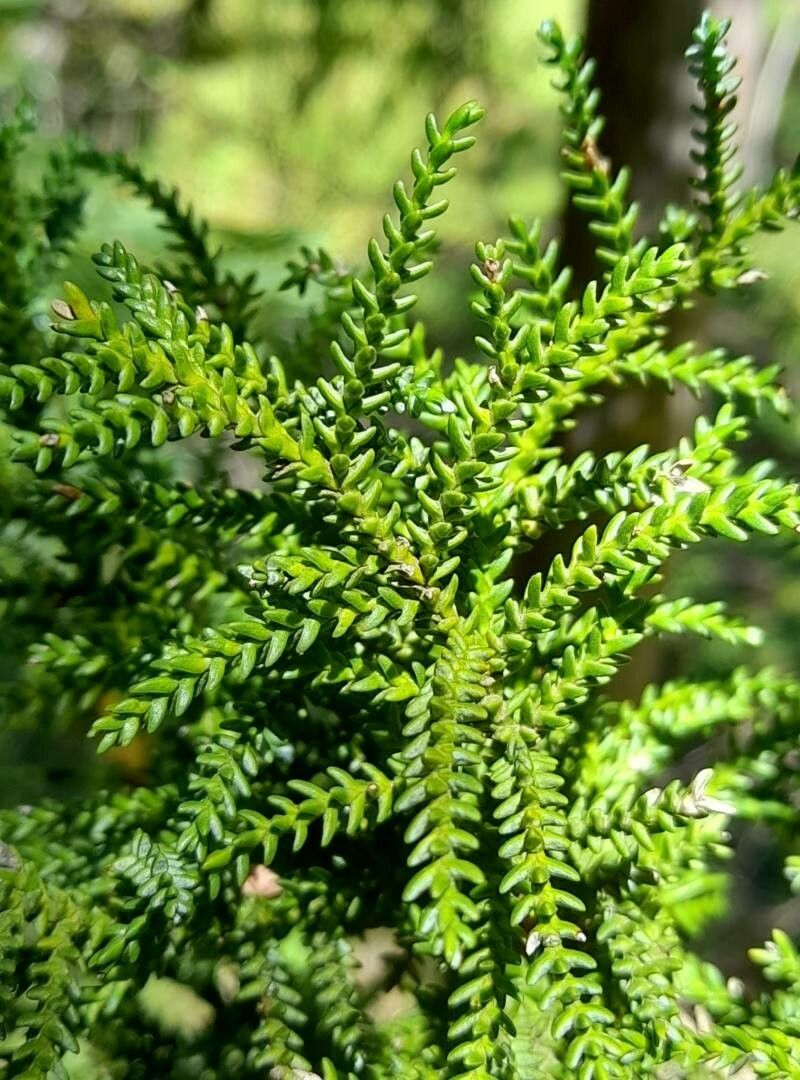
Oh, hello there, fellow garden enthusiast! Come on in, grab a cup of tea. I’m so excited to chat with you today about a truly special tree: Pilgerodendron uviferum, also known as the Patagonian Cypress.
Why You’ll Love Propagating This Evergreen Gem
There’s something so deeply satisfying about creating new life from an existing plant, isn’t there? And Pilgerodendron uviferum is just one of those trees that whispers tales of the wild, with its rich, aromatic wood and statuesque presence. Propagating it allows you to share this beauty, or simply to grow more of its magnificent greenery for your own sanctuary. Now, I’ll be honest, it’s not the absolute easiest plant to start from scratch for a complete beginner. It requires a bit of patience and the right touch. But with a little guidance, you can absolutely achieve success!
The Best Time to Start
For Pilgerodendron uviferum, you’ll have the best luck taking stem cuttings in very late spring to early summer. This is when the plant is actively growing, but the new shoots have started to mature slightly. You’re looking for what we call “semi-hardwood” – not brand new, floppy growth, but not tough, old wood either. Think of it as the perfect point between being a tender sprout and a sturdy branch.
Supplies You’ll Need
Gathering your tools beforehand always makes the process smoother. Here’s what I’ve found indispensable for propagating cypress:
- Sharp, clean pruning shears or a sharp knife: Essential for making clean cuts.
- Rooting hormone powder: Don’t skip this! It really gives your cuttings a much-needed kickstart. Look for one formulated for woody plants.
- Well-draining potting mix: A 50/50 blend of perlite and peat moss or coco coir is ideal. Or you can buy a specialized succulent/cactus mix. The key is to prevent waterlogging.
- Small pots or trays with drainage holes: Clean ones are a must to avoid disease.
- Plastic bags or a propagator lid: To create a humid environment.
- A spray bottle: For misting.
- Labels and a permanent marker: To keep track of your cuttings!
Propagation Methods: Let’s Get Our Hands Dirty!
We’re going to focus on the most reliable method for Pilgerodendron uviferum: stem cuttings. Division isn’t really an option for a tree like this, and water propagation can be tricky with woody plants.
-
Take Your Cuttings: On a cool morning, select healthy branches from your mature plant. With your clean shears, take cuttings that are about 4-6 inches long. Make the cut just below a leaf node (where a leaf attaches to the stem). This is where hormones are concentrated, encouraging root growth. Remove any lower leaves, keeping just the top few. If the leaves are large, you can even cut them in half horizontally to reduce water loss.
-
Dip in Rooting Hormone: Moisten the cut end of the stem slightly and then dip it into your rooting hormone powder, tapping off any excess. You want a good coating.
-
Plant Your Cuttings: Fill your small pots with your well-draining potting mix. Make a hole in the center with a pencil or your finger. Gently insert the prepared cutting into the hole, ensuring the rooting hormone stays on the cut end. Firm the soil gently around the base of the cutting to ensure good contact.
-
Create a Humid Environment: Water the soil lightly so it’s evenly moist but not soggy. Then, cover the pots with a clear plastic bag (propped up with stakes so it doesn’t touch the leaves) or place them in a propagator with a lid. This helps maintain high humidity, which is crucial for cuttings that can’t yet absorb water through roots.
-
Provide Light and Warmth: Place your cuttings in a bright location out of direct sunlight. A shady spot on a patio or a bright windowsill works well. If you have a heat mat, placing the pots on it can significantly boost rooting success by providing gentle bottom heat.
The “Secret Sauce” (Pro Tips)
Here are a few tricks I’ve picked up over the years that can really make a difference:
- Sterility is Key! Always clean your tools, pots, and even your hands thoroughly before you start. Cypress can be susceptible to fungal diseases, and clean practices prevent a lot of heartache down the line.
- Don’t Drown Your Dreams: While humidity is vital, overwatering the soil is the fastest way to kill your cuttings. The goal is consistently moist, not waterlogged. Let the top layer of soil dry out slightly between waterings.
- Patience, Grasshopper! Woody plants like Pilgerodendron uviferum can take their sweet time to root. Don’t be tempted to pull them out to check every week. It can take several months, sometimes up to 6 months or even longer, to see robust new growth that indicates rooting.
Aftercare & Troubleshooting
Once you start seeing new shoots and leaves appearing from your cuttings, it’s a wonderful sign! This usually means roots are forming.
- Gradual Acclimatization: Slowly begin to remove the plastic bag or propagator lid for increasingly longer periods each day. This helps your new plant adjust to normal humidity levels.
- Continue Watering: Keep the soil consistently moist, but again, avoid soggy conditions.
- Repotting: Once the cuttings are well-rooted and showing good top growth, you can gently pot them up into slightly larger containers with a good quality potting mix.
If you notice your cuttings wilting, turning yellow, or developing dark, mushy spots, it’s likely a sign of rot. This is usually due to overwatering or poor drainage. If you catch it early, you might be able to save it by gently removing it from the pot, trimming away any rotted parts, and repotting it in fresh, dry soil. Unfortunately, sometimes rot is a sign that the cutting is lost. Don’t be discouraged; it happens to all of us!
Keep Growing!
Propagating Pilgerodendron uviferum is a journey. It’s a chance to connect with nature on a deeper level and grow something truly magnificent. Be patient with yourself and the process. Each cutting you take is an experiment, and each success is a triumph. Happy gardening, my friend!
Resource: