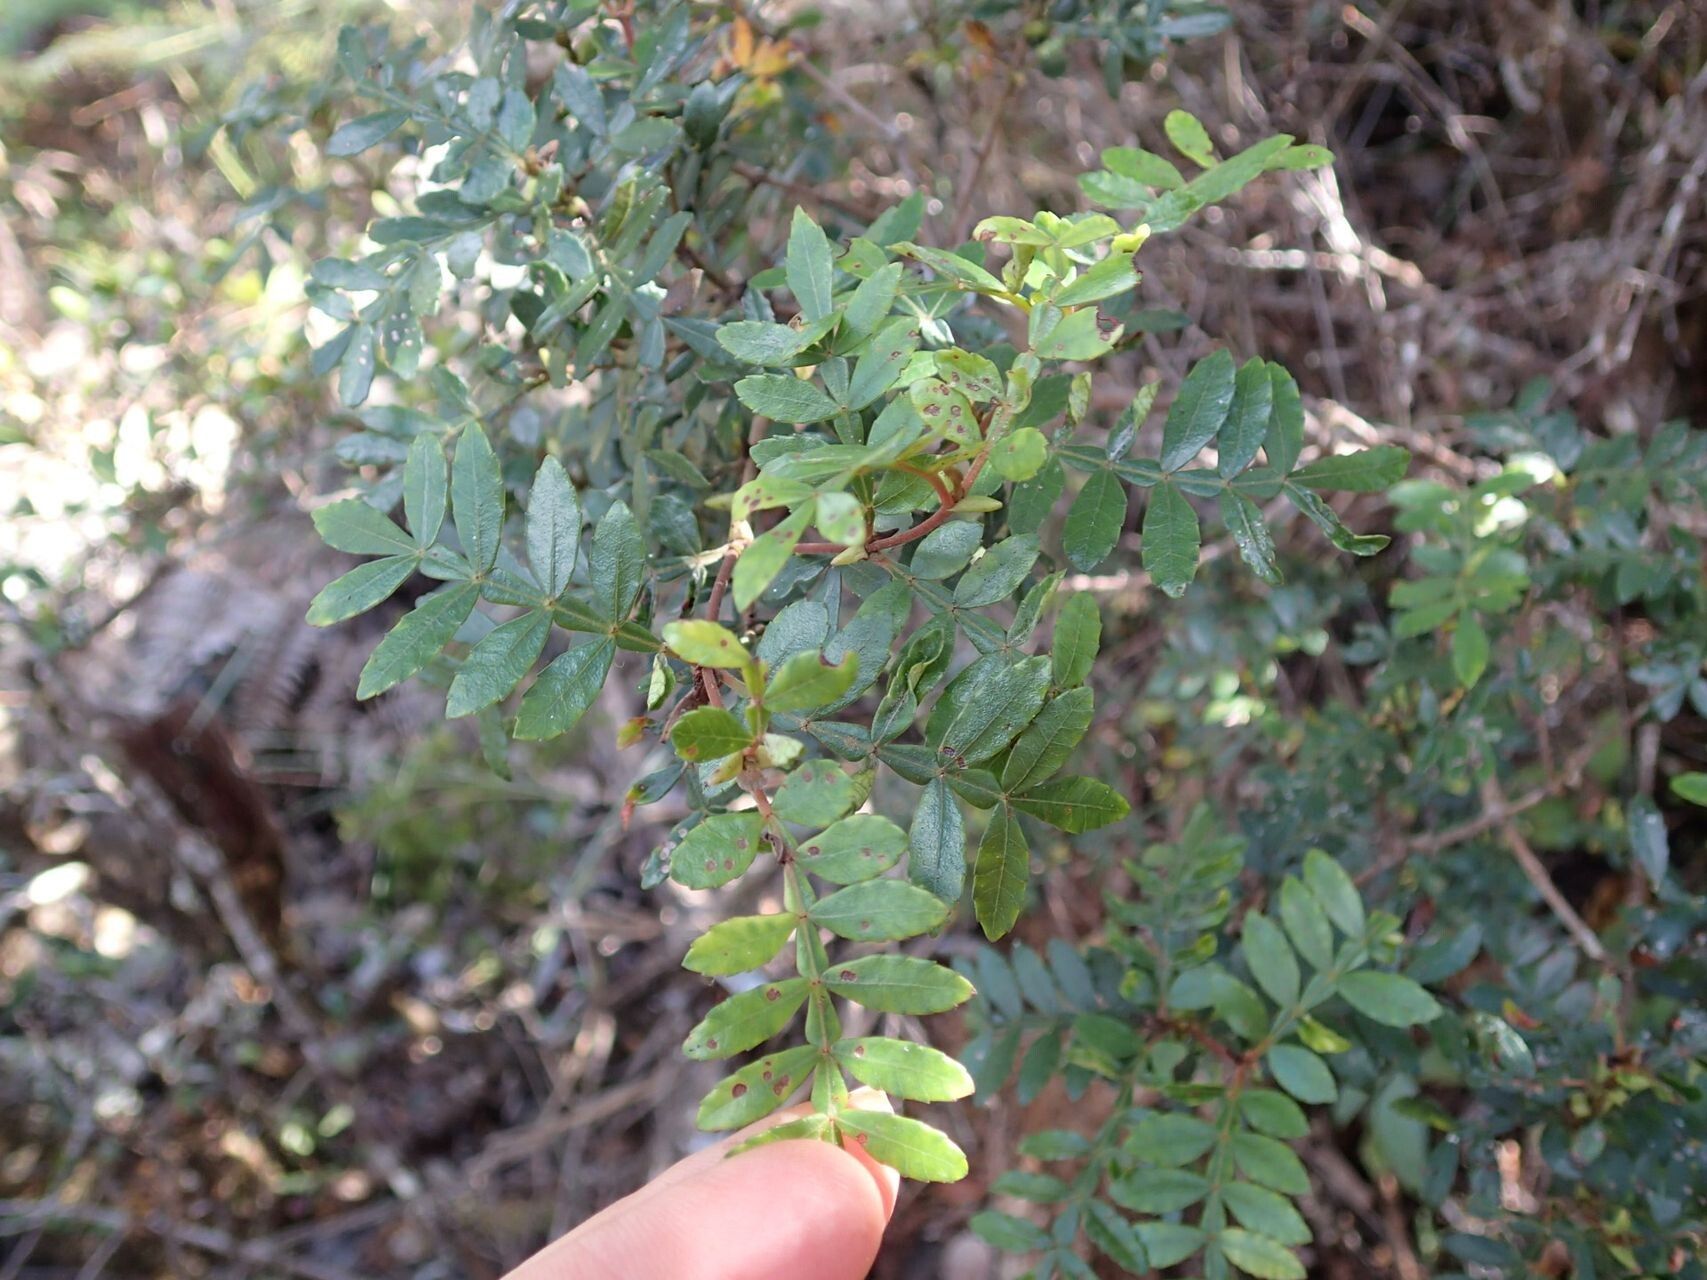
Hey there, fellow plant lovers! I’m so excited to talk to you today about a gem in the gardening world: Cunonia varijuga. You might know it by its common name, the Tasmanian Waratah or sometimes the Red-flowering Waratah. It’s a truly magnificent plant, with those stunning, bright red, brush-like flowers that just scream “look at me!” It’s a real showstopper and brings a touch of the wild beauty of Tasmania right into your garden.
I’ve always found propagating plants to be one of the most rewarding parts of gardening. There’s a special kind of magic in taking a little piece of a parent plant and coaxing it to grow into something entirely new. It’s like a little horticultural miracle. Now, Cunonia varijuga isn’t necessarily the absolute easiest plant for a complete beginner to propagate, but with a bit of care and following these steps, you absolutely can succeed. Don’t let that deter you; think of it as a rewarding challenge!
The Best Time to Start
When it comes to getting the best bang for your propagation buck, spring is generally your go-to season for Cunonia varijuga. This is when the plant is really waking up after its winter rest and bursting with new growth. You’re looking for stems that are firm but still slightly flexible – what we call semi-hardwood cuttings. Avoid anything too soft and green, as it’s more likely to rot, or anything too woody and hard, which will struggle to root.
Supplies You’ll Need
Having the right tools makes all the difference. Here’s what I usually gather:
- Sharp Pruning Shears or a Clean Knife: For making clean cuts, which is crucial for preventing disease.
- Rooting Hormone: A powder or gel (I personally prefer the powder for ease of use). This isn’t strictly mandatory, but it can significantly boost your success rates.
- Well-Draining Potting Mix: A good blend for cuttings usually includes equal parts peat moss or coco coir, perlite, and coarse sand.
- Small Pots or Trays: With drainage holes, of course!
- A Clear Plastic Bag or Propagator Lid: To create a humid environment.
- Soft Water or Distilled Water: Tap water can sometimes contain chemicals that aren’t ideal.
- Labels: So you remember what you planted where!
Propagation Methods
While you could try water propagation, I find stem cuttings to be the most reliable method for Cunonia varijuga. It gives you the most control over the environment.
Stem Cuttings:
- Take Your Cuttings: In spring, select healthy, non-flowering shoots. Aim for cuttings that are about 4-6 inches long. Using your clean shears, make a cut just below a leaf node (where a leaf attaches to the stem). This is where rooting hormones work best.
- Prepare the Cuttings: Gently remove the lower leaves from the bottom half of the cutting. This prevents them from rotting when buried in the soil and also reduces water loss. You can leave 2-3 leaves at the top. If the leaves are very large, you can even cut them in half to further reduce transpiration.
- Apply Rooting Hormone: Dip the cut end of the stem into your rooting hormone powder, tapping off any excess.
- Pot Them Up: Fill your small pots or trays with your well-draining mix. Make a hole in the soil with a pencil or your finger, and carefully insert the cutting, firming the soil gently around it.
- Water Gently: Water the soil thoroughly but gently. You don’t want to disturb the cuttings.
- Create Humidity: Cover the pot or tray with a clear plastic bag or propagtor lid. Make sure the bag doesn’t touch the leaves if possible. This creates a mini-greenhouse, keeping the humidity high, which is vital for cuttings to root. Pop a few small sticks or skewers in the pot if needed to support the bag.
- Place in Bright, Indirect Light: Find a spot that gets plenty of bright light but no direct sun, which can scorch the delicate cuttings.
The “Secret Sauce” (Pro Tips)
Here are a couple of things I’ve learned over the years that can really tip the scales in your favor:
- Bottom Heat is Your Friend: If you have a heat mat, placing your propagator on it can dramatically speed up rooting. Warmer soil temperatures encourage root development. Just ensure the heat isn’t so intense that it dries out the soil too quickly.
- Don’t Over-Water, But Keep it Consistently Moist: It’s a delicate balance! The soil should feel moist like a wrung-out sponge, not soggy. Check the moisture by gently pressing down on the soil surface. If it springs back easily, it’s likely okay. If it feels dry, give it a gentle water. It’s often better to underwater slightly than to overwater and risk rot.
Aftercare & Troubleshooting
Once your cuttings have been in the propagator for a few weeks, you can start to gently tug on them. If you feel resistance, that’s a good sign that roots are forming! You’ll usually see roots emerging from the drainage holes if your pot is clear.
Once roots are established, you can gradually acclimate your new plants to lower humidity by opening the bag or lid a little more each day over a week or two. Then, it’s time to pot them up into slightly larger pots with good quality potting mix. Continue to keep them in bright, indirect light and water them when the top inch of soil feels dry.
The most common problem you’ll encounter is rot. If a cutting turns black and mushy, it’s a sign of too much moisture and not enough air circulation. In this case, it’s best to discard it and learn from the experience. Sometimes, a cutting might just fail to root; this is also normal and part of the process. Don’t get disheartened!
A Encouraging Closing
Propagating Cunonia varijuga might take a little patience, and not every cutting will be a success story. But that’s what makes the ones that thrive so special. Treat it as an experiment, enjoy the process of watching your new plants develop, and celebrate every little root you find. Happy gardening, my friends!
Resource:
https://identify.plantnet.org/k-world-flora/species/Cunonia%20varijuga%20Hoogland/data