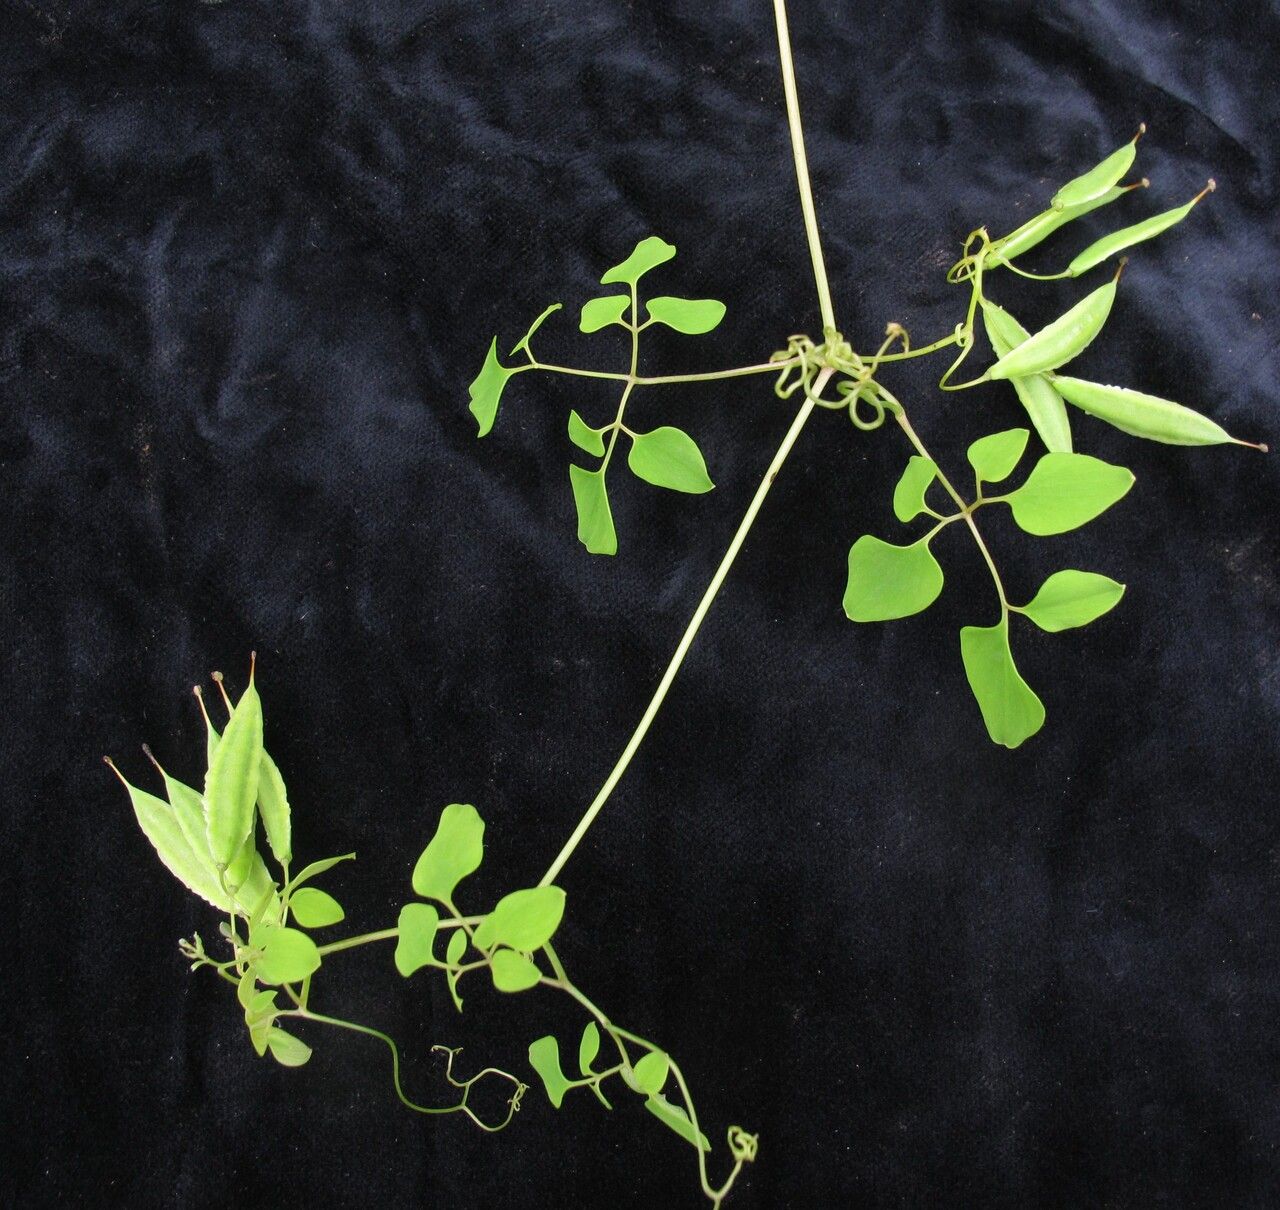
Hello, fellow plant enthusiasts! Today, I’m absolutely thrilled to chat with you about a truly special plant: Dactylicapnos odontocarpa. If you haven’t encountered this beauty before, imagine a delicate, climbing vine with ethereal, pale green or yellowish flowers that hang like tiny lanterns. It’s a plant that whispers charm rather than shouting for attention, and it absolutely lights up shady corners of the garden. Propagating it is a wonderfully rewarding journey, and while it might seem a tad daunting at first, I promise you, with a little guidance, you’ll be well on your way. For beginners, I’d say it’s a moderate challenge – it requires a bit of attention to detail, but it’s far from impossible!
The Best Time to Start
When it comes to coaxing new life from your Dactylicapnos, spring is your golden ticket. This is when the plant is surging with new growth. Actively growing stems are packed with hormones and vitality, making them the perfect candidates for propagation. Look for young, flexible stems that haven’t yet become woody. Taking cuttings from these actively growing parts offers the best chance of successful rooting.
Supplies You’ll Need
Before we get our hands dirty, let’s gather our tools:
- Sharp pruning shears or a clean razor blade: For making precise cuts that heal quickly.
- Rooting hormone (optional but recommended): A powder or gel that encourages root development.
- Well-draining potting mix: I like a mix of equal parts peat moss or coco coir and perlite or vermiculite. This ensures good aeration and prevents soggy roots. For a small batch, you can even use a general-purpose potting mix amended with extra perlite.
- Small pots or propagation trays: Clean ones, of course!
- Plastic bags or a propagator lid: To create a humid environment.
- Water: For keeping things moist.
- Labels and a permanent marker: To keep track of what you’ve done!
Propagation Methods
I find that stem cuttings are the most reliable way to propagate Dactylicapnos odontocarpa. It’s a straightforward method that yields great results.
Stem Cuttings:
- Take Cuttings: In early spring, select a healthy stem that’s about 4-6 inches long. Make a clean cut just below a leaf node (where a leaf attaches to the stem). This is crucial, as roots tend to form best at these points.
- Prepare the Cuttings: Gently remove the lower leaves, leaving just a couple at the very top. This reduces water loss through transpiration and prevents leaves from rotting when buried in the soil.
- Apply Rooting Hormone (Optional): Dip the cut end of the stem into your rooting hormone, tapping off any excess.
- Pot Them Up: Fill your small pots or propagation tray with your well-draining mix. Moisten the soil thoroughly but allow any excess water to drain away.
- Insert Cuttings: Make a small hole in the soil with your finger or a pencil. Insert the cut end of the stem into the hole, ensuring the leaf nodes are below the soil surface. Firm the soil gently around the stem.
- Create Humidity: Water the soil lightly and then cover the pots with a plastic bag or a propagator lid to trap humidity. Ensure the leaves don’t touch the sides of the bag, as this can lead to rot. You can use stakes to prop up the bag if needed.
- Find a Warm Spot: Place your pots in a bright location where they will receive indirect light. Avoid direct sunlight, which can scorch the young cuttings.
Water Propagation (Less Common, but possible):
While I prefer soil propagation for this plant, some gardeners have success with water.
- Prepare Cuttings: Follow steps 1 and 2 above.
- Place in Water: Place the cuttings in a jar or glass of clean water. Make sure the leaf nodes are submerged, but crucially, do not let the leaves themselves touch the water. They will rot quickly.
- Change Water Regularly: Refresh the water every few days to keep it clean and oxygenated.
- Be Patient: Roots can take longer to develop in water than in soil. Once you see good root development (about an inch or so), you can carefully transplant them into pots with well-draining soil.
The “Secret Sauce” (Pro Tips)
Here are a couple of tricks I’ve learned over the years that can really make a difference:
- Bottom Heat is Your Friend: Dactylicapnos roots much faster when its base is kept warm. If you have a heat mat designed for seedlings, place your pots on it. This constant, gentle warmth mimics spring soil temperatures and really encourages root formation. Even placing them on top of a refrigerator can provide a small amount of helpful warmth.
- Don’t Mist Too Much: While humidity is essential, over-misting can actually encourage fungal diseases on the leaves. Rely more on the plastic bag or propagator lid to maintain a consistently humid environment. If you do mist, do it sparingly and ensure good air circulation.
Aftercare & Troubleshooting
Once you start to see signs of rooting – usually new leaf growth appearing on your cutting – it’s time to adjust their care.
- Gradually Acclimate: Slowly acclimate your new plants to their normal environment. This means gradually removing the plastic bag or propagator lid over a week or two. Start by opening it for a few hours a day, then increase the time until it’s completely off.
- Watering: Keep the soil consistently moist but not waterlogged. Water when the top inch of soil feels dry to the touch.
- Light: Continue to provide bright, indirect light.
- Troubleshooting: The most common issue you’ll encounter is rot. If a cutting turns black and mushy, it’s a sign of too much moisture and poor air circulation. Discard affected cuttings immediately and ensure your potting mix is very well-draining. If a cutting simply fails to root and looks dried out, it might be that the conditions were too dry or the cutting wasn’t taken at the right time. Don’t be discouraged if a few don’t make it; it’s all part of the learning process.
A Encouraging Closing
Propagating Dactylicapnos odontocarpa is a journey of patience and observation. Remember to celebrate every little milestone, from that first hint of a root to the development of new leaves. Don’t be afraid to experiment a little, and most importantly, enjoy the incredible satisfaction of nurturing a new plant from a tiny cutting. Happy growing!
Resource:
https://identify.plantnet.org/k-world-flora/species/Dactylicapnos%20odontocarpa%20Lidén/data