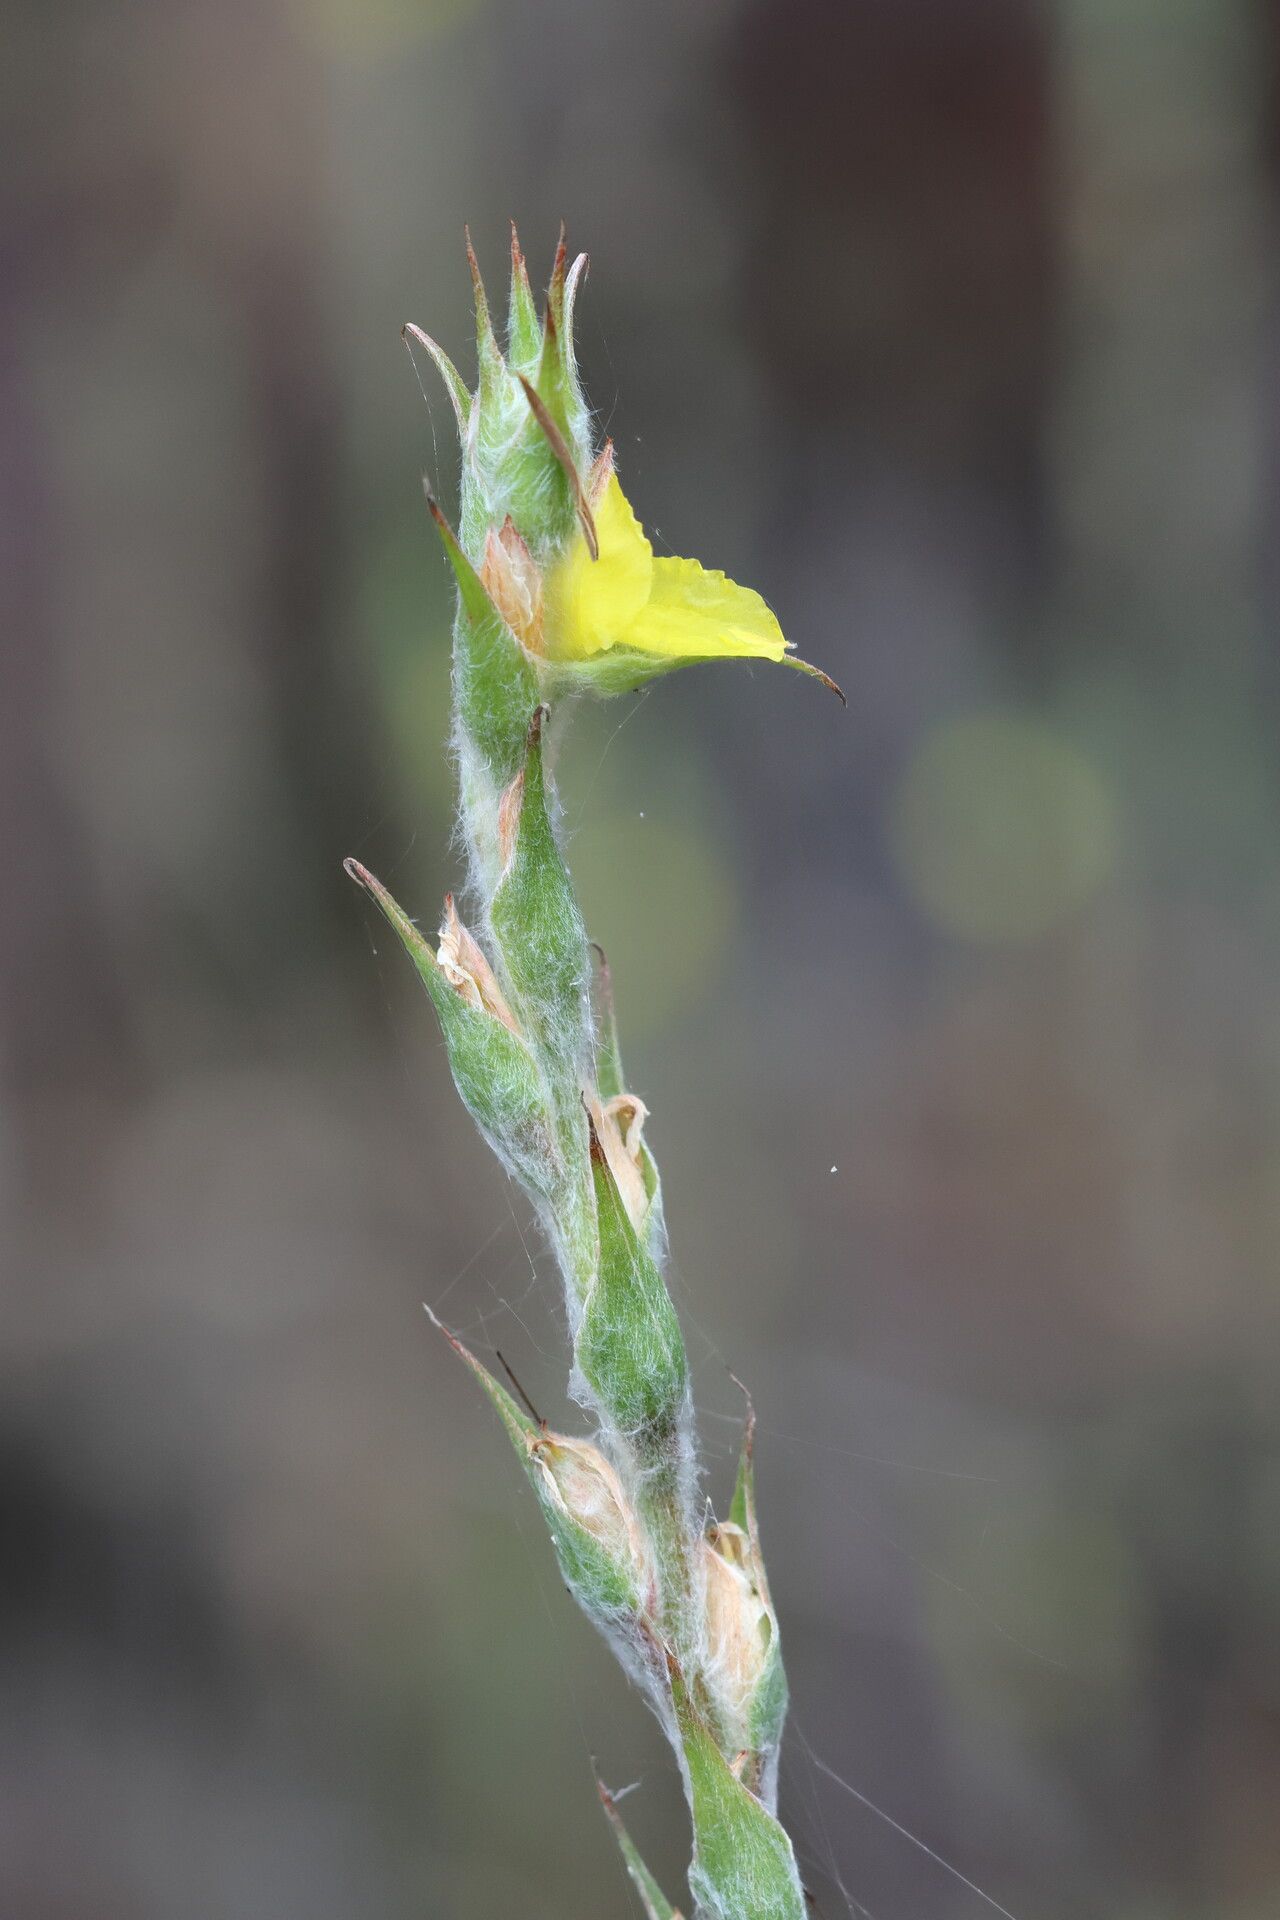
Oh, hello there! Come on in, pull up a chair. I’ve got the kettle on. Today, we’re diving into one of my favorite, slightly unusual beauties: Philydrum lanuginosum, or as I affectionately call it, the Woolly Philydrum. This plant is just a delight with its soft, fuzzy foliage and its unique, almost architectural presence in the garden. If you’ve ever admired its delicate charm and thought, “I wish I had more of those!”, then you’re in the right place.
Now, I won’t lie to you. Propagating Philydrum lanuginosum isn’t the absolute easiest thing for a complete beginner, but with a little care and patience, it’s definitely an achievable and incredibly rewarding endeavor. Seeing a tiny sliver of a plant transform into a full specimen is one of the greatest joys of gardening, wouldn’t you agree?
The Best Time to Start
For the highest success rate with Philydrum lanuginosum, I always find that starting in late spring to early summer works best. This is when the plant is in its most vigorous growth phase. The days are getting longer, the temperatures are warming up nicely, and your little cuttings will have plenty of energy to put into developing those precious roots.
Supplies You’ll Need
Here’s what you’ll want to have on hand before you get started:
- Sharp pruning shears or a clean, sharp knife: For taking clean cuts.
- Small pots or trays: Clean ones are key to preventing disease!
- A well-draining potting mix: I like to use a blend of perlite, coco coir, and a touch of compost. You can even buy pre-made succulent or cactus mixes and amend them.
- Rooting hormone (optional but recommended): This can give your cuttings a helpful boost. Look for one with a fungicide in it if you’re prone to rot issues.
- Plastic bags or a propagar with a lid: To create a mini-greenhouse effect.
- Watering can with a fine rose or a spray bottle: For gentle watering.
- Labels and a marker: Don’t forget to label your babies!
Propagation Methods
While Philydra can be a tad fussy, the most reliable way I’ve found to increase your stock is through stem cuttings.
- Select Your Cuttings: Look for healthy, non-flowering stems. You want sections that are about 4-6 inches long. Gently inspect the stem for any signs of pests or disease before you even think about cutting.
- Make the Cut: Using your sharp shears or knife, make a clean cut just below a leaf node. This is where the roots are most likely to form.
- Prepare the Cutting: Gently remove the lower leaves from the cutting. You want to expose at least one or two leaf nodes so they can be in contact with the soil.
- Apply Rooting Hormone (Optional): Dip the cut end of the stem into your rooting hormone powder, tapping off any excess.
- Plant Your Cuttings: Fill your small pots with your prepared potting mix. Make a hole in the center with your finger or a pencil. Stick the cut end of the stem into the hole, ensuring the lower leaf nodes are buried. Firm the soil gently around the stem.
- Water Gently: Water thoroughly but gently, allowing the excess water to drain away.
- Create a Humid Environment: This is crucial! Place your pots into plastic bags, tying them loosely at the top, or place them in a propagator. This will trap moisture and keep the humidity high, which is exactly what your cuttings need. Aim to keep the soil consistently moist but not waterlogged.
The “Secret Sauce” (Pro Tips)
Now, for a couple of little tricks I’ve picked up over the years:
- Avoid Waterlogging at All Costs: This is probably the number one killer of cuttings. Philydra really hates sitting in soggy soil. If you see water pooling in the bottom of the pot after watering, you know your mix isn’t draining well enough. Back off the watering until the top layer of soil starts to feel dry.
- Location, Location, Location: Place your cuttings in a bright, indirect light spot. Direct sunlight will scorch those tender new leaves and can overheat the mini-greenhouse, essentially cooking your cuttings. A north-facing window or a shady spot on a patio is usually perfect.
- Bottom Heat is Your Friend: If you can, using a heat mat under your pots can really speed up the rooting process. It provides consistent warmth to the base of the cutting, encouraging root development. Just make sure it’s not too hot – you don’t want to cook the roots.
Aftercare & Troubleshooting
Once your cuttings have been in their humid little homes for a few weeks, you should start to see some new growth. This is a great sign! You can gently tug on a cutting – if there’s resistance, it means roots have developed.
Once good root development is visible, you can gradually introduce your new plants to lower humidity. Start by opening the plastic bag a little more each day, or venting the propagator. Eventually, you can remove the covering altogether. Water when the top inch of soil feels dry.
The most common issue you’ll encounter is rot. If you see stems turning black and mushy, or leaves wilting and discolored despite the soil being moist, it’s a sign of too much moisture and not enough airflow. Unfortunately, if rot sets in deeply, it’s hard to save the cutting. It’s better to err on the side of slightly too dry rather than too wet. If you have other healthy cuttings, remove the affected ones immediately to prevent the spread.
Keep Growing!
Propagating plants is a journey, not a destination. There will be times when things don’t quite go as planned, and that’s perfectly okay. Every gardener has lost a cutting or two (or ten!). Don’t get discouraged. Take what you’ve learned, adjust your approach, and try again. The satisfaction of nurturing a new life from a simple stem is truly one of a kind. Happy propagating, my friends!
Resource: