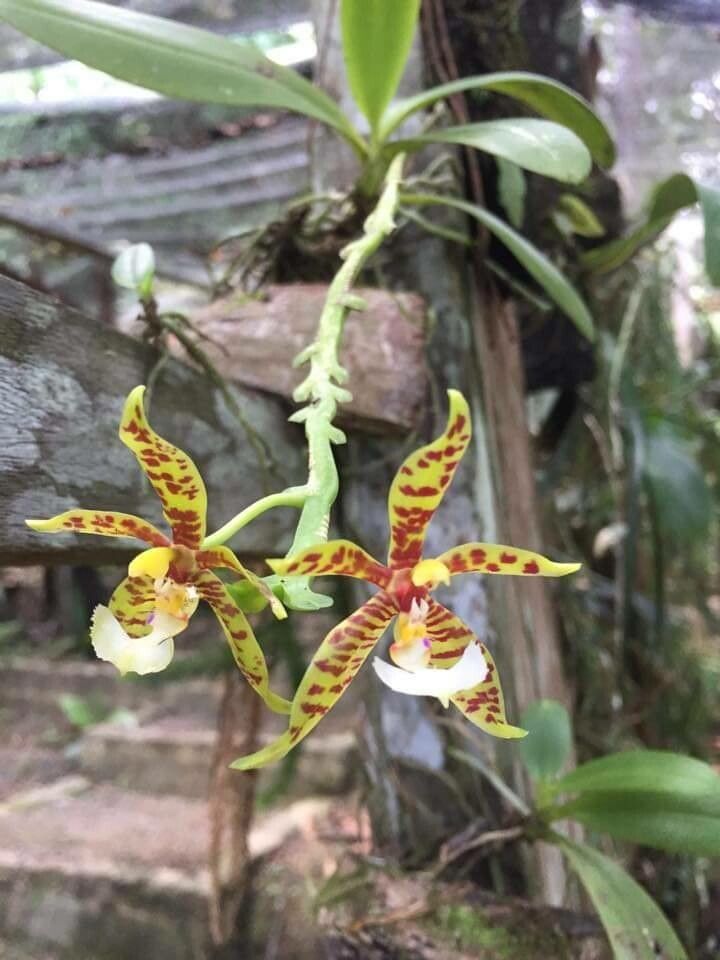
Oh, hello there! Come on in, grab a mug. I’m so excited to chat with you today about one of my absolute favorites: Phalaenopsis cornu-cervi. If you’re drawn to orchids with that wild, untamed beauty, this is the one. Its arching flower spikes, often adorned with a stunning array of star-shaped blooms, are a true delight. And the best part? Bringing more of these beauties into existence through propagation is deeply satisfying. Now, I wouldn’t say cornu-cervi is for the absolute beginner orchid grower, but with a little patience and this guide, you’ll be well on your way to success!
The Best Time to Start
Timing is everything in the plant world, and for Phalaenopsis cornu-cervi, I find the best time to propagate is when the plant is actively growing. This typically means after it has finished blooming and you see signs of new root or leaf growth. Spring and early summer are usually fantastic for this, as the warmer temperatures and longer days encourage vigorous development.
Supplies You’ll Need
To get your propagation station set up, you’ll want a few things handy. Don’t worry, it’s not too much!
- Sharp, sterile pruning shears or a clean razor blade: For making clean cuts. Sterilize with rubbing alcohol between each use!
- Sphagnum moss: Good quality, long-fibered sphagnum moss is excellent for holding moisture.
- Orchid bark mix (fine grade): A well-draining mix is crucial. I often use a blend of fine bark and perlite.
- Small pots or containers: Clean ones, of course! Jiffy pots or small plastic seedling pots work well.
- Perlite: Helps with aeration and drainage in your potting mix.
- Rooting hormone (optional but helpful): A powder or gel can give your cuttings an extra boost.
- Water: Clean, room-temperature water. Rainwater or distilled water is ideal if your tap water is very hard.
- A spray bottle: For misting.
Propagation Methods
For Phalaenopsis cornu-cervi, the most straightforward and successful method I’ve found is using keikis. Keikis are essentially baby orchids that grow from nodes on the mother plant’s stem.
Propagating Keikis:
- Identify a keiki: Look for a small plantlet with its own leaves and tiny aerial roots emerging from the stem of your mature cornu-cervi. These usually appear near the nodes.
- Wait for development: Don’t be tempted to rush this! Wait until the keiki has at least two to three leaves and developing roots that are at least an inch long. This ensures it has enough stored energy to make it on its own.
- Carefully remove the keiki: Using your sterile pruning shears or razor blade, carefully cut the stem connecting the keiki to the mother plant. Make the cut as close to the mother plant’s stem as possible without damaging it.
- Prepare the keiki for potting: If the keiki has a relatively long stem, you can trim it if needed to ensure it sits nicely in the pot. You can dust the cut end with a bit of cinnamon powder or rooting hormone to help prevent infection and encourage rooting.
- Potting up: Fill a small pot with your dampened orchid bark mix or sphagnum moss. Make a small indentation in the center and gently place the keiki’s base into it. You want the roots to be nestled in the medium, and the leaves to be above it. Don’t pack the medium too tightly; orchids like airflow.
- Initial watering and humidity: Lightly water the new keiki and place it in a warm, bright location with high humidity. Avoid direct, harsh sunlight. A terrarium or a plastic bag tent can help maintain humidity, just ensure you air it out daily to prevent fungal issues.
The “Secret Sauce” (Pro Tips)
Here are a few little tricks I’ve picked up over the years that can really make a difference:
- Think like a tropical jungle: Phalaenopsis cornu-cervi loves humidity. If you’re not using a terrarium, misting regularly is key. I like to mist in the morning so the leaves have time to dry before evening.
- Patience is a virtue, and so is clean drainage: When potting up your keiki, ensure the pot has excellent drainage. Overwatering is the fastest way to lose a new baby orchid. If using sphagnum moss, ensure it’s only damp, not soaking wet.
- Gentle encouragement: Some gardeners swear by using a tiny bit of diluted orchid fertilizer (about ¼ strength) once you see significant new growth on the keiki. I’ve found it helpful, but only after the roots are well-established.
Aftercare & Troubleshooting
Once your keiki is potted, give it some extra love. Keep the humidity high and the light bright but indirect. You’ll want to water only when the potting medium is almost dry. Feel the weight of the pot or stick your finger in – if it feels dry an inch down, it’s time.
The most common issue you might encounter is rot. If you notice the leaves yellowing and becoming mushy, or if the base of the keiki feels soft and dark, it’s likely rot. This is usually due to overwatering or poor air circulation. If you spot it early, you might be able to trim away the rot with sterile tools and repot in dry medium, but sadly, it can be hard to recover from.
Another sign things aren’t going well is a lack of root growth. If your keiki sits for weeks without any new roots appearing, it might not have enough energy reserves or the conditions aren’t optimal. Ensure it’s getting enough warmth and bright light.
A Little Encouragement
Growing orchids from keikis is a beautiful journey. It’s a process that requires patience, observation, and a gentle touch. Don’t get discouraged if your first attempt doesn’t go perfectly. Every plant is different, and every propagation attempt is a learning experience. Enjoy the process, celebrate the tiny victories, and soon you’ll have a little cornu-cervi family blooming for you. Happy growing!
Resource: