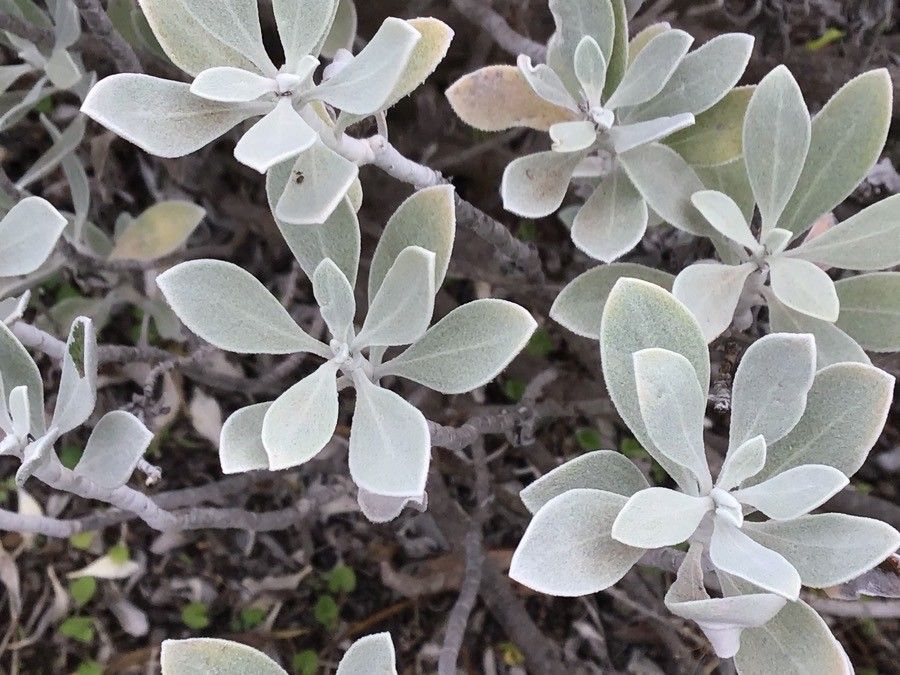
Oh, Helichrysum obconicum! Isn’t it just a delight? I’m so happy you’re thinking about propagating this lovely plant. Its silvery foliage and delicate, daisy-like flowers bring such a wonderful aroma and texture to the garden, and the scent is just divine on a warm day. Being able to create more of them from your own plants? That’s a truly special feeling, isn’t it? Thankfully, Helichrysum obconicum isn’t a terribly fussy plant when it comes to propagation, making it a rewarding project for most gardeners.
When to Get Started
For the best shot at success, I like to start my Helichrysum propagation in late spring or early summer. This is when the plant is actively growing and has plenty of fresh, healthy stems to work with. You’re looking for new growth that’s just beginning to firm up, but not yet woody. Think slightly flexible, not brittle.
Gathering Your Tools
Before we dive in, let’s make sure you have everything you need. It’s always better to be prepared!
- Sharp Pruning Shears or a Knife: Clean tools are essential to prevent disease.
- Potting Mix: A well-draining mix is crucial. I often use a commercial seed starting mix or a blend of equal parts peat moss, perlite, and a little compost.
- Small Pots or Seed Trays: Clean pots are a must.
- Rooting Hormone (Optional but Recommended): This can seriously boost your success rate. Look for one for herbaceous cuttings.
- Plastic Bag or Cling Film: To create a humid environment.
- Watering Can with a Fine Rose: For gentle watering.
Let’s Get Propagating: Stem Cuttings
Stem cuttings are my go-to method for Helichrysum obconicum. It’s reliable and straightforward.
- Take Your Cuttings: With your clean shears, select healthy stems that are around 4-6 inches long. Make your cut just below a leaf node (where a leaf attaches to the stem). This is where the magic of rooting usually happens.
- Prepare the Cuttings: Gently remove the leaves from the bottom half of each cutting. You want to expose those leaf nodes. If your cuttings are very leafy, you can even trim the remaining leaves in half to reduce water loss.
- Dip in Rooting Hormone (If Using): Lightly dip the cut end of each stem into your rooting hormone powder. Tap off any excess – you just need a light coating.
- Plant Them Up: Fill your pots or seed trays with your prepared potting mix. Make small holes with a pencil or your finger and insert the cuttings, making sure the nodes are buried beneath the soil. Gently firm the soil around them.
- Create a Mini Greenhouse: Give the cuttings a light watering. Then, cover the pots with a clear plastic bag or cling film, securing it loosely with a rubber band. This will create a humid environment, which is vital for preventing the cuttings from drying out. Place them in a bright spot that doesn’t get direct, hot sun.
My Little “Secret Sauce”
Here are a couple of things I’ve learned over the years that make a real difference:
- Don’t Let the Leaves Touch the Water: If you opt for water propagation (which can work for Helichrysum but I find cuttings more reliable), it’s absolutely essential that no leaves are submerged. Rot sets in so quickly with wet foliage.
- Bottom Heat is Your Friend: When propagating from cuttings, especially if your house is a bit cool, placing your pots on a heating mat can significantly speed up the rooting process. It encourages those roots to develop more vigorously. Just a gentle warmth is all you need.
Nurturing Your New Sprouts
Once your cuttings have taken root, you’ll start to see new growth. This usually takes 3-6 weeks. You can gently tug on a cutting – if there’s resistance, you likely have roots!
- Acclimatize Them: Gradually remove the plastic covering over a few days. This allows your new plantlets to get used to the drier air.
- Watering: Water them as needed, ensuring the soil stays consistently moist but not waterlogged. Allow the top inch of soil to dry out between waterings.
- Transplanting: Once they are large enough and have a good root system, you can carefully transplant them into larger individual pots.
Keep an eye out for signs of trouble. Wilting can be a sign of not enough humidity or not enough roots. Rot, which looks like a mushy, dark stem base, is usually a sign of too much moisture in poorly draining soil. If you see rot, it’s often best to discard the affected cutting and ensure your soil and watering are correct for the others.
Propagating plants is such a rewarding journey. It teaches you patience and observation, and there’s immense satisfaction in nurturing a brand-new plant from a small piece of another. Don’t get discouraged if every single cutting doesn’t make it – that’s part of the learning curve. Just keep trying, enjoy the process, and soon you’ll have a garden full of beautiful, fragrant Helichrysum obconicum! Happy gardening!
Resource:
https://identify.plantnet.org/k-world-flora/species/Helichrysum%20obconicum%20DC./data