Hey there, fellow green thumbs! It’s so lovely to have you wander into my little corner of the garden today. We’re going to chat about a plant that brings such delight to the summer landscape: Oenothera perennis, or as many of us affectionately call it, perennial evening primrose.
The Sweet Charm of Evening Primrose
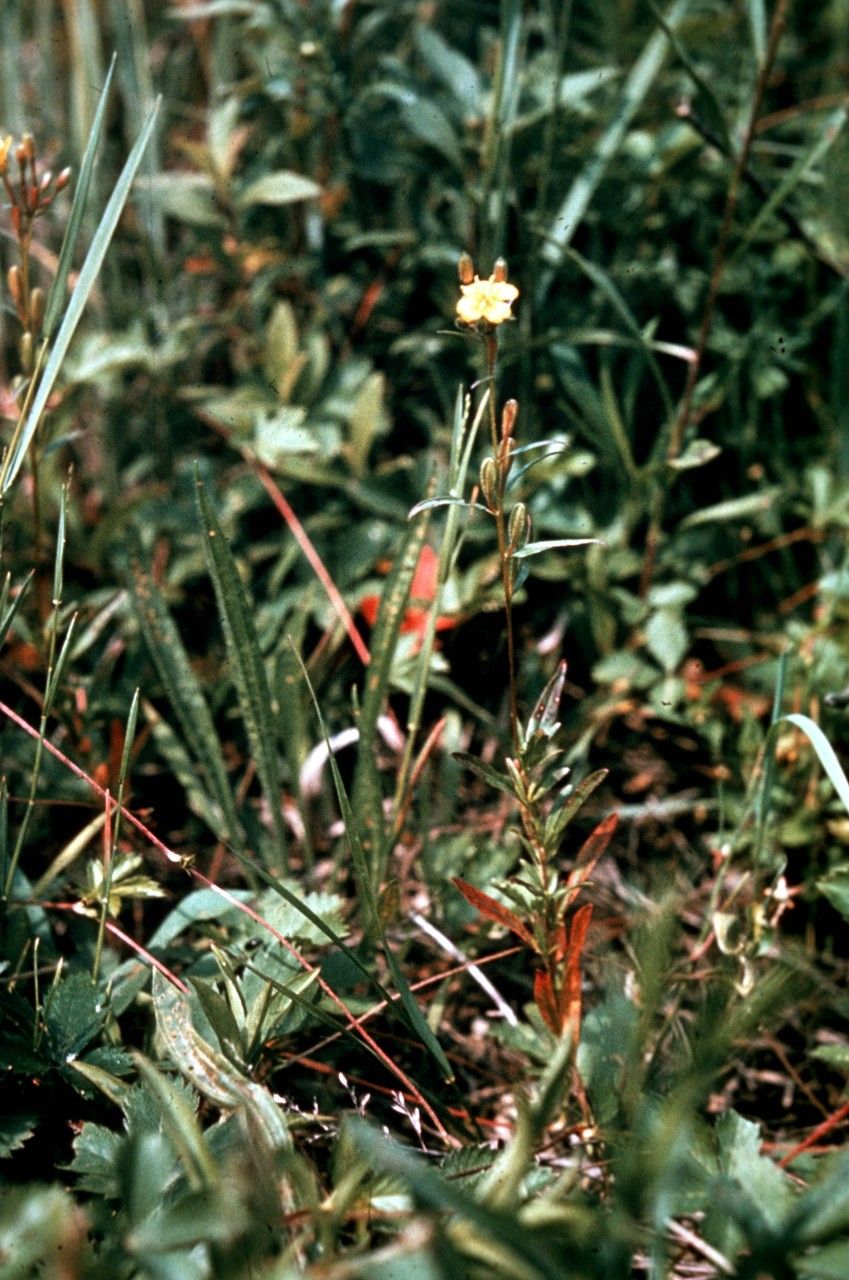
There’s something truly magical about evening primrose. Those bright, sunny yellow flowers unfurling in the late afternoon, just as the day begins to cool, are a sight for sore eyes. They have a lovely, relaxed demeanor in the garden, and the thought of filling your own space – or sharing with a friend – with more of these beauties is just so satisfying.
Now, if you’re just dipping your toes into the wonderful world of plant propagation, I have good news. Oenothera perennis is generally quite a forgiving plant to work with, making it a fantastic choice for beginners. We’ll get you hands-on with some straightforward methods that usually yield great results.
When to Get Your Hands Dirty
The best time to try your hand at propagating is generally when the plant is actively growing. Spring or early summer is usually ideal. You’re looking for healthy, vigorous growth, and the plant has plenty of energy to put into developing new roots. Avoid trying to propagate during a heatwave or when the plant is stressed.
Your Propagation Toolkit
Gathering your supplies beforehand makes the whole process so much smoother. Here’s what you’ll want to have ready:
- Sharp Pruning Shears or a Craft Knife: Clean cuts are crucial for preventing disease.
- Seed Starting Mix or a Well-Draining Potting Mix: Something light and airy is best. You can even mix in some perlite or vermiculite for extra drainage.
- Small Pots or Seed Trays: Clean containers are a must.
- Rooting Hormone (Optional but Recommended): This can give your cuttings a helpful boost.
- Watering Can with a Fine Rose: Gentle watering is key.
- Plastic Bags or a Mini Greenhouse: To create a humid environment.
- Labels: To remember what you’ve planted and when!
Let’s Get Propagating!
Oenothera perennis is wonderfully versatile, and we can usually propagate it through a couple of reliable methods.
Method 1: Stem Cuttings – The Classic Approach
This is my go-to for many plants, and it works a charm with evening primrose.
- Select Your Cuttings: In spring or early summer, look for healthy, non-flowering stems. You want pieces that are about 4-6 inches long. Use your clean, sharp shears to make a cut just below a leaf node (where a leaf joins the stem).
- Prepare the Cuttings: Gently remove the lower leaves from each cutting, leaving just a couple of leaves at the very top. This prevents the leaves from rotting when they’re in the soil. If you have a larger leaf, you can even cut it in half horizontally to reduce water loss.
- Apply Rooting Hormone (If Using): Dip the cut end of the stem into your rooting hormone powder. Tap off any excess.
- Plant Your Cuttings: Fill your small pots or trays with your prepared potting mix. Make a small hole with a pencil or your finger, and firmly insert the cut end of the stem into the soil. Give them a gentle water to settle the soil around the cutting.
- Create Humidity: Cover the pots with a clear plastic bag (making sure it doesn’t touch the leaves!) or place them in a mini greenhouse. This is vital for keeping the moisture levels high, which encourages rooting.
Method 2: Division – The Established Plant’s Gift
If you have an established clump of evening primrose, dividing it is a fantastic way to get new plants and give your existing one a bit of a refresh.
- Dig Up the Plant: In early spring, before it gets too vigorous, carefully dig around the base of the clump. Gently lift the entire plant out of the ground.
- Separate the Roots: Loosen the soil and carefully tease apart the root ball. You can use your hands or a trowel to split the clump into smaller sections. Aim for sections that have healthy roots and at least a few shoots.
- Replant Immediately: Replant the divisions back into your garden or into pots with fresh soil. Water them well.
My “Secret Sauce” Tips
Over the years, I’ve learned a few little tricks that can make all the difference.
- Bottom Heat is Your Friend: For stem cuttings, especially if you’re propagating a bit earlier than ideal or in a cooler spot, placing the pots on a seedling heat mat can dramatically speed up root formation. It mimics the warmth the plant craves for growth.
- Don’t Be Afraid of the Trash Bin: Sometimes, not every cutting will make it, and that’s perfectly okay! Don’t get discouraged if some look a bit sad. Remove any cuttings that show signs of rot or disease immediately to prevent it from spreading. Sometimes, you have to try a few before you hit that perfect combination of conditions.
- Patience with the Water: If you ever choose water propagation for any of your plants (though less common for evening primrose cuttings, it can work!), never let the leaves touch the water. They’ll rot instantly, and that’s a sure way to invite disaster.
Aftercare and When Things Go Awry
Once your cuttings have developed roots (you can gently tug on them – if there’s resistance, they’ve rooted!), it’s time to treat them like delicate youngsters.
- Gradually Acclimate: If they’ve been under a plastic bag, slowly introduce them to normal air over a few days by lifting the bag for longer periods.
- Water Wisely: Keep the soil consistently moist but not waterlogged. You want them to feel like they’re in a nice, damp environment, not a bog.
- Potting Up: Once they’ve established a good root system and you see new growth, you can pot them up into slightly larger containers or transplant them to their permanent garden spot.
What about when things don’t go as planned? The most common culprit for cuttings is rot. This usually happens when there’s too much moisture and not enough air circulation, or if the cutting was already compromised. If you see mushy stems or black spots, that’s usually a sign of rot. Remove the affected cutting gently and check your watering and humidity levels. For divisions, if they don’t start showing new growth after a few weeks, they might not have taken well. Sometimes, the roots were damaged during the process, or the conditions just weren’t right.
Happy Propagating!
There you have it! Propagating Oenothera perennis is a wonderfully rewarding process. It’s a chance to connect with your plants on a deeper level, learn their secrets, and fill your world with even more of their sunny disposition. Be patient with the process, celebrate every little success, and most importantly, enjoy the journey of growing. Happy gardening!
Resource:
https://identify.plantnet.org/k-world-flora/species/Oenothera%20perennis%20L./data