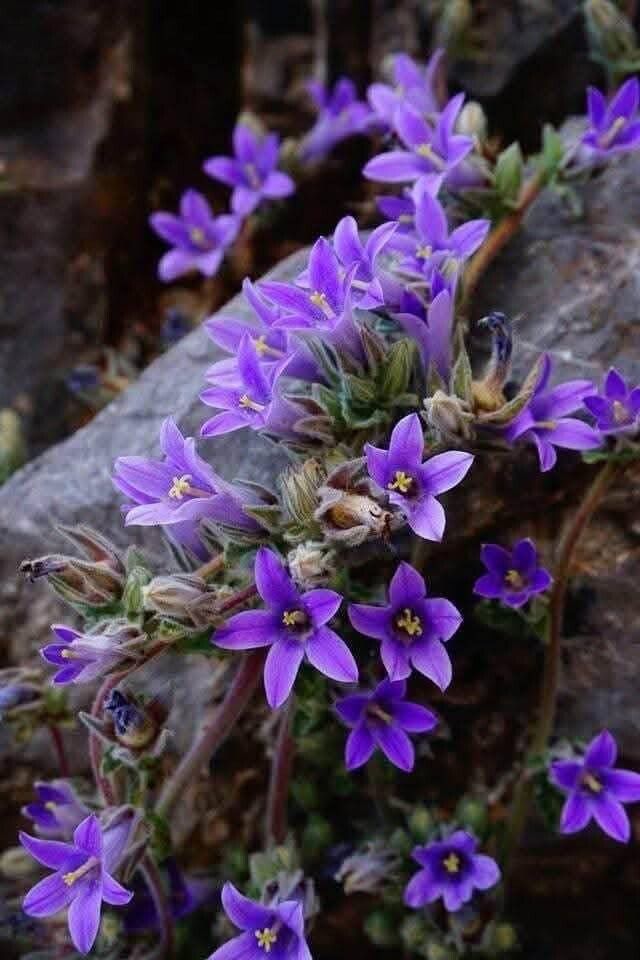
Oh, hello there, fellow plant enthusiast! Grab a mug of your favorite brew, and let’s chat about one of my absolute favorites: Campanula celsii. You know, those delightful bellflowers that bring such a sweet, delicate charm to the garden? Their soft colors and gentle nodding blooms are just a joy to behold.
Why Propagate Campanula celsii?
Propagating your own Campanula celsii is incredibly rewarding. It’s like having a little piece of garden magic that you’ve created yourself! Plus, it’s a fantastic way to expand your collection or share these beauties with friends. For many gardeners, especially those just starting out, Campanula celsii is quite forgiving when it comes to propagation, which is always a welcome bonus. You’ll find it’s a rather friendly plant to work with.
The Best Time to Start
For the highest chance of success, I always lean towards early spring. This is when the plant is just waking up from its winter slumber, full of vigor and ready to grow. You’ll be taking cuttings or dividing established clumps just as new growth begins to emerge. A secondary good time is in late summer, after the main flowering flush has passed. The stems will have hardened off a bit, making them more robust for the propagation process.
Supplies You’ll Need
Here’s what you’ll want to have on hand. It’s not much, but having everything ready makes the process so much smoother:
- Sharp pruning shears or a clean, sharp knife: For making clean cuts. A dull tool can bruise the stems, which makes it harder for them to root.
- Potting mix: A well-draining mix is key. I love to use a blend of peat moss or coco coir, perlite, and a bit of compost. You can also buy specific seedling or cutting mixes.
- Small pots or trays: Clean pots are essential to prevent disease.
- Rooting hormone (optional but recommended): This stuff really gives your cuttings a helpful boost.
- Plastic bags or a propagation dome: To create a mini-greenhouse effect.
- Watering can or spray bottle: For gentle watering.
Propagation Methods
There are a couple of reliable ways to get more Campanula celsii plants. I find stem cuttings are often the most straightforward.
Stem Cuttings
- Take your cuttings: In early spring, select healthy, non-flowering shoots from your established plant. Look for stems that are about 4-6 inches long. Using your clean shears, make a cut just below a leaf node (where a leaf meets the stem). This is where the roots will most easily form.
- Prepare the cuttings: Gently remove the lower leaves from your cuttings, leaving just a couple of sets at the top. If the leaves are very large, you can even cut them in half horizontally to reduce water loss. Dip the cut end into the rooting hormone, tapping off any excess.
- Plant the cuttings: Fill your small pots with your prepared potting mix. Make a small hole with a pencil or your finger, and insert the cutting, ensuring the base with the rooting hormone is covered by soil. Gently firm the soil around the stem.
- Water gently: Water the soil thoroughly but gently. You don’t want to disturb the cuttings.
- Create humidity: Cover the pots with a plastic bag, a clear plastic dome, or place them inside a larger plastic bag. This humidity is crucial for preventing the cuttings from drying out before they can form roots.
Division
If you have a mature clump of Campanula celsii, division is a wonderfully simple method.
- Gently excavate: In early spring, carefully dig up the entire plant. You can do this with a garden fork, gently loosening the soil around the base.
- Separate the clump: Once out of the ground, you’ll see the root ball. You can often gently pull the clumps apart with your hands. For tougher clumps, use a clean, sharp knife or spade to cut through the roots. Ensure each division has a good amount of roots and some healthy shoots.
- Replant immediately: Plant your divisions into their new spots in the garden or into individual pots, just as you would a regular potted plant. Water them in well.
The “Secret Sauce” (Pro Tips)
Now, a couple of little tricks I’ve picked up over the years:
- Don’t let those leaves touch the water if you’re attempting water propagation (less common for Campanula but sometimes done): If you decide to try rooting in water (which is trickier for campanulas than for other plants), make sure the leaves are well above the water level. Any submerged leaves will just rot and harbor disease, which can kill your cutting before it even gets a chance to root.
- Bottom heat is your friend: If you’re propagating in pots, placing them on a heated propagator mat can significantly speed up root development. This gentle warmth mimics spring soil temperatures and really encourages those roots to get going.
- Label everything! You think you’ll remember which pot is which, but trust me, when you have several similar-looking cuttings, labeling is a lifesaver. Use waterproof markers and plastic tags.
Aftercare & Troubleshooting
Once you see new growth emerging from your cuttings – usually after 3-4 weeks – that’s a good sign that roots have formed! Gradually acclimate them to drier air by opening the plastic bags a little more each day over a week or so. Once they are robust enough to handle being outside the humidity dome, you can treat them as small plants. Water them when the top inch of soil feels dry.
The most common issue you might encounter is rot. If your cuttings look mushy, black, or are just wilting away, it’s often due to too much moisture and not enough air circulation. Make sure your soil drains well and that you’re not overwatering. It happens to the best of us, so don’t get discouraged if a few don’t make it!
Keep Going, Gardener!
Propagating plants is a journey of experimentation and learning. Be patient with your Campanula celsii cuttings. Some will take off like rockets, others might be a bit slower. Enjoy the process, celebrate the successes, and learn from any setbacks. Happy gardening!
Resource:
https://identify.plantnet.org/k-world-flora/species/Campanula%20celsii%20A.DC./data