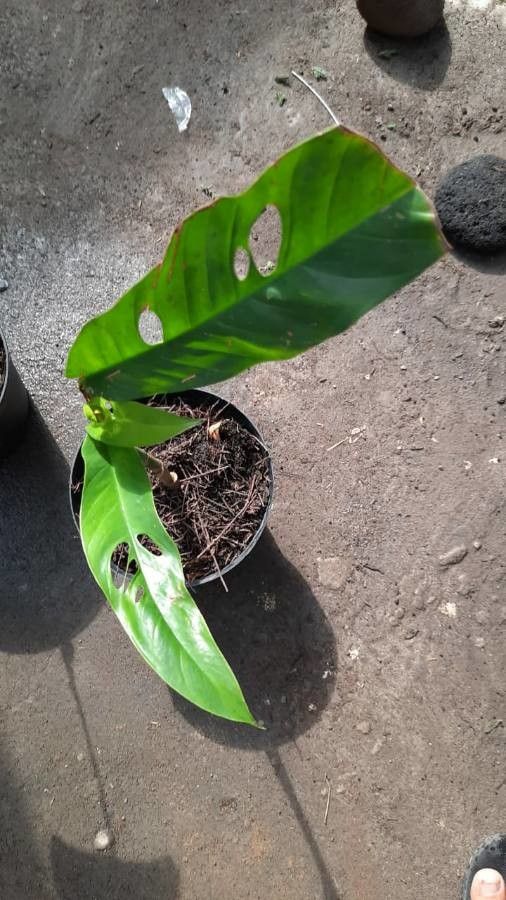
Ah, the Rhaphidophora versteegii. Isn’t she a beauty? Those glossy, deeply lobed leaves have a way of captivating any plant lover. They bring a touch of the wild, a real jungle vibe, right into our homes. And the best part? You can easily bring more of this gorgeousness into your life by propagating it! Honestly, Rhaphidophora versteegii is a pretty forgiving plant when it comes to propagation, making it a fantastic project for both seasoned growers and those just dipping their toes into the world of plant babies.
The Best Time to Start
For the highest success rate with Rhaphidophora versteegii, I always recommend spring or early summer. This is when the plant is in its most vigorous growth phase. Energy is high, and cuttings tend to root much faster and stronger. You can certainly try other times of the year, but you might find it takes a bit longer, and you’ll need to be a bit more patient.
Supplies You’ll Need
Gathering your tools beforehand makes the whole process smoother. Here’s what I’ve found works best:
- Sharp Pruning Shears or a Clean Knife: For making clean cuts.
- Rooting Hormone (Optional but Recommended): Especially if you’re new to propagation. It gives your cuttings a little boost.
- A Good Potting Mix: I like a chunky, well-draining mix. A blend of perlite, coco coir, and some orchid bark is usually perfect. You don’t want anything that holds too much moisture.
- Small Pots or Propagation Trays: Whatever you have that’s clean and has drainage holes.
- Clear Plastic Bags or a Propagation Dome: To create a humid environment.
- Water (for water propagation): Fresh, room-temperature water.
Propagation Methods
There are a couple of ways to go about this, and both are quite effective.
1. Stem Cuttings (My go-to!)
This is by far the most common and easiest way to propagate Rhaphidophora versteegii.
- Find a Healthy Stem: Look for a mature stem that has at least two to three nodes. A node is where the leaf meets the stem, and it’s where new roots will emerge. You’ll also want to make sure your cutting has at least one leaf.
- Make the Cut: Using your sharp shears or knife, make a clean cut just below a node. It’s important to cut cleanly to avoid damaging the stem.
- Prepare the Cutting: If your cutting has lower leaves that might end up buried if you plant it, gently remove them. This prevents rot.
- Apply Rooting Hormone (Optional): Dip the cut end of the stem into your rooting hormone, tapping off any excess.
- Plant It Up: Fill your small pot with your well-draining potting mix. Make a small hole in the center and gently insert the cut end of the stem, ensuring at least one node is buried in the soil. Firm the soil around the stem.
- Water Gently: Water the soil thoroughly until water drains from the bottom.
2. Water Propagation
This method is visually satisfying as you can watch the roots grow!
- Select and Cut: Follow the same steps as for stem cuttings to select and cut a healthy stem with at least two nodes and a leaf.
- Prepare for Water: Remove any leaves that would sit below the waterline. This is crucial to prevent them from rotting.
- Place in Water: Get a clean jar or vessel and fill it with fresh, room-temperature water. Place your cutting in the water, making sure the nodes are submerged but the leaves are not.
- Change Water Regularly: This is key! Change the water every 2-3 days to keep it fresh and prevent bacterial growth.
The “Secret Sauce” (Pro Tips)
Now, for a couple of little tricks I’ve learned over the years:
- Don’t Let Leaves Touch the Water (for water propagation): I know I mentioned this, but it’s so important. Any submerged leaf is a potential rot zone. If your cutting is a bit leggy, consider gently propping it up so only the stem is in the water.
- Humidity is Your Friend: Rhaphidophora versteegii loves humidity, and so do its cuttings. Once planted in soil, cover the pot with a clear plastic bag or use a propagation dome. This creates a mini-greenhouse effect that keeps the humidity high and prevents the cutting from drying out before roots form. Just open it up for a few minutes each day to allow for air circulation.
- Bottom Heat Can Speed Things Up: If you have access to a heat mat designed for plants, placing your potted cuttings on it can significantly speed up root development. Think of it as giving the roots a warm nudge to get growing.
Aftercare & Troubleshooting
Once you see new roots appearing, congratulations! It’s time to adjust your care slightly.
- For Soil Cuttings: Keep the soil consistently moist but not waterlogged. Continue to provide high humidity by keeping the plastic bag on for a little longer, or occasionally misting. Gradually acclimate your new plant to normal room conditions by removing the cover for longer periods over a week or two.
- For Water Cuttings: Once the roots are a couple of inches long, it’s time to pot your new plant. Use the same well-draining soil mix as noted earlier. Water thoroughly after planting.
- Signs of Trouble: The most common issue you’ll face is rot. If your cutting turns black and mushy, it’s likely rotted. This usually happens from too much moisture or decaying leaves in the water. If you see this, unfortunately, that cutting is probably lost. If the leaves start to yellow and wilt, it might be a sign of stress or insufficient humidity.
A Little Encouragement
Propagating plants is a journey, and like any good journey, it requires a bit of patience. Don’t be discouraged if your first attempt isn’t a runaway success. Keep trying, learn from each experience, and most importantly, enjoy the process of nurturing new life. Before you know it, you’ll have a whole jungle of Rhaphidophora versteegii to call your own! Happy propagating!
Resource: