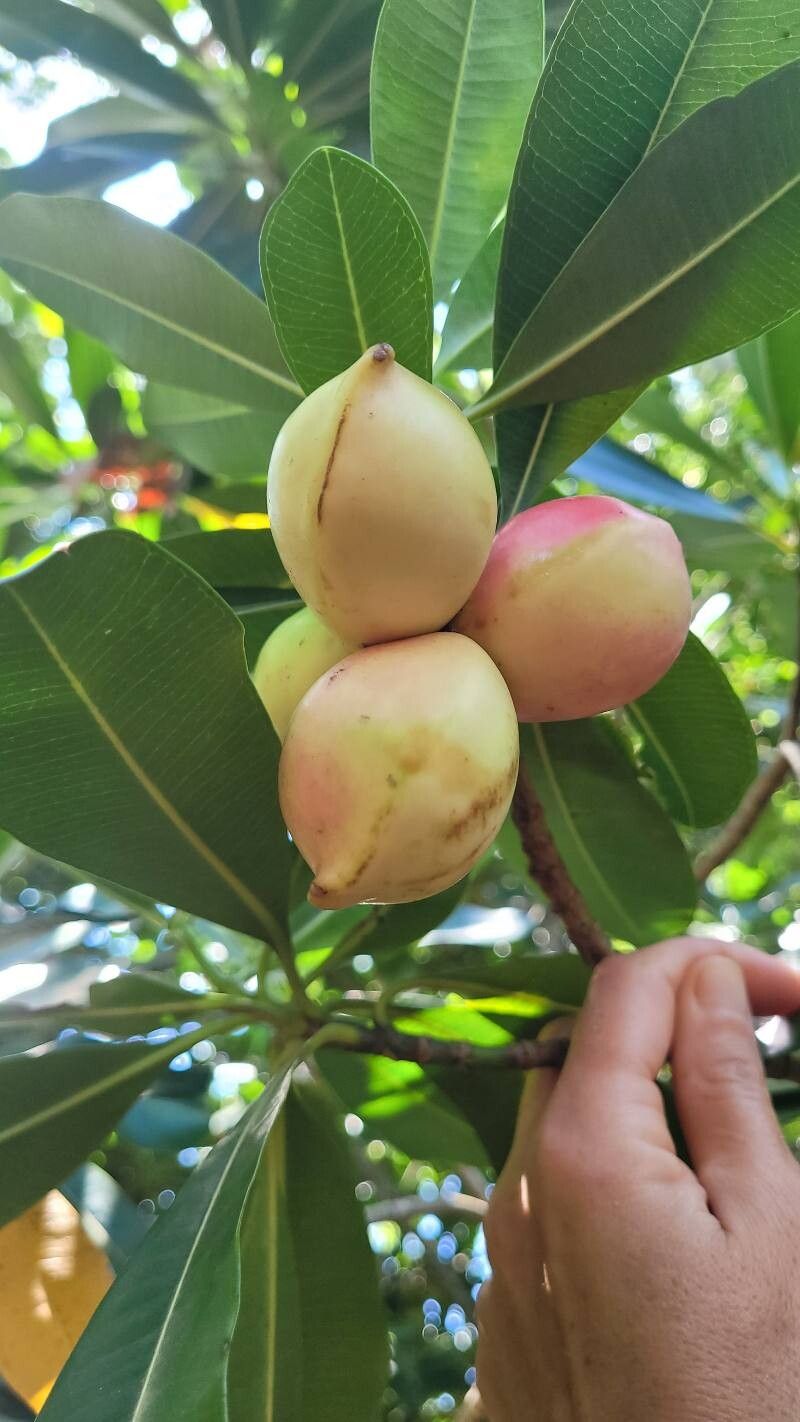
Hello, fellow plant lovers! If you’ve ever marveled at the glossy, green leaves and unique charm of Ochrosia elliptica, you’re in for a treat. This tropical beauty, often called the “Rosy-Veined Ochrosia” or simply “Elliptic Ochrosia,” brings a touch of the exotic to any space. Its foliage, often with a hint of rosy or reddish undertones, is a real showstopper. Propagating it yourself is incredibly rewarding, and while it’s moderately easy, a few simple techniques can boost your success rate significantly. You’ll soon have more of these gorgeous plants to share or admire!
The Best Time to Start
For the best results with Ochrosia elliptica propagation, aim for the late spring or early summer. This is when the plant is actively growing, and new stems are developing. The warmer temperatures and increased daylight hours provide the perfect conditions for cuttings to root. Trying to propagate in the dead of winter or during a cool, dry spell can lead to disappointment.
Supplies You’ll Need
Here’s a handy list of what you’ll want to have on hand:
- Sharp pruning shears or a clean, sharp knife: For making precise cuts.
- Rooting hormone (optional but recommended): A powder or gel to encourage root development.
- Well-draining potting mix: A good blend of perlite, peat moss, and compost works wonderfully. You can also buy specific succulent or cactus mixes.
- Small pots or seed trays: Clean containers that are about 4-6 inches deep.
- Plastic bags or a propagator: To create a humid environment.
- Water: For misting and watering.
- Gloves: Some plants can have a sticky sap, so these are a good idea.
Propagation Methods
Let’s get our hands dirty with the best ways to bring new Ochrosia elliptica plants to life.
Stem Cuttings
This is my go-to method for Ochrosia elliptica. It’s reliable and gives you a good chance of success.
- Select your cutting: Look for a healthy, non-flowering stem that’s about 6-8 inches long. It should feel firm and mature, not floppy or too young.
- Make the cut: Using your sharp pruning shears or knife, make a clean cut just below a leaf node. A leaf node is where a leaf attaches to the stem.
- Prepare the cutting: Gently remove the lower leaves, leaving just a few at the top. If the leaves are large, you can even cut them in half to reduce water loss.
- Apply rooting hormone (optional): Dip the cut end of the stem into your rooting hormone powder or gel, tapping off any excess.
- Plant the cutting: Fill your pot with the well-draining potting mix. Make a small hole in the center with your finger or a pencil.
- Insert the cutting: Place the prepared cutting into the hole, ensuring the nodes where you removed the leaves are buried. Gently firm the soil around it.
- Water and cover: Water the soil lightly. Then, cover the pot with a clear plastic bag or place it in a propagator. This creates a mini-greenhouse, keeping humidity high. You can secure the bag with a rubber band around the rim of the pot.
Water Propagation
This method is a bit more visual and can be quite satisfying to watch the roots grow!
- Prepare the cutting: Follow steps 1-3 from the stem cuttings method. Make sure to remove enough lower leaves so they won’t be submerged in water.
- Place in water: Put the cuttings in a clean jar or glass filled with lukewarm water.
- Location, location, location: Place the jar in a bright spot, but out of direct sunlight.
- Change the water: Change the water every few days to keep it fresh and prevent bacterial growth. You’ll start to see roots emerge in a few weeks.
- Potting up: Once the roots are about an inch or two long, you can carefully transplant them into a well-draining potting mix, just like you would after using rooting hormone.
The “Secret Sauce” (Pro Tips)
Over the years, I’ve learned a few tricks that seem to make all the difference:
- Don’t let the leaves touch the water. If you’re water propagating, any leaves submerged will rot and can take your cutting down with them. Be ruthless with removing them!
- Bottom heat is your friend. If you have a heat mat designed for propagators, use it! Ochrosia elliptica loves warmth, and a consistent, gentle heat from below will significantly speed up root formation.
- Don’t rush it. Patience is key. Even with the best conditions, it can take 4-8 weeks (or sometimes longer!) for cuttings to root sufficiently. Resist the urge to constantly pull them up to check.
Aftercare & Troubleshooting
Once you see signs of life – new leaf buds or roots poking out the bottom of the pot – you’re on the right track!
- Gradual acclimatization: If you used a plastic bag, slowly start increasing ventilation by opening the bag a little more each day. This helps the new plant adjust to drier air.
- Watering: Keep the soil consistently moist but not soggy. Overwatering is one of the biggest culprits for failure. Let the top inch of soil dry out slightly between waterings.
- Light: Provide bright, indirect light. Direct sun can scorch young cuttings.
- Troubleshooting: The most common issue is rot. If your cutting turns mushy or black, it’s likely succumbed to rot, often due to too much moisture or poor drainage. If you see this, discard the rotting cutting and try again with fresh material and sterile pots. Yellowing leaves can indicate a lack of light or too much water.
A Warm Encouragement
Watching a new plant emerge from a simple cutting is one of gardening’s greatest joys. Don’t be discouraged if your first few attempts aren’t perfect. Every gardener has their casualties! Learn from them, adjust your approach, and most importantly, enjoy the process of coaxing new life from your beloved Ochrosia elliptica. Happy propagating!
Resource:
https://identify.plantnet.org/k-world-flora/species/Ochrosia%20elliptica%20Labill./data