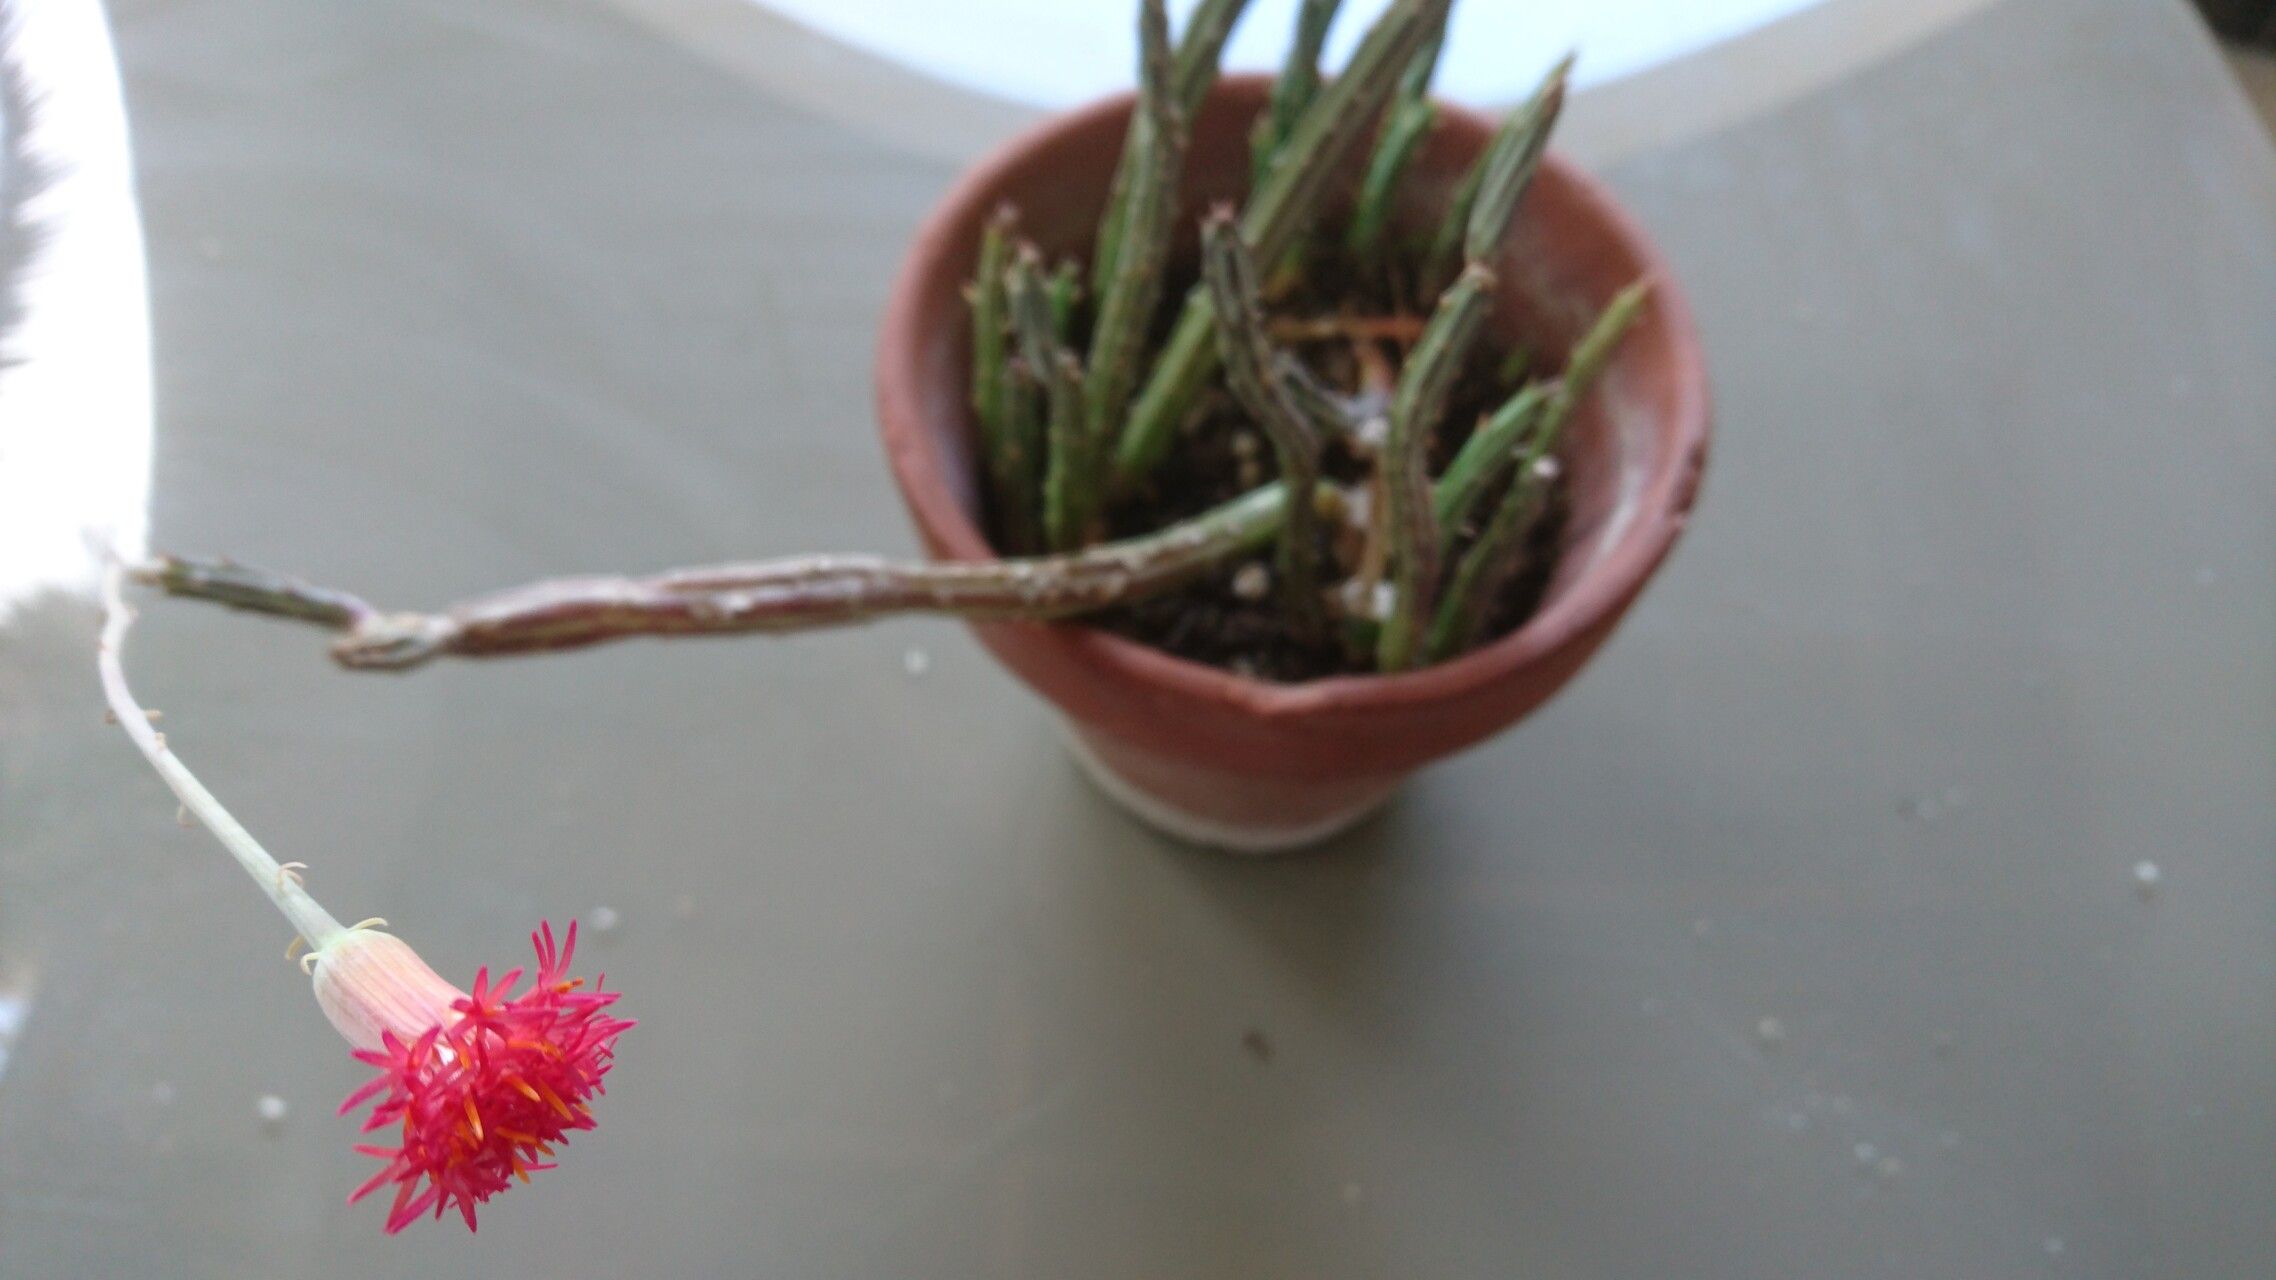
Hey there, fellow plant lovers! Today, we’re diving into the wonderful world of propagating Kleinia stapeliiformis. You know, those fascinating, almost alien-looking succulents with their segmented, star-shaped stems? They’re such a conversation starter, and honestly, just looking at them always brings a smile to my face.
If you’ve ever admired a mature Kleinia stapeliiformis and thought, “I wish I had more of those!”, I’ve got good news. Propagating them is not only possible but also incredibly rewarding. And the best part? For beginners, this is a surprisingly easy plant to start with. You’ll be amazed at how quickly you can grow your collection.
The Best Time to Start
For the highest success rate with Kleinia stapeliiformis, I always recommend starting in the spring or early summer. This is when the plant is actively growing, and new shoots are readily available. The warmer temperatures and longer daylight hours give cuttings the best chance to root and establish themselves. Think of it as giving your new plant babies the warmest, coziest environment to get started.
Supplies You’ll Need
Gathering your supplies beforehand makes the whole process so much smoother. Here’s what I usually have on hand:
- Sharp, clean pruning shears or a sharp knife: Essential for making clean cuts.
- Well-draining potting mix: A cactus or succulent mix is perfect. You can also make your own by combining potting soil with perlite or pumice.
- Small pots or trays: Anything that can hold your cuttings and provide drainage.
- Rooting hormone (optional but recommended): This can really give your cuttings a boost.
- Gloves: Some succulents can have a milky sap that can be irritating.
- Watering can with a fine spout or a spray bottle: For gentle watering.
- Newspaper or a tray: To catch any falling soil.
Propagation Methods
Kleinia stapeliiformis is quite generous and offers a few easy ways to multiply.
Stem Cuttings
This is my go-to method, and it’s incredibly straightforward.
- Identify healthy stems: Look for firm, vibrant stems on your mature plant. You’re not looking for anything soft or mushy.
- Make the cut: Using your clean shears or knife, carefully cut a stem that’s at least 3-4 inches long. Try to make a clean, straight cut.
- Let it callous: This is a crucial step! Place the cut stem in a dry, airy spot out of direct sunlight for 2-5 days. You’ll see the cut end dry out and form a protective callus. This prevents rot when you plant it. Don’t skip this; it’s a game-changer for success.
- Potting up: Once calloused, you can dip the cut end into rooting hormone (if you’re using it). Then, gently insert the calloused end into your well-draining potting mix. Water lightly.
- Patience is key: Place the pot in a bright spot with indirect light and wait. You should see signs of rooting within a few weeks.
Division
If your Kleinia stapeliiformis has grown into a dense clump, division is another excellent option.
- Remove from pot: Gently ease the entire plant out of its pot.
- Gently tease apart: Carefully separate the clump into smaller sections. Each section should have at least one stem and ideally some roots attached. Try not to damage the roots too much. You might need to use a clean knife to help if the roots are really tangled.
- Repot: Plant each division in its own pot with fresh, well-draining soil.
- Water sparingly: Water very lightly after repotting.
The “Secret Sauce” (Pro Tips)
Over the years, I’ve picked up a few tricks that seem to make a real difference.
- Don’t rush the callousing: I cannot stress this enough. If I’m in a hurry and skip the callousing, I often end up with rot. Let that cut end get nice and dry. It’s like giving it a little protective shield.
- Bottom heat can speed things up: If you have a seedling heat mat, placing your pots on it can really encourage faster root development, especially earlier in the spring when the ambient temperature might be cooler. Just make sure the mat isn’t too hot – lukewarm is perfect.
- Mist, don’t soak, after planting: When you first pot up cuttings, give them a light misting or a gentle watering. You want the soil to be slightly moist but definitely not soggy. Overwatering at this stage is a fast track to rot.
Aftercare & Troubleshooting
Once you see those tiny bumps of new roots or the start of new growth, you’re in the home stretch!
- Gradual introduction to light: Start by placing your new plants in bright, indirect light. As they establish, you can gradually introduce them to more direct sunlight, just like you would with the parent plant.
- Watering: Water when the soil is dry to the touch. For newly rooted cuttings, this might be less frequent than for an established plant. It’s always better to underwater slightly than to overwater.
- Signs of failure: The most common issue is rot. If your stem cutting turns mushy and black, or if it just won’t root after a long time and starts to look sad, it’s likely rotted. This is usually due to too much moisture or skipping the callousing step. Don’t get discouraged if it happens! Just toss the rotted piece and try again.
A Little Encouragement
Propagating plants is such a wonderful way to connect with nature and create more beauty in your life. Be patient with your Kleinia stapeliiformis cuttings. Some might take longer than others, and that’s perfectly okay. Enjoy the process, celebrate every new root you see, and before you know it, you’ll have a whole collection of these amazing, quirky succulents. Happy planting!
Resource:
https://identify.plantnet.org/k-world-flora/species/Kleinia%20stapeliiformis%20Stapf/data