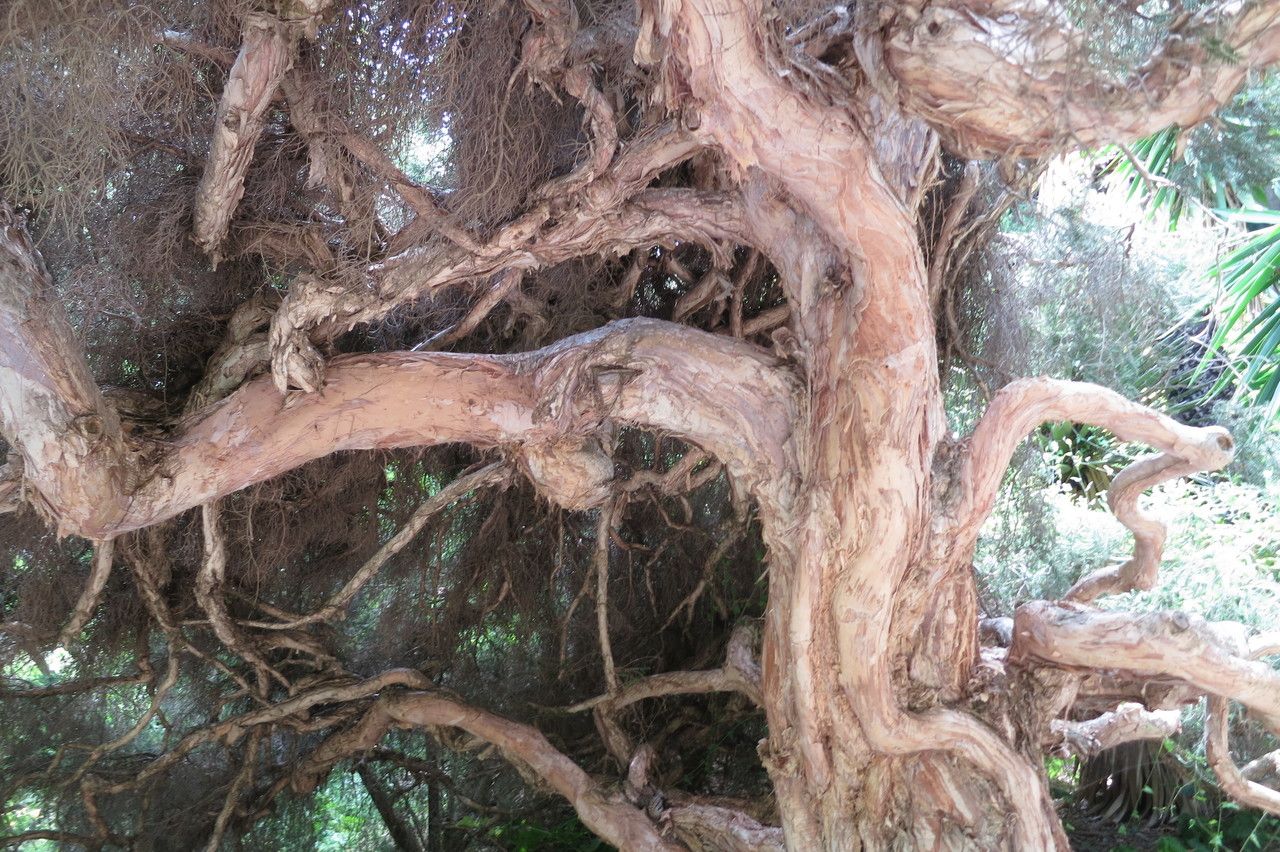
Hello there, fellow plant lovers! Today, I want to talk about a little beauty that really brings a splash of cheerful color to any garden: Melaleuca cuticularis. You might know it better by its common name, the Paperbark Tea Tree, though this particular species is often recognized for its lovely white, papery bark and delightful clusters of white bottlebrush like flowers. They have this wonderful airy grace to them, and cutting a few stems for a vase indoors is just a joy.
Now, if you’re wondering if Melaleuca cuticularis is a good plant for your first foray into propagation, I’d say it’s moderately easy. You’ll need a little patience, but with the right approach, you’ll be rewarded with your very own baby Paperbark Tea Trees. It’s incredibly satisfying to grow a plant from a tiny cutting!
The Best Time to Start
For the most success with Melaleuca cuticularis cuttings, I always aim for the late spring or early summer. This is when the plant is actively growing, and the stems have a good balance of new, flexible growth and slightly woody maturity. You’re looking for what we call “semi-hardwood” cuttings – they should be firm enough not to flop over but still bend a little. Avoid super soft, brand-new shoots as they tend to rot easily, and overly woody stems from last year’s growth can be slow to root.
Supplies You’ll Need
Gathering your tools before you begin makes the whole process much smoother. Here’s what I always have on hand:
- Sharp Pruning Shears or a Craft Knife: Clean cuts are crucial for healthy healing.
- Rooting Hormone: A powder or gel containing auxins helps encourage root development.
- Well-Draining Potting Mix: A good blend of coarse sand, perlite, and a light potting soil is ideal. You can even buy specific cactus and succulent mixes.
- Small Pots or Trays: Clean pots with drainage holes are a must!
- Plastic Bags or a Propagation Dome: To maintain humidity around the cuttings.
- Gravel or Perlite: For the bottom of the pots to improve drainage.
- Watering Can with a Fine Rose: For gentle watering.
Propagation Methods: Stem Cuttings
This is my go-to method for Melaleuca cuticularis. It’s reliable and allows you to create multiple new plants from one parent.
- Take Your Cuttings: On a pleasant morning, select healthy stems from your mature Melaleuca cuticularis. You’re aiming for pieces about 4-6 inches long. Make a clean cut just below a leaf node (where the leaves join the stem). Remove the lower leaves, leaving about 2-3 sets of leaves at the top.
- Prepare the Cuttings: Dip the cut end of each stem into your rooting hormone, tapping off any excess.
- Plant Your Cuttings: Fill your small pots with your prepared potting mix. Make a hole in the center with your finger or a pencil. Gently insert the cut end of the Melaleuca cutting into the hole, and firm the soil around it. You can plant multiple cuttings in one pot, as long as they aren’t touching.
- Water Gently: Water the soil thoroughly until water drains from the bottom of the pot. Be gentle; you don’t want to dislodge the cuttings.
- Create a Humid Environment: Place a plastic bag loosely over the pot, or use a propagation dome. This traps humidity, which is vital for cuttings to root. Make sure the leaves aren’t touching the plastic if using a bag.
- Find a Suitable Spot: Place the pots in a bright spot that receives indirect sunlight. Avoid direct sun, which can scorch the delicate cuttings and overheat the enclosed environment.
The “Secret Sauce” (Pro Tips)
I’ve learned a few tricks over the years that can really boost your success rate:
- Bottom Heat is Your Friend: Pop your pots on a heat mat designed for seedlings. This gentle warmth from below encourages root development significantly faster. It mimics soil temperatures that signal “time to grow roots!”
- Don’t Drown Them: While humidity is key, waterlogged soil is a recipe for disaster. Let the top inch of soil dry out slightly between waterings. It’s better to underwater slightly than to overwater.
- Sterilize Everything: Before you start, make sure your pruners, knives, and pots are scrupulously clean. This dramatically reduces the risk of fungal diseases or rot setting in on your vulnerable cuttings. A quick wipe with rubbing alcohol does wonders.
Aftercare & Troubleshooting
Once you see new leaf growth on your cuttings, it’s usually a good sign that roots are forming! Continue to keep them in their humid environment for a few more weeks before gradually acclimatizing them to more open air.
The biggest challenge you might face is rot. If your cuttings look mushy, black, or have a foul smell, they’ve likely succumbed to rot. This is usually due to too much moisture and not enough airflow. If you see this, unfortunately, it’s best to discard the affected cuttings and start again, paying close attention to watering and drainage. Another sign of struggle can be yellowing leaves, which could indicate insufficient light or nutrient issues, but usually, with cuttings, rot is the main culprit to watch for.
Growing new plants from cuttings is a journey of patience and observation. Don’t get discouraged if your first attempt isn’t perfect. Every gardener has had their share of failed cuttings! Just enjoy the process of nurturing these little green prospects. Happy propagating!
Resource:
https://identify.plantnet.org/k-world-flora/species/Melaleuca%20cuticularis%20Labill./data