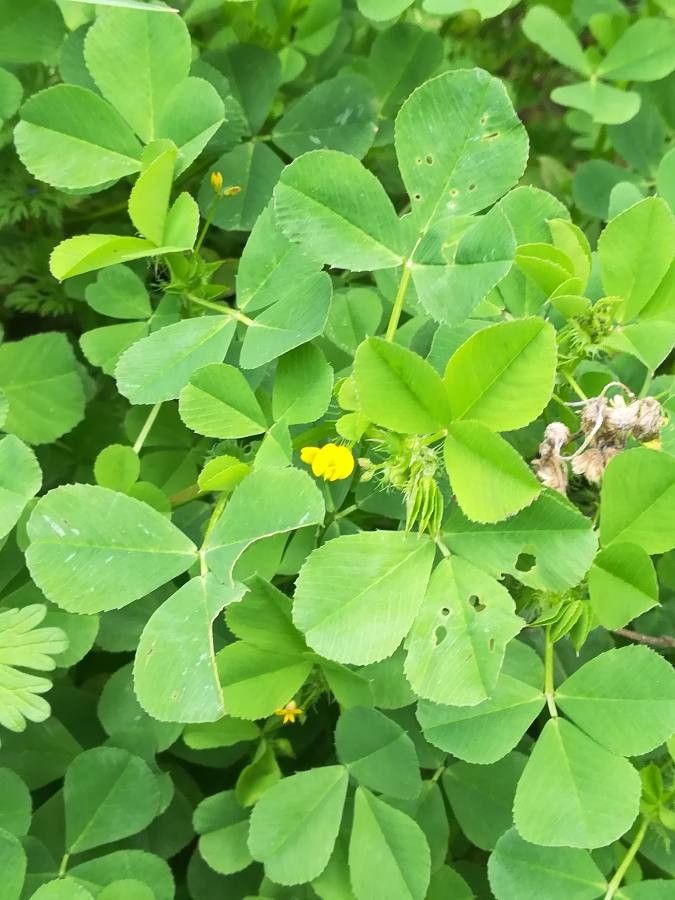
Oh, hello there! Come on in, grab a mug. Today, we’re diving into something truly special: propagating Medicago coronata. If you’ve ever been charmed by its delicate, crown-like seed pods and lovely foliage, you know what a treat it is to have it gracing your garden. And the best part? You can easily multiply this beauty yourself! For beginners, I’d say Medicago coronata is a wonderfully rewarding plant to start with. Its seeds are generally quite cooperative, making that first propagation success feel like a real triumph.
The Best Time to Start
Honestly, the most successful time to get your Medicago coronata going is after the flowering period, usually in late summer or early autumn. This is when the plant is naturally producing its seeds, and they’re at their most viable. You might also have luck with spring sowing, but the autumn harvest often yields the strongest results.
Supplies You’ll Need
Gathering your supplies beforehand makes the whole process so much smoother. Here’s what I always have on hand:
- Small pots or seed trays: Anything that can hold soil for your new babies.
- Seed-starting mix: A light, well-draining mix is crucial. I like a blend of peat moss, perlite, and a little bit of compost.
- Watering can with a fine rose: To avoid disturbing tiny seeds.
- Gloves: If you’re working with a lot of seed.
- A sunny windowsill or a grow light: For our little ones to soak up some rays.
- Optional: A small propagator with a lid: This helps maintain humidity, which is lovely for young seedlings.
Propagation Methods
For Medicago coronata, I find seed propagation to be the easiest and most effective method by far.
- Harvesting the Seeds: Once your Medicago coronata has finished flowering, look for those charming, coiled seed pods. They’ll start to dry and turn a straw-like color. Gently break them open and collect the small, hard seeds inside. It’s a bit like treasure hunting!
- Scarification (Optional but Recommended): These seeds have a tough coat, which can sometimes impede germination. To help them, you can gently scarify them. This just means nicking the seed coat. I usually do this by rubbing them lightly between two pieces of fine-grit sandpaper, or carefully nicking one edge with a sharp knife. Be gentle – you just want to break the surface, not damage the inner seed.
- Soaking the Seeds: After scarifying, soak the seeds in warm water for 24 hours. This further softens the seed coat and encourages germination. You’ll notice some seeds might swell up more than others; that’s perfectly normal.
- Sowing: Fill your pots or trays with the prepared seed-starting mix, leaving about half an inch of space at the top. Sow the seeds about ¼ inch deep. Don’t overcrowd them; give each seed a little breathing room.
- Watering: Gently water the soil until it’s evenly moist but not waterlogged. Use your fine-rose watering can to avoid washing the seeds away.
- Providing Warmth and Light: Place your pots in a warm spot. A sunny windowsill is ideal, or you can use a heat mat for consistent bottom warmth, which really speeds things up. Keep the soil consistently moist but not soggy.
- Germination: You should start seeing tiny seedlings emerge within 7 to 14 days. It’s such a magical moment!
The “Secret Sauce” (Pro Tips)
You know, after years of getting my hands dirty, I’ve picked up a few tricks that make propagation feel less like guesswork and more like a gentle nudge in the right direction.
- Don’t Over-Water! This is probably the most common mistake. Seedlings are delicate, and sitting in soggy soil is a fast track to rot. Aim for consistently moist, not wet. If you see water pooling on the surface, hold back.
- Patience is Key with Scarification: If you skip scarifying, germination can be slow and erratic. But if you scarify too aggressively, you’ll damage the embryo. It’s a balance, and a light touch is all you need. Think of it as giving the seed a little encouragement, not a serious injury!
- Air Circulation is Your Friend: Once those little seedlings pop up, make sure they have good airflow. If you’re using a propagator lid, lift it off for a few hours each day to prevent damp conditions that encourage fungal diseases like damping-off.
Aftercare & Troubleshooting
Once your Medicago coronata seedlings have developed their first set of true leaves (they’ll look a bit different from the initial baby leaves), they’re ready for a bit more attention.
- Thinning: If you have multiple seedlings too close together, gently thin them out by snipping away the weaker ones at the soil line. This gives the strongest seedlings room to thrive.
- Hardening Off: Before planting them out in the garden (if that’s your plan), you need to harden them off. This means gradually exposing them to outdoor conditions – cooler temperatures, direct sun, and wind – over a week or two. Start with an hour or two in a sheltered spot, and slowly increase the time.
- Transplanting: Once they’re acclimatized, you can transplant them into their final forever homes. Handle them by their leaves, not their delicate stems, to avoid damage.
If you’re seeing seedlings suddenly collapse at the soil line, that’s likely damping-off, a fungal disease caused by overly wet conditions. It’s a tough one, but good airflow and avoiding over-watering are your best defenses. If a seed just doesn’t sprout, don’t get discouraged. Sometimes it just takes a little longer, or perhaps that particular seed wasn’t viable.
Growing plants from seed is one of the most grounding and rewarding experiences a gardener can have. It’s a tangible connection to the life cycle of plants. So, give it a go with your Medicago coronata. Be patient, observe your little sprouts, and most importantly, enjoy the magic of bringing new life into your garden! Happy growing!
Resource:
https://identify.plantnet.org/k-world-flora/species/Medicago%20coronata%20(L.)%20Bartal./data