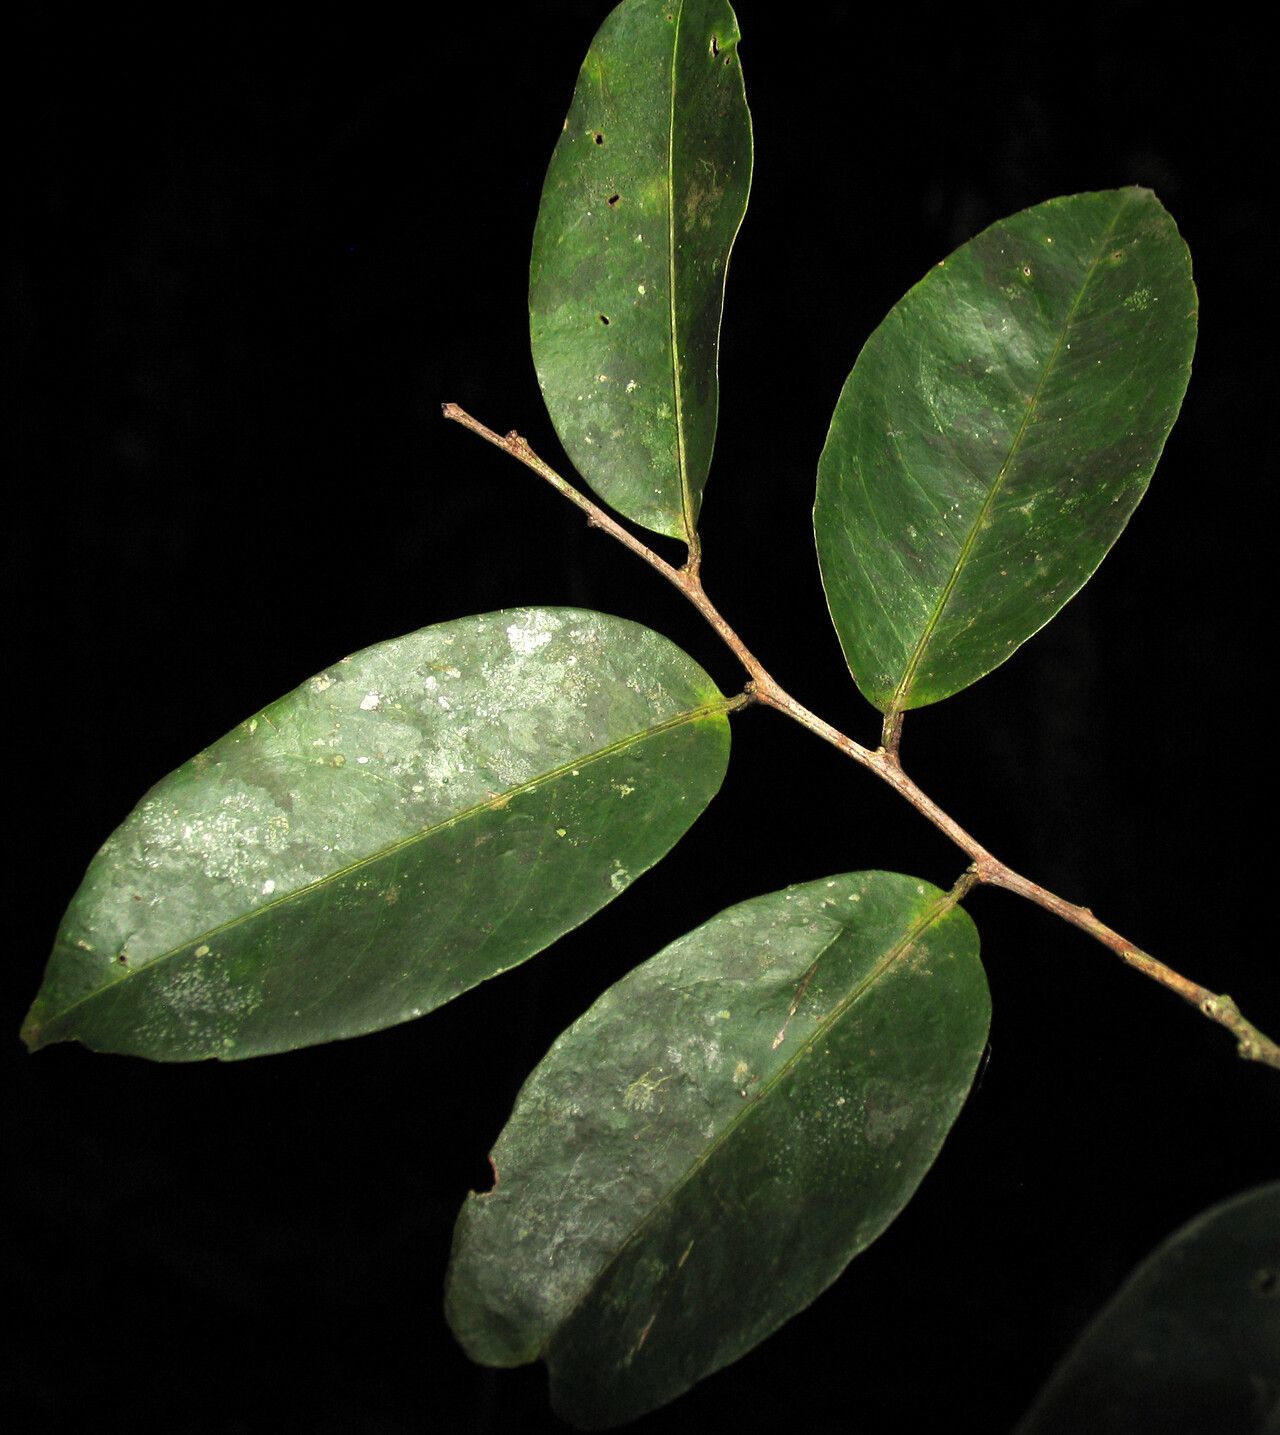
Oh, Maytenus floribunda! What a joy to talk about this plant. If you’re anything like me, you’ve probably admired its glossy, evergreen leaves and its graceful, sometimes arching habit. It’s one of those plants that just brings a bit of sophisticated polish to any garden setting. And the reward of creating more of them from your existing beauties? Pure gardening bliss!
For those of you just dipping your toes into propagation, I’d say Maytenus floribunda is a pretty forgiving friend. It’s not overly fussy, and with a little care, you’ll likely find yourself with a lovely little start to a new plant.
The Best Time to Start
My favorite window for propagating Maytenus floribunda is late spring to early summer. This is when the plant is actively growing, and new shoots are developing. You’re looking for stems that are somewhat firm but not fully woody – think of them as just on the cusp of maturity. They have enough stored energy to fuel root development, but they’re still pliable enough to root easily.
Supplies You’ll Need
Gathering your tools beforehand makes the whole process go much smoother. Here’s what I’ve found essential:
- Sharp Pruning Shears or a Knife: Clean cuts are crucial for preventing disease.
- Rooting Hormone: While not strictly necessary, it gives your cuttings a significant boost. I prefer a powder, but a gel works well too.
- Small Pots or Seedling Trays: Something around 3-4 inches deep is ideal.
- Well-Draining Potting Mix: A good blend for me is one part peat moss, one part perlite, and one part vermiculite. You can also find pre-made “seed starting” or “cutting” mixes.
- Plastic Bags or a Propagation Dome: To create a humid environment.
- Labels and a Pen: Trust me, you’ll thank yourself later!
- Watering Can with a Fine Rose: Gentle watering is key.
Propagation Methods
While you could try water propagation with these, I find stem cuttings to be the most reliable and successful method for Maytenus floribunda.
Stem Cuttings:
- Take Your Cuttings: Using your clean shears or knife, select healthy, semi-hardwood stems from your mature plant. Aim for cuttings that are about 4-6 inches long. Make your cut just below a leaf node (where a leaf attaches to the stem).
- Prepare the Cuttings: Gently remove the lower leaves from the bottom inch or two of each cutting. This prevents them from rotting when buried in the soil. If the leaves at the top are large, you can cut them in half to reduce water loss through transpiration.
- Apply Rooting Hormone: Dip the cut end of each prepared cutting into your rooting hormone, tapping off any excess.
- Plant Your Cuttings: Fill your small pots or trays with your moist potting mix. Make a small hole in the center of the mix with a pencil or your finger. Insert the rooting-hormone-coated end of the cutting into the hole, and gently firm the soil around it. Make sure just the leaves are above the soil line.
- Create Humidity: Water the soil gently until it’s evenly moist but not waterlogged. Then, cover the pot with a plastic bag (forming a mini-greenhouse) or place it under a propagation dome. Make sure the bag doesn’t touch the leaves too much.
The “Secret Sauce” (Pro Tips)
Here are a few little tricks I’ve picked up over the years that can really make a difference:
- Bottom Heat is Your Friend: If you have a heat mat designed for seedlings, placing your pots on it can speed up root development considerably. This mimics the warmth of spring soil.
- Cleanliness is Paramount: I can’t stress this enough! Sterilize your tools before you start by wiping them down with rubbing alcohol. This is your first line of defense against any nasty fungal infections that can kill off your precious cuttings.
- Patience with Observation: Don’t be tempted to pull your cuttings out every day to check for roots. You’ll know new roots are forming when you see fresh, green growth appearing at the top of the stem, or when you can gently tug on the cutting and feel resistance.
Aftercare & Troubleshooting
Once you see signs of new growth, it’s time to start acclimating your new Maytenus floribunda to life outside its cozy humidity tent.
- Gradual Acclimation: Over the next week to ten days, gradually open the bag or dome for longer periods each day. This allows the young plant to adjust to lower humidity levels.
- Watering: Keep the soil consistently moist but never soggy. Overwatering is the quickest way to invite root rot, which is probably the most common sign of failure. You might see yellowing leaves or a mushy stem base if this happens.
- Light: Once you’ve removed the cover, place your new plants in a bright spot with indirect light. Avoid direct, scorching sun, which can brown the delicate new leaves.
- Transplanting: When the roots have filled the small pot (you’ll see them coming out the drainage holes, or they’ll resist a gentle tug), you can transplant them into slightly larger individual pots.
A Little Encouraging Closing
And there you have it! Propagating Maytenus floribunda is a wonderfully rewarding endeavor. It might take a little patience, and you might lose a cutting or two along the way – that’s perfectly normal! The joy of nurturing a new life from a piece of your beloved plant is truly special. So grab your pruners, get your hands in some soil, and enjoy the journey. Happy gardening!
Resource:
https://identify.plantnet.org/k-world-flora/species/Maytenus%20floribunda%20Reissek/data