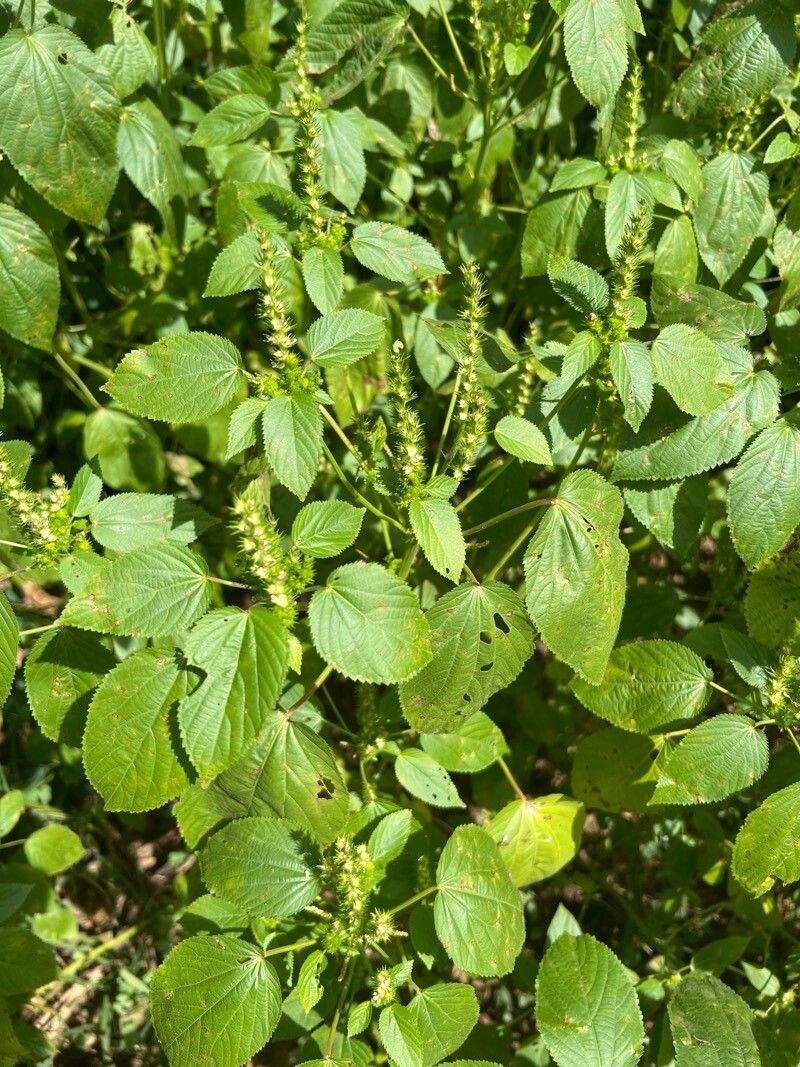
Oh, hello there! Pull up a chair. Let’s chat about the wonderfully whimsical world of Acalypha setosa, often called the Copperleaf plant. Its vibrant, often coppery-red foliage adds such a fantastic splash of color to any garden, and honestly, watching a tiny cutting transform into a thriving plant is one of the most satisfying things you can do as a gardener. And the best part? Propagating Acalypha setosa is remarkably easy, even for those of you just starting out on your green-thumb journey. You’ll be able to fill your own garden (and your friends’!) with these beauties in no time.
The Best Time to Start
For Acalypha setosa, the golden rule is to propagate during its active growing season. For most of us, this means spring or early summer. The warmer temperatures and increasing daylight encourage rapid root development, giving your new plants the best chance to establish themselves quickly. Trying to propagate when the plant is naturally slowing down, say in late fall or winter, is just setting yourself up for a bit of frustration. Patience, my friends!
Supplies You’ll Need
Before we get our hands dirty, let’s gather our trusty tools:
- Sharp Pruning Shears or a Clean Knife: For taking clean, precise cuttings.
- Small Pots or Seed Trays: With drainage holes, of course! About 4-inch pots are usually a good size to start.
- Well-Draining Potting Mix: I like to use a mix of equal parts peat moss or coco coir, perlite, and sterilized potting soil. You can also find specific seed starting mixes that work wonderfully.
- Rooting Hormone (Optional but Recommended): This little helper gives your cuttings a significant boost in root development. Look for one that contains IBA (indole-3-butyric acid).
- Plastic Bags or a Clear Dome: To create a mini-greenhouse effect and keep humidity high.
- Watering Can or Spray Bottle: For gentle watering.
- Labels and a Marker: To keep track of what you’ve propagated (trust me, it gets confusing!).
Propagation Methods
Acalypha setosa is a champion at growing from stem cuttings. It’s straightforward and almost always successful.
- Select Your Cuttings: Look for healthy, vigorous stems on your Acalypha. You want to choose stems that are not flowering and are semi-hardwood. This means they’re not brand new and floppy, but also not old and woody. A good cutting is about 4-6 inches long.
- Make the Cut: Using your sharp shears or knife, make a clean cut just below a leaf node. A leaf node is where a leaf attaches to the stem; this is where roots are most likely to form. Remove the lower leaves, leaving just the top 2-3 leaves. This will prevent them from rotting in the soil.
- Apply Rooting Hormone (If Using): Dip the cut end of your stem into the rooting hormone, tapping off any excess.
- Plant Your Cuttings: Fill your small pots with your prepared potting mix. Make a small hole in the center with your finger or a pencil. Gently insert the treated end of the cutting into the hole, ensuring it’s firm enough to stand on its own. Press the soil firmly around the base of the cutting to eliminate air pockets.
- Water Gently: Water the pots thoroughly until water drains from the bottom. Allow excess water to drain away.
- Create a Humid Environment: Place the pots inside a clear plastic bag, sealing it loosely at the top, or cover them with a clear plastic dome. This traps moisture and keeps the humidity high, which is crucial for cuttings. Place them in a bright location but out of direct sunlight.
The “Secret Sauce” (Pro Tips)
Here are a few little tricks I’ve picked up over the years that really make a difference:
- Don’t Crowd Your Cuttings: Give each cutting its own little space in a pot. This prevents the spread of any potential disease and allows for good air circulation, which is vital for preventing rot.
- Bottom Heat is Your Friend: If you can, place your pots on a heating mat designed for propagation. This gentle warmth from below encourages root formation much faster than ambient room temperature alone. It mimics the perfect conditions the plant would experience in its natural environment during the growing season.
- Pinch Off Early Flowers: If you see any tiny flower buds forming on your cuttings before they’ve rooted, gently pinch them off. This directs all the plant’s energy into root production, not floral display.
Aftercare & Troubleshooting
Once you’ve planted your cuttings, the waiting game begins! Keep the soil consistently moist but not waterlogged. Check every few days to ensure the soil is still damp. You can gently tug on a cutting; if you feel resistance, it means roots have started to form. This usually takes anywhere from 3-6 weeks.
Once you see new leaf growth, that’s a great sign! It means your cutting has rooted. Carefully remove the plastic bag or dome gradually over a few days to acclimate your new plant to lower humidity. Continue to water as needed and keep it in that bright, indirect light.
The most common issue you might encounter is rot. If you see your cutting becoming mushy or developing black spots, it’s likely too much moisture and not enough air circulation. If you catch it early, you might be able to save it by removing the affected part and letting it dry out a bit more before replanting, but often, it’s best to start fresh with new cuttings.
A Little Encouragement
See? Not so scary, is it? Propagating Acalypha setosa is a wonderfully rewarding process. Be patient with your new little plants, give them the love and consistent care they need, and before you know it, you’ll have a whole new garden of gorgeous Copperleaf plants to admire. Happy propagating!
Resource:
https://identify.plantnet.org/k-world-flora/species/Acalypha%20setosa%20A.Rich./data