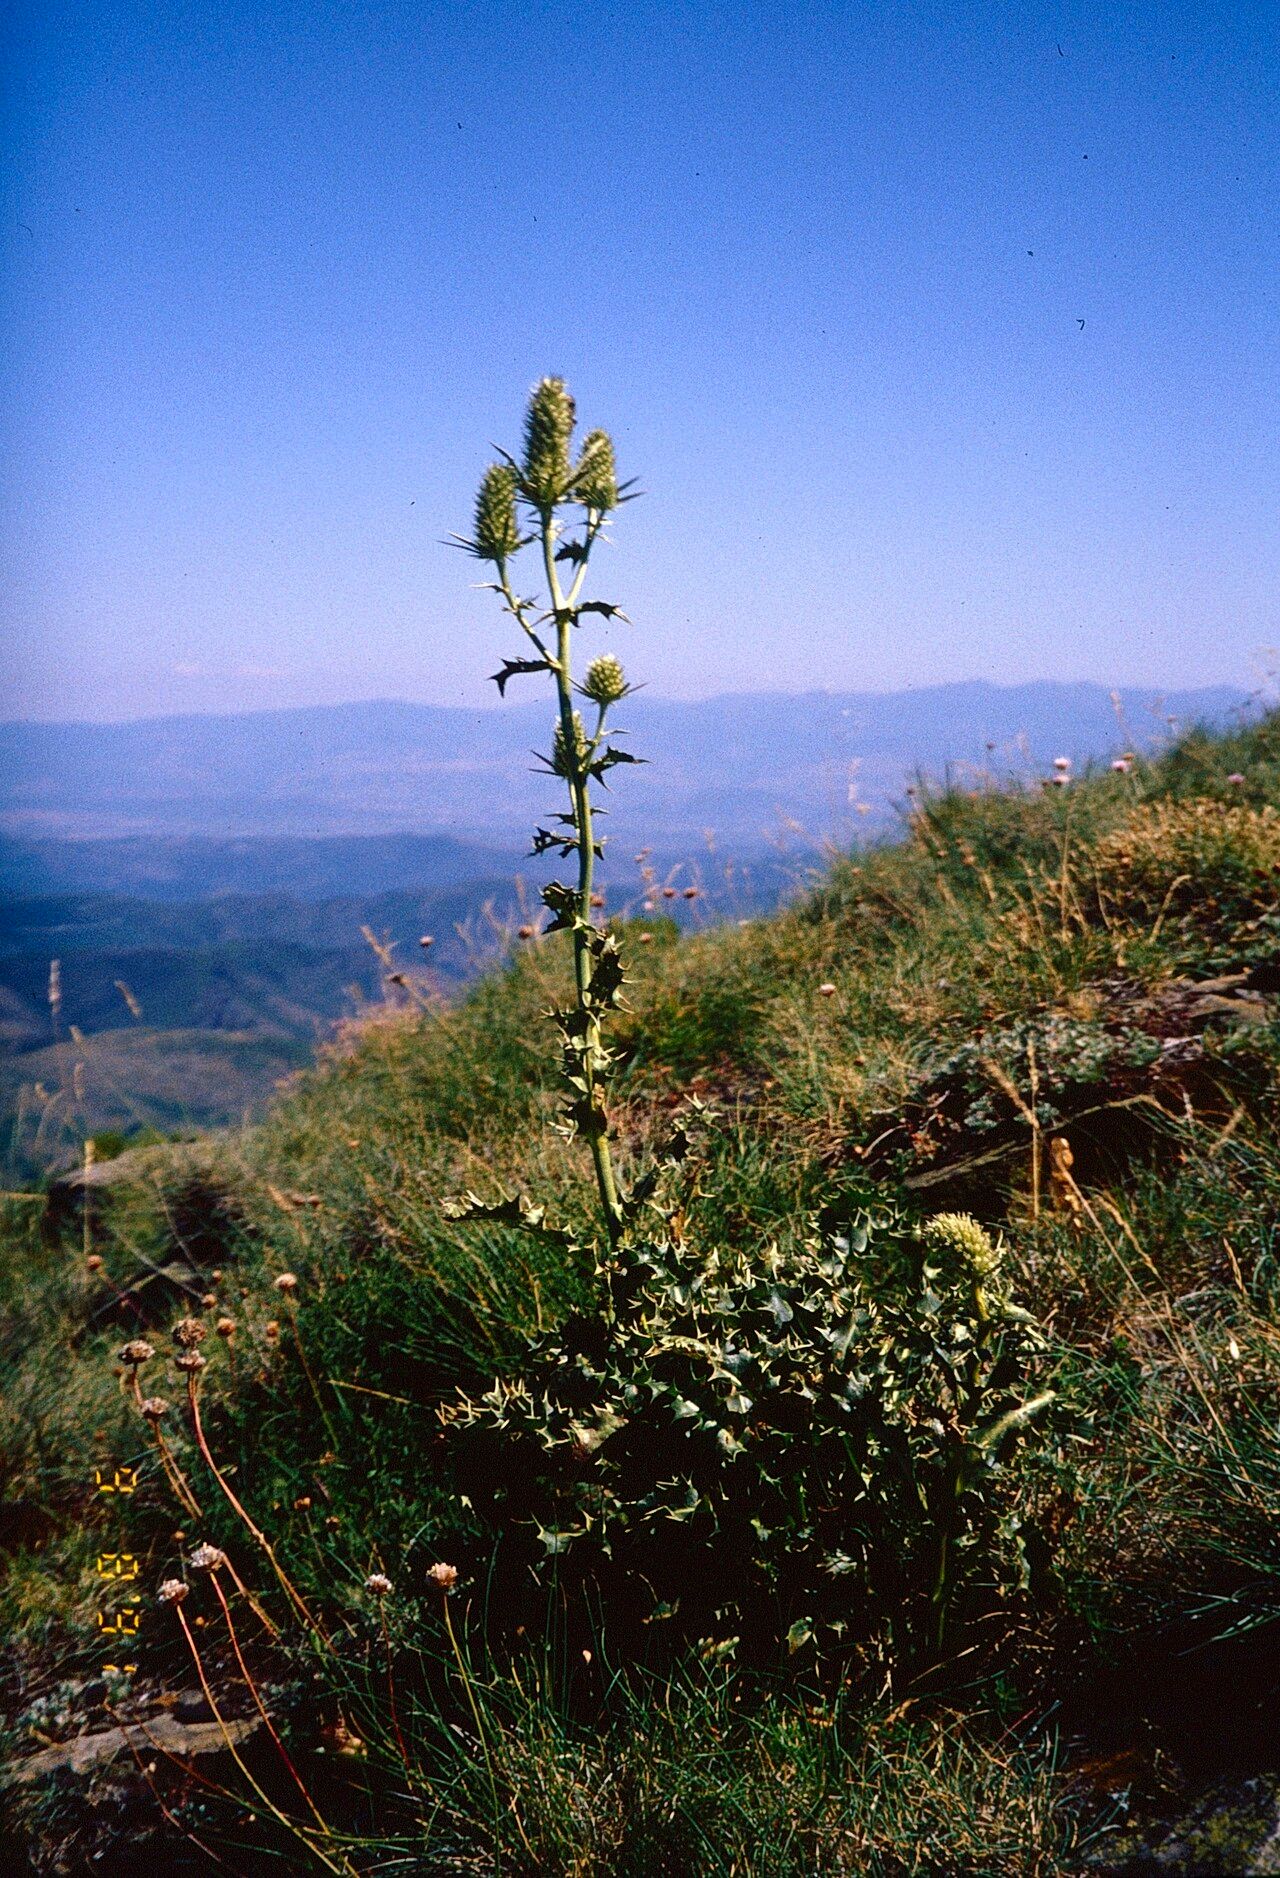
Hello there, fellow plant enthusiasts! Today, I want to talk about a plant that truly captures my heart with its sculptural beauty and surprisingly tough nature: Eryngium duriaei, often called Moroccan Sea Holly. If you’re drawn to the spiky, silvery-blue allure of sea hollies, you’re in for a treat. Propagating Eryngium duriaei is a wonderfully rewarding way to expand your collection, and while it requires a little bit of care, it’s not an impossible feat, even for those who are still getting their green thumb! Think of it as a delightful gardening puzzle.
The Best Time to Start
For the highest success rate with Eryngium duriaei, late spring to early summer is your golden window. This is when the plant is actively growing and has plenty of energy to put into forming new roots. Waiting until after the main flush of growth and before the extreme heat of mid-summer will give your cuttings or divisions the best chance to establish themselves without too much stress.
Supplies You’ll Need
Gathering your tools beforehand makes the whole process smoother. Here’s what I usually have on hand:
- Sharp, clean pruning shears or a sharp knife: For making clean cuts.
- Rooting hormone powder or gel: While not strictly essential for every plant, I find it gives Eryngium cuttings a noticeable boost.
- Well-draining potting mix: A standard seed-starting mix with extra perlite or coarse sand works wonderfully. You want to avoid anything that stays soggy.
- Small pots or propagation trays: With drainage holes, of course!
- A watering can with a fine rose or a spray bottle: For gentle watering.
- Labels: To keep track of what you’ve propagated and when.
- (Optional) A heat mat: For added warmth, which can speed up root development.
Propagation Methods
Eryngium duriaei is most successfully propagated from stem cuttings or by division. Let’s dive into how I tackle each one.
Stem Cuttings
This is my preferred method as it allows me to get multiple plants from one healthy parent.
- Take your cuttings: In late spring or early summer, select healthy, non-flowering stems from your Eryngium. Look for stems that are about 4-6 inches long. Using your clean shears, make a clean cut just below a leaf node (where a leaf attaches to the stem). Remove the lower leaves, leaving just a couple at the very top.
- Apply rooting hormone: Dip the cut end of the stem into your rooting hormone powder or gel. Tap off any excess.
- Plant your cuttings: Fill your small pots or trays with your well-draining mix. Gently insert the hormone-coated end of the cutting into the soil, pushing it down about an inch. Firm the soil gently around the stem.
- Water gently: Water the soil thoroughly but gently. You don’t want to dislodge your cuttings.
Division
If your Eryngium duriaei has grown into a nice clump, dividing it is a fantastic way to increase your stock and also give the parent plant a refresh.
- Carefully dig up the plant: In late spring or early summer, when the soil is slightly moist (not waterlogged!), carefully dig up the entire Eryngium clump. Try to disturb the roots as little as possible.
- Separate the divisions: Gently pull the root ball apart with your hands. If it’s a bit stubborn, you can use a clean trowel or even a sharp knife to help separate sections. Each division should have both roots and leafy shoots.
- Replant immediately: Pot up your divisions into well-draining soil as you would with a new plant. Ensure the crown of the plant (where the stem meets the roots) is at soil level.
The “Secret Sauce” (Pro Tips)
Here are a couple of tricks I’ve learned over the years that really help boost success with these spiky beauties.
- Air circulation is key: For cuttings, I like to tent the pots loosely with a plastic bag or place them in a propagator. However, ensure there’s some airflow to prevent fungal issues. Just a small opening will do.
- Bottom heat works wonders: While not mandatory, placing your pots on a gentle heat mat really speeds up root development. Think about replicating a nice, warm spring soil temperature. It just gives those roots that extra encouragement.
Aftercare & Troubleshooting
Once your cuttings are planted or divisions are potted, here’s how to keep them happy.
- Keep them consistently moist, but not wet: This is crucial. The soil should feel like a wrung-out sponge – damp but not soggy. If you’ve used the plastic bag method, check the moisture daily.
- Provide bright, indirect light: Avoid direct, harsh sunlight while your cuttings and divisions are establishing. A bright windowsill or a spot in a greenhouse is perfect.
- Be patient! Rooting can take anywhere from a few weeks to a couple of months. You’ll know they’re taking off when you see new growth appearing at the top. Gently tugging a cutting – if there’s resistance, roots have likely formed.
- Watch for rot: The most common sign of failure is rot. If your cuttings look mushy or blacken at the base, you’ve likely overwatered or lacked proper drainage. Discard any affected cuttings and ensure your soil is always free-draining.
And there you have it! Propagating Eryngium duriaei is a journey that offers fresh beauties for your garden. Don’t be discouraged if every single cutting doesn’t make it; that’s part of the learning process. Just keep observing, adjust your approach, and enjoy the magic of plant propagation. Happy gardening!
Resource:
https://identify.plantnet.org/k-world-flora/species/Eryngium%20duriaei%20J.Gay%20ex%20Boiss./data