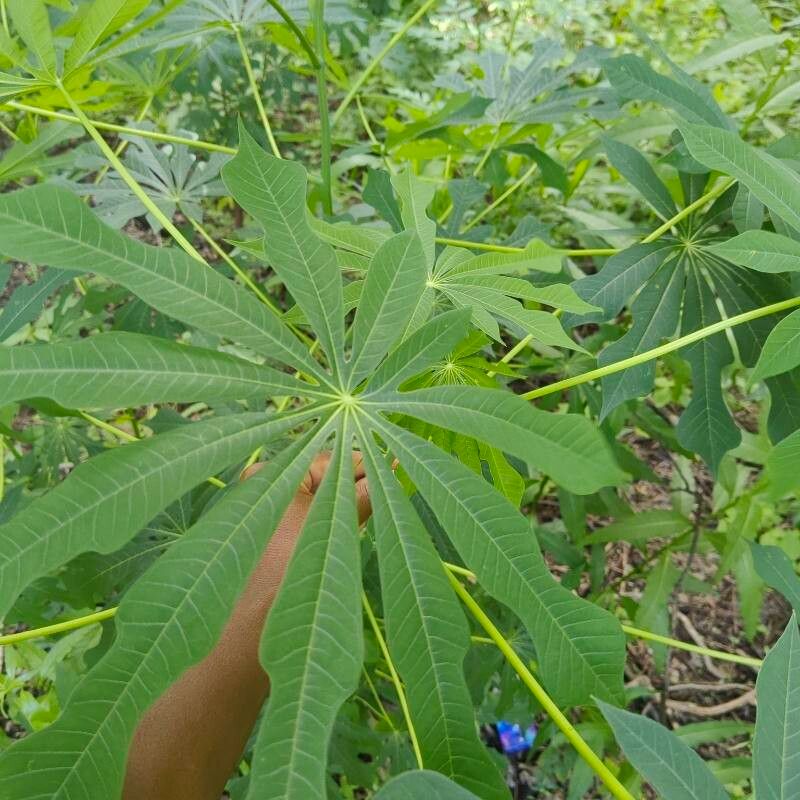
Oh, hello there, fellow plant enthusiast! Welcome to my little corner of the gardening world. Today, we’re diving into something truly special: propagating Manihot grahamii. This plant, with its striking, palm-like foliage and architectural presence, brings a touch of the tropics right into our gardens. Trust me, there’s a unique joy in nurturing a brand new plant from a piece of its parent. It’s like witnessing a little miracle unfold!
Now, for the big question: is it easy for beginners? Honestly, Manihot grahamii can be a little bit fiddly, but with a bit of care and attention, absolutely anyone can find success. Don’t let that deter you! We’ll go through it step-by-step, and I’ll share all my little secrets.
The Best Time to Start
When it comes to giving your cuttings the best chance, spring and early summer are your golden ticket. This is when the plant is actively growing, brimming with energy. You’ll find that cuttings taken during this vibrant period root more readily. Look for healthy, well-established stems that aren’t too leggy or too old.
Supplies You’ll Need
Gathering your tools beforehand makes the whole process so much smoother. Here’s what I always have on hand:
- Sharp, clean pruning shears or a sharp knife: For taking clean cuttings. A dull tool can crush the stems, hindering root development.
- Small pots or trays: For planting your cuttings. Make sure they have drainage holes!
- Potting mix: A good quality, well-draining potting mix is crucial. I often use a blend of equal parts potting soil, perlite, and sand. This airy mix prevents waterlogged roots.
- Rooting hormone (optional but recommended): This isn’t strictly necessary for all plants, but it gives your Manihot grahamii cuttings a real boost.
- Watering can or spray bottle: For gentle watering.
- Plastic bags or a propagator: To create a humid environment for your cuttings.
- Labels and a permanent marker: Don’t skip this! You’ll thank yourself later.
Propagation Methods
Let’s get our hands dirty! The most reliable way to propagate Manihot grahamii is through stem cuttings.
- Take the Cuttings: When you’re ready, choose a healthy, non-flowering stem. Using your sharp shears or knife, cut a piece about 4-6 inches long. Make the cut just below a leaf node (where a leaf attaches to the stem). Remove the lower leaves, leaving just a couple at the very top.
- Prepare the Cuttings: If you’re using rooting hormone, lightly dip the cut end of the stem into it. Tap off any excess.
- Planting Time: Fill your small pots with your prepared, damp potting mix. Make a hole in the center of the soil with your finger or a pencil. Gently insert the cutting into the hole, ensuring the nodes where you removed the leaves are below the soil line. Firm the soil gently around the stem.
- Create Humidity: Water the soil lightly. Then, place the potted cutting into a plastic bag or a propagator. Seal it up, but leave a small gap for ventilation, or open it daily for a few minutes. This helps maintain a humid environment, which is key for root formation.
- Placement: Put your pot in a bright spot, but out of direct sunlight. The warmth and light will encourage rooting.
The “Secret Sauce” (Pro Tips)
Now, for a few little insider tricks that make a big difference!
- Think “Air Pockets,” Not “Soaking”: When you water your cuttings, aim for moist soil, not soggy. If the leaves are dangling, try to ensure they don’t touch the surface of the water if you were to opt for water propagation (which is less common for this plant but worth mentioning). Waterlogged leaves can rot.
- Bottom Heat is Your Friend: If you have the space, placing your pots on a gentle heated propagator mat or near a warm appliance can significantly speed up root development. Manihot grahamii loves a little warmth from below.
- Patience with the Leaf Check: Don’t be tempted to tug on your cuttings to see if they’ve rooted after just a week or two! Wait until you see new leaf growth. This is the surest sign that roots have formed and the plant is happy to establish itself.
Aftercare & Troubleshooting
Once you see that beautiful new growth, it’s time for a little shift in care.
- Gradual Acclimation: Slowly start to reduce the humidity by opening the propagator or plastic bag a little wider each day. You want to gradually introduce your new plant to the drier air of your home.
- Regular Watering: Continue to water when the top inch of soil feels dry. Avoid overwatering.
- Moving Up: Once your new plant has established a decent root system (you might see roots peeking out of the drainage holes), you can pot it up into a slightly larger container with fresh potting mix.
Now, what happens if things don’t go as planned? The most common culprit is root rot. This usually happens from too much moisture and poor drainage. You might notice yellowing leaves, wilting, or a mushy stem base. If you see this, it’s often best to discard the cutting and start fresh with drier soil and better air circulation. Don’t be discouraged! Every gardener has had cuttings fail. It’s part of the learning curve.
A Little Emcouragement
Propagating plants is a beautiful dance with nature. It takes a bit of practice, a dash of patience, and a whole lot of love. Don’t be afraid to experiment, and more importantly, enjoy the process. Watching that tiny cutting transform into a thriving new plant is one of the most rewarding experiences in gardening. Happy propagating!
Resource:
https://identify.plantnet.org/k-world-flora/species/Manihot%20grahamii%20Hook./data