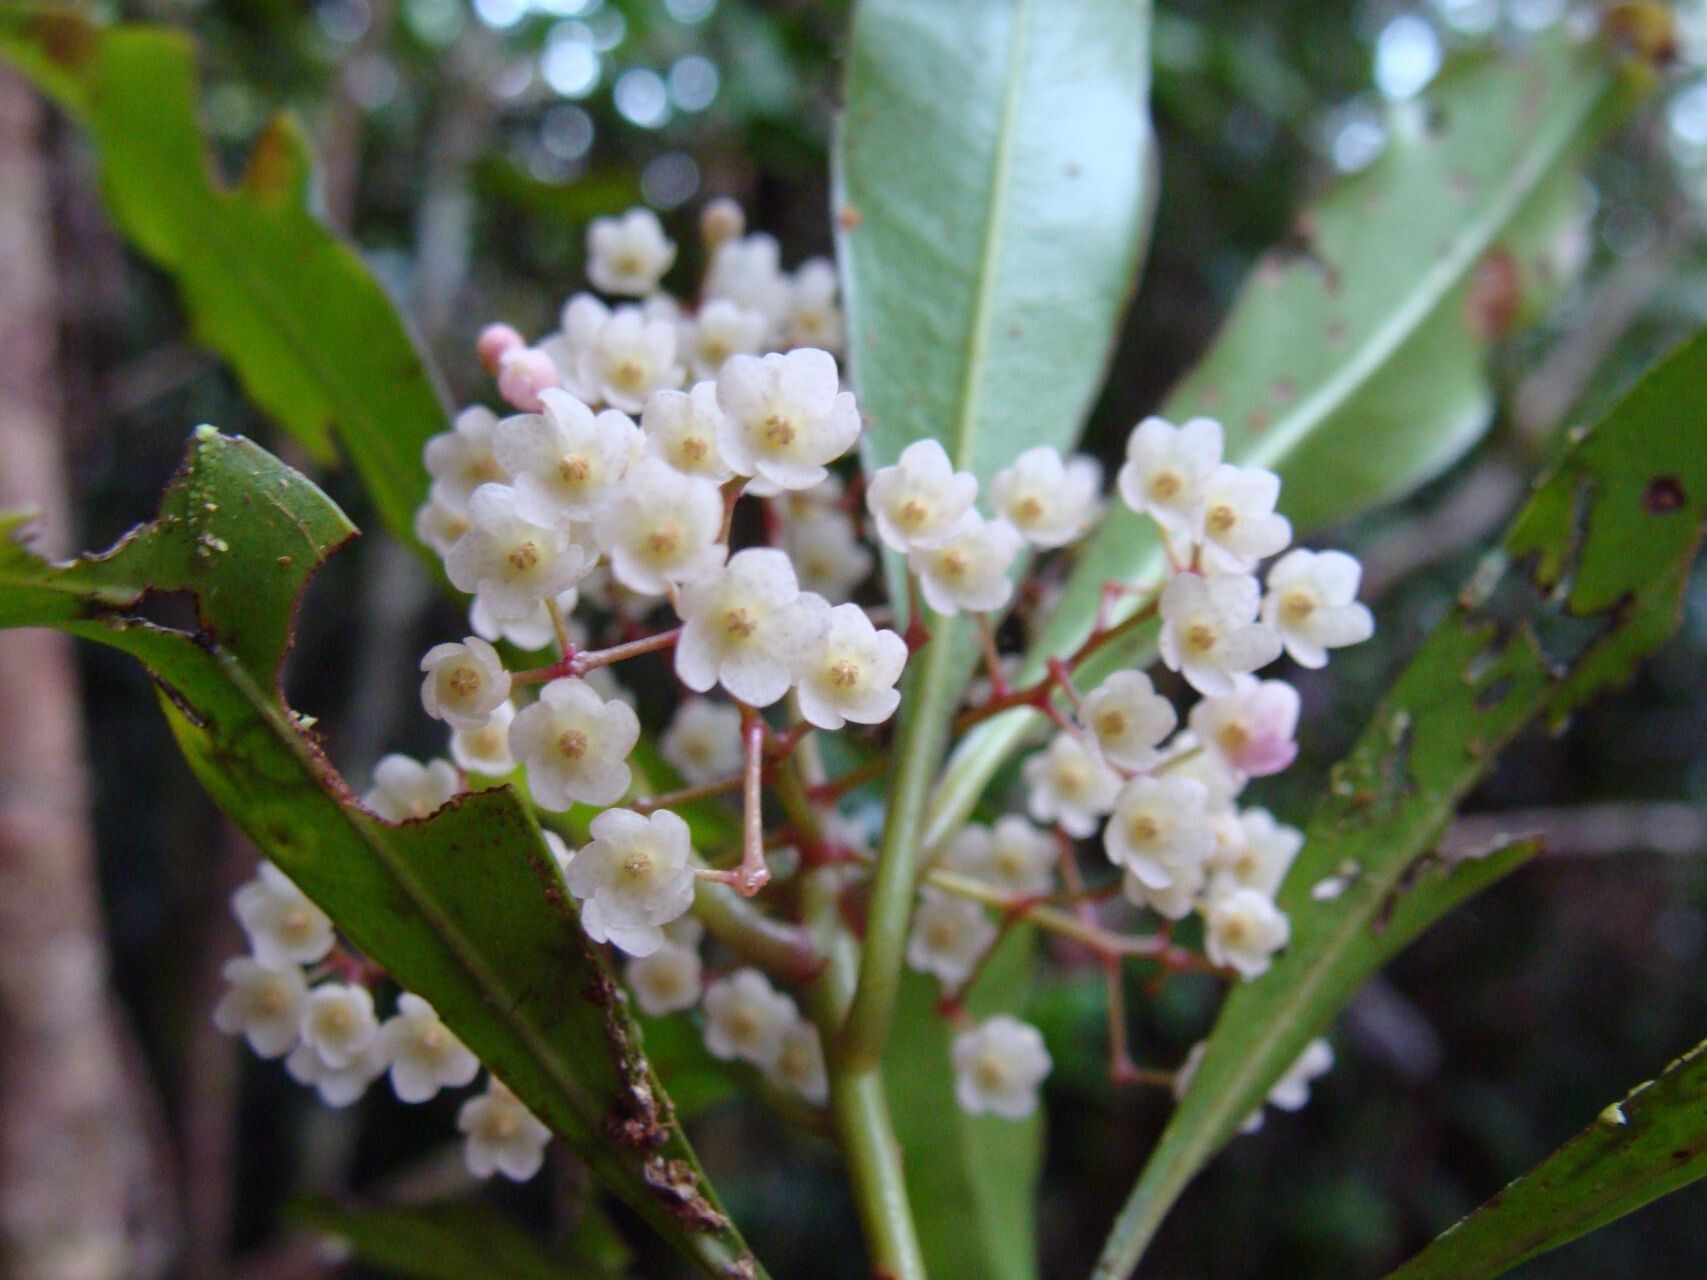
Hello there, fellow plant lovers! Today, I want to talk to you about a true gem for any shade garden or humid corner: Tapeinosperma psaladense. This isn’t a plant you see everywhere, and that’s part of its charm. Its architectural leaves and often delicate, wispy blooms bring a touch of the exotic to our spaces. I find its subtle beauty so captivating, and the reward of growing one from scratch is double the joy. Now, is it a walk in the park for absolute beginners? Honestly, I’d say it’s a bit more of a moderate challenge, but with a little guidance, you’ll absolutely nail it.
The Best Time to Start
For Tapeinosperma psaladense, timing is everything. You’ll have the best luck starting new plants during its active growing season, which generally means spring and early summer. When the plant is putting on new growth, its energy reserves are high, making it more receptive to rooting. I usually look for stems that are firm but not woody – think of it as somewhere between brand new growth and mature, stiff stems.
Supplies You’ll Need
Gathering your tools before you begin is key to a smooth process. Here’s what I always have on hand:
- Sharp Pruning Shears or a Clean Knife: For making clean cuts.
- Potting Mix: A light, well-draining mix is crucial. I often use a blend of coco coir, perlite, and a bit of peat moss.
- Small Pots or Seedling Trays: With drainage holes, of course!
- Rooting Hormone (Optional but Recommended): A powder or gel really helps to encourage root development.
- Clear Plastic Bag or Dome: To create a humid environment.
- Watering Can with a Fine Rose or Spray Bottle: For gentle watering.
- Labels: So you don’t forget what you planted where!
Propagation Methods
Let’s get our hands dirty! Stem cuttings are my go-to method for Tapeinosperma psaladense.
Stem Cuttings:
- Select Your Stem: Find a healthy stem on your mature plant that has at least two growth nodes (where leaves emerge).
- Make the Cut: Using your clean shears or knife, make a clean cut just below a node. Aim for a cutting that’s about 4-6 inches long.
- Prepare the Cutting: Gently remove the lower leaves, leaving just a couple of leaves at the top. This helps prevent rot and directs the plant’s energy towards rooting. If the remaining leaves are very large, I’ll often cut them in half crosswise to further reduce water loss.
- Apply Rooting Hormone (Optional): Dip the cut end into your rooting hormone, tapping off any excess.
- Plant the Cutting: Fill your small pot with your prepared potting mix. Make a small hole with your finger or a pencil and insert the cutting, ensuring at least one node is buried beneath the soil. Gently firm the soil around the cutting.
- Water In: Water the potting mix thoroughly but gently.
- Create a Humid Environment: Cover the pot with a clear plastic bag or a propagation dome. This isn’t about making it steamy, but rather maintaining consistent humidity around the cutting. You can secure the bag with a rubber band around the pot.
- Placement: Place the pot in a bright spot, but out of direct sunlight. A warm location is also beneficial.
The “Secret Sauce” (Pro Tips)
Here are a couple of little tricks that have always served me well:
- Don’t Let Leaves Touch the Water: If you opt for water propagation (which can work but is trickier with this plant), ensure NO leaves are submerged. Rot sets in so fast if they are. It’s usually best to remove lower leaves entirely so only the stem is in the water.
- Bottom Heat is Your Friend: Especially if you’re propagating in cooler months or your home isn’t consistently warm, placing your pots on a gentle seedling heat mat can significantly speed up root formation. It mimics the warmth of spring soil.
Aftercare & Troubleshooting
Once your cuttings are potted up, keep the soil consistently moist but not soggy. The plastic bag or dome will help a lot here – you don’t want it to dry out. I usually give them a gentle water, then let the top layer of soil just start to dry before watering again.
You’ll know your cuttings are rooting when you see new leaf growth. This can take anywhere from a few weeks to a couple of months, so be patient! Gently tugging on the cutting – if there’s resistance, you’ve got roots.
The most common sign of trouble is rot. If your cutting turns mushy or black, it’s likely rotted. This usually happens due to overwatering or poor drainage. It’s heartbreaking, but sadly, you’ll probably need to discard it and start again, paying close attention to your watering and soil mix.
A Encouraging Closing
Growing new plants is such a rewarding journey, and propagating Tapeinosperma psaladense is a wonderful way to share its beauty. Don’t be discouraged if your first attempt isn’t perfect. Gardening is all about learning, experimenting, and embracing the process. So grab your snips, get your hands in the soil, and enjoy watching these little wonders take root! Happy propagating!
Resource:
https://identify.plantnet.org/k-world-flora/species/Tapeinosperma%20psaladense%20Mez/data