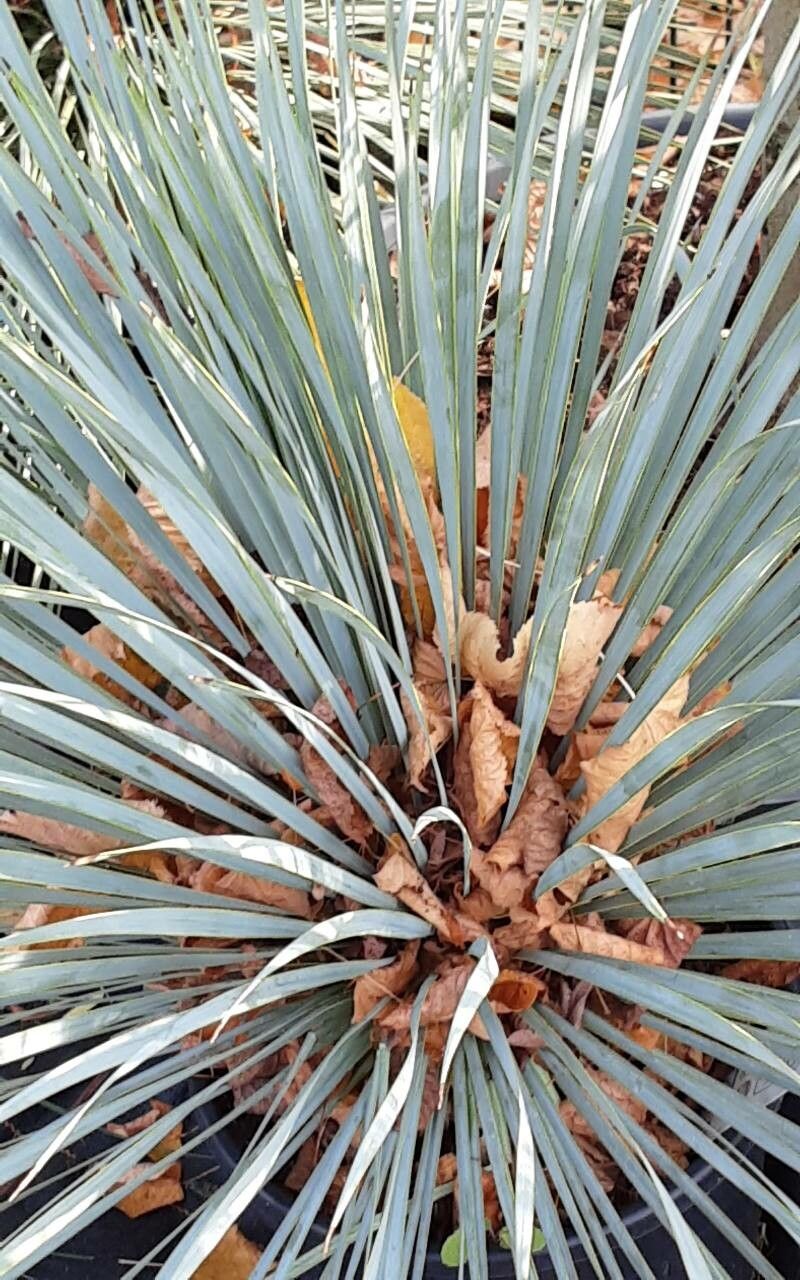
Hello fellow garden enthusiasts! If you’re like me, you probably have a soft spot for those architectural wonders, the Yucca plants. Their spiky rosettes and dramatic flower stalks are just so captivating. And when it comes to Yucca glauca, also known as the Great Plains Yucca, its resilience and stunning bluish-green foliage truly steal the show. If you’ve ever admired one and wished you could have more, I’ve got great news! Propagating Yucca glauca is not only achievable, it’s incredibly rewarding. For beginners, I’d say it’s moderately easy, with a little patience and the right approach.
The Best Time to Start
My top recommendation for when to propagate Yucca glauca is during its active growing season, which is typically from late spring through early summer. This is when the plant is brimming with energy and has the best chance of producing healthy roots. You can also get away with propagating in the fall, but you’ll want to ensure it has enough time to establish before winter’s chill sets in.
Supplies You’ll Need
Gathering your tools beforehand makes the whole process smoother. Here’s what I always have on hand:
- Sterilized pruning shears or a sharp knife: Cleanliness is key to preventing disease.
- Rooting hormone (optional but recommended): A little boost can significantly speed up root development.
- Well-draining potting mix: A succulent or cactus mix works wonderfully. You can also create your own by blending equal parts potting soil, perlite, and coarse sand.
- Small pots or containers: Ensure they have drainage holes!
- Gravel or small stones (for drainage): A thin layer at the bottom of pots can be helpful.
- Gloves: Yucca leaves can be sharp!
- Spray bottle: For light misting of cuttings.
Propagation Methods
There are a couple of tried-and-true ways to multiply your Yucca glauca. I find both to be effective depending on what part of the plant you’re working with.
Stem Cuttings
This is a popular method for Yucca glauca. You’ll want to look for a healthy, mature plant.
- Identify a good stem: Find a stem that is at least 6-12 inches long. It doesn’t need to have leaves on its entire length.
- Make the cut: Using your sterilized pruning shears or knife, make a clean cut about an inch or two above the leafy rosette, or at the base of a stem section.
- Prepare the cutting: Gently remove any lower leaves from the stem, leaving at least two or three at the top. If you’re using a long stem, you might even consider cutting it into smaller sections, each with at least one or two leaf nodes.
- Allow to callus: This is a really important step! Let the cut end of the stem or cutting dry and callus over for a few days to a week. You’ll see a dry, hardened scar form at the cut. This prevents rot.
- Apply rooting hormone (optional): Once callused, dip the cut end into rooting hormone powder, tapping off any excess.
- Plant the cutting: Fill your small pots with your well-draining mix. Make a hole in the center large enough for the callused end. Insert the cutting so the bottom node (where you removed leaves) is just below the soil surface. Firm the soil gently around it.
Division
If your Yucca glauca has started to produce “pups” or offsets at its base, division is a fantastic way to propagate.
- Gently remove the plant from its pot: Or carefully excavate around the base if it’s in the ground.
- Inspect the base: Look for smaller plantlets that have developed their own roots.
- Separate the pups: Use a sharp knife or trowel to carefully cut the pup away from the mother plant, ensuring you get as many of its own roots as possible.
- Prepare the pup: Remove any damaged leaves or roots.
- Pot them up: Plant each pup into its own pot filled with your well-draining mix.
The “Secret Sauce” (Pro Tips)
Here are a couple of things I’ve learned over the years that really make a difference:
- Don’t rush the callusing: I know it’s tempting to get your cuttings planted, but that dry, callused end is your best defense against rot. Seriously, give it time!
- Bottom heat is your friend: Yucca loves warmth, especially when it’s trying to root. Placing your pots on a seedling heat mat can significantly speed up root development. Keep it on a low setting.
Aftercare & Troubleshooting
Once your cuttings or divisions are planted, patience is key.
- Water sparingly: The soil should be kept lightly moist, not soggy. Overwatering is the quickest way to invite rot. Allow the soil to dry out a bit between waterings.
- Provide bright, indirect light: Don’t place your newly potted propagations in direct, scorching sun. A bright spot with filtered light is ideal.
- Watch for signs of rooting: This can take anywhere from a few weeks to a couple of months. You might see new leaf growth at the top, or if you gently tug on the cutting, you’ll feel resistance from developing roots.
- Troubleshooting rot: If you notice your cutting turning mushy and black, it’s likely rot. Unfortunately, this is usually fatal. The best prevention is good drainage and letting the soil dry out. If you catch it early, you might be able to salvage a healthy section of the stem.
A Little Encouragement
Propagating Yucca glauca is a wonderful way to fill your garden or home with these striking plants. Don’t be discouraged if your first attempt isn’t perfect. Gardening is a journey of learning and observation. Be patient, enjoy the process, and before you know it, you’ll have a whole collection of your own beautiful Yucca glaucas! Happy gardening!
Resource:
https://identify.plantnet.org/k-world-flora/species/Yucca%20glauca%20Nutt./data