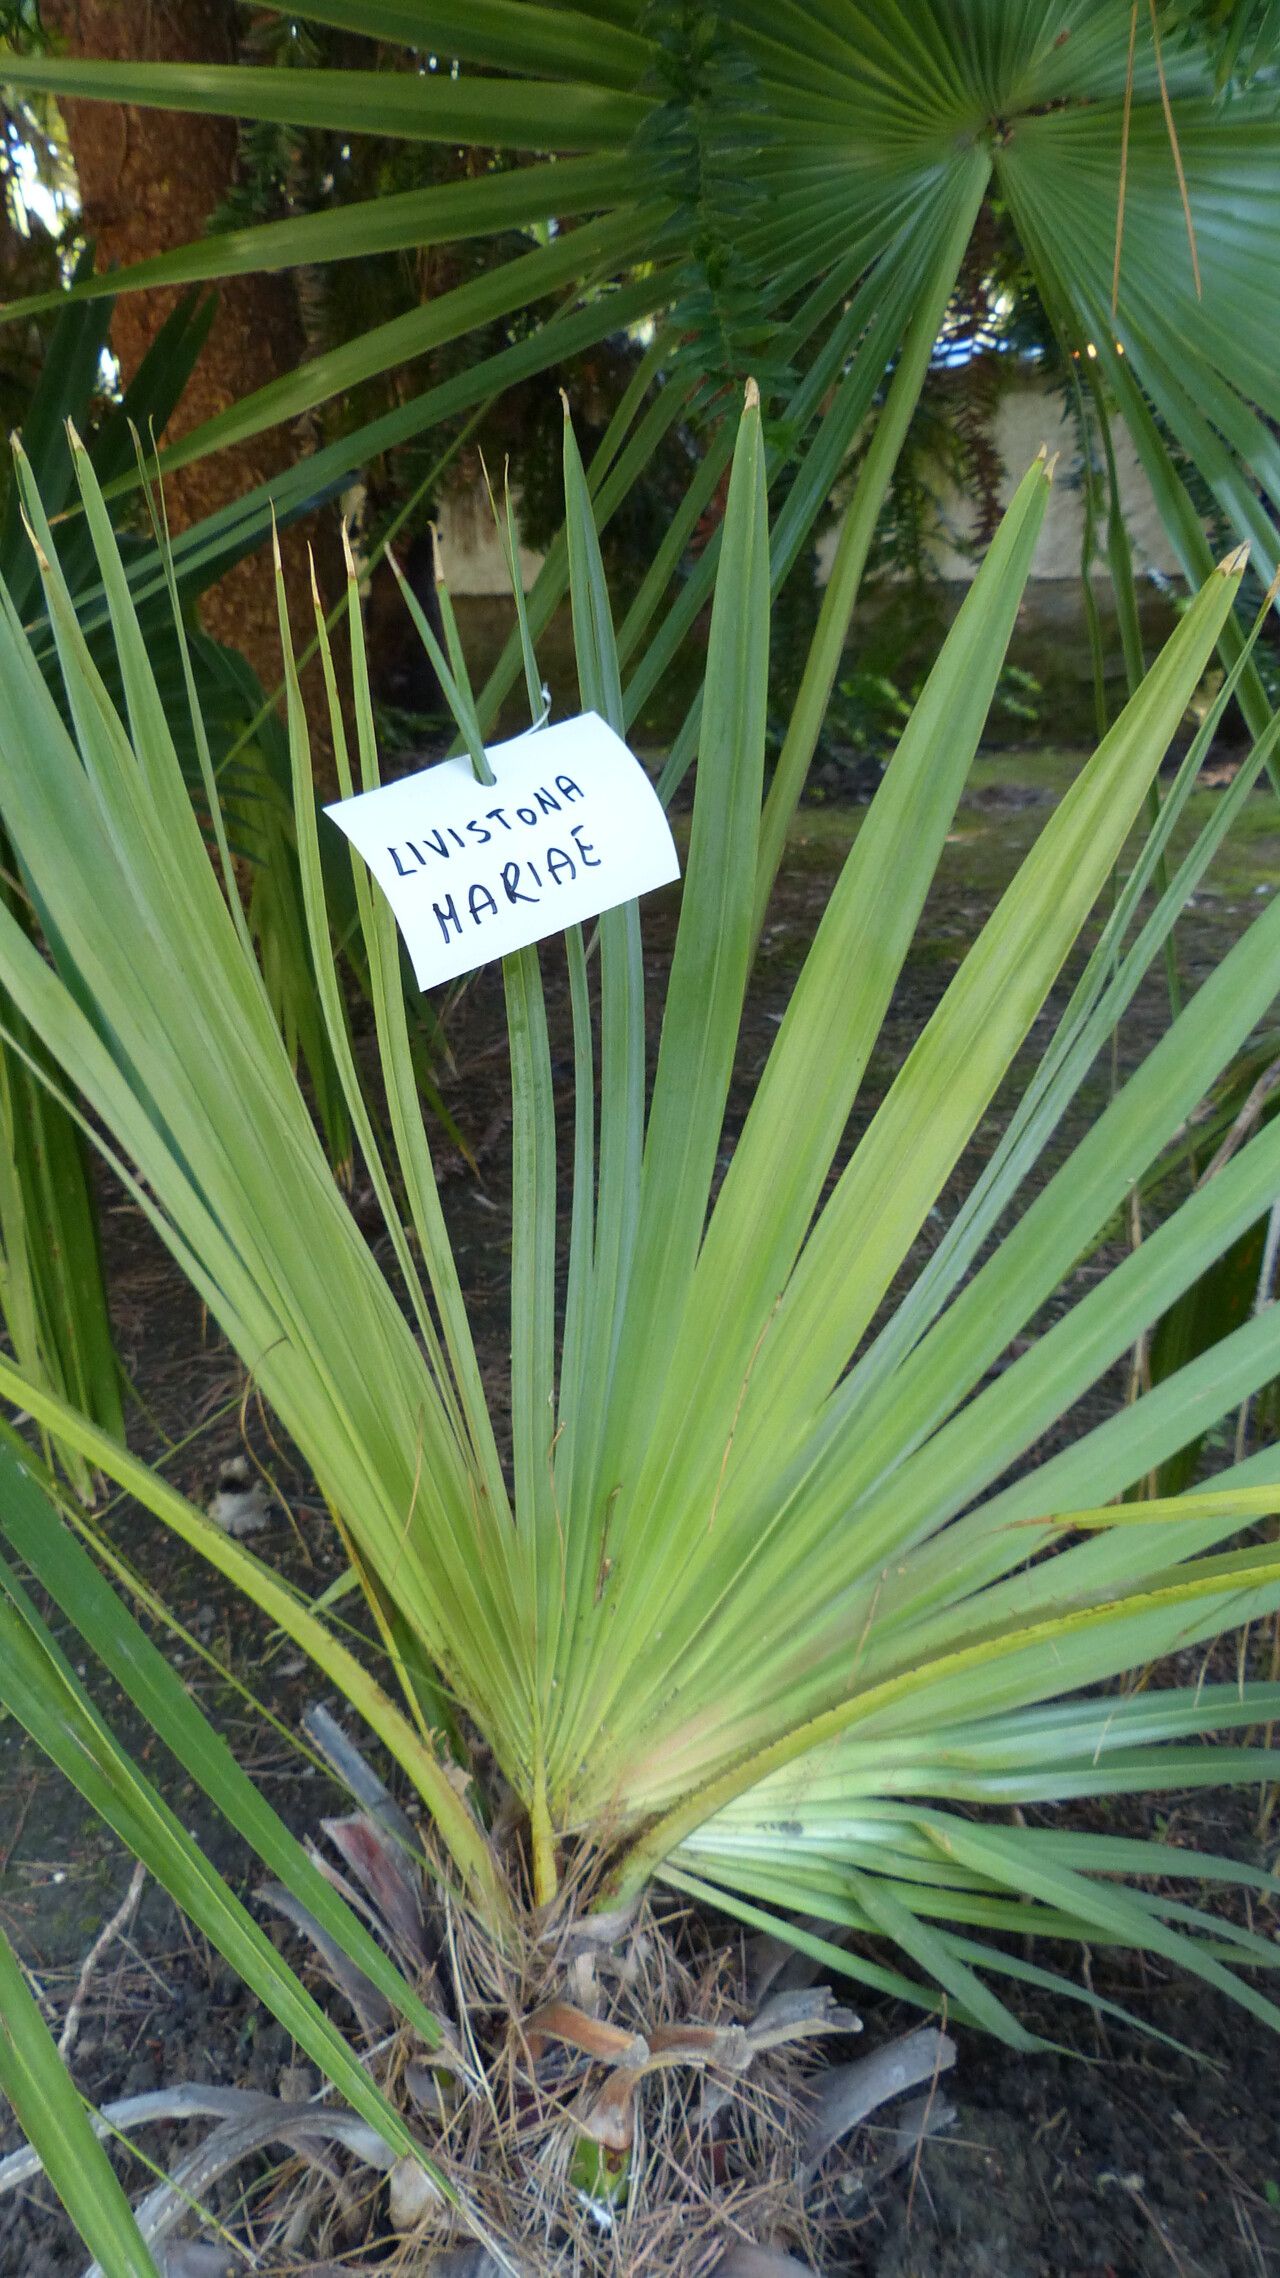
Ah, the enchanting Livistona mariae! You know, that palm with the elegant, fan-shaped leaves, often sporting a lovely reddish hue when young? I’ve always found them to be a real showstopper in the garden, and there’s something incredibly special about coaxing a new life from an existing one. Propagating them is a wonderfully rewarding journey, though I’ll be honest, it can be a bit of a patient game, especially for absolute beginners. But don’t let that deter you! With a little know-how and a lot of heart, you can absolutely create more of these beauties.
The Best Time to Start
My favorite time to get my hands dirty with Livistona mariae propagation is during active growth periods. Think late spring through summer. This is when the plant has ample energy stored up, making it more receptive to new root development. You’re essentially catching it at its most vigorous, which gives your new propagation the best possible start.
Supplies You’ll Need
Before we dive in, let’s gather our trusty tools. Having everything ready makes the process so much smoother.
- Sharp, clean pruning shears or a knife: For making clean cuts. Sterilize them with rubbing alcohol between uses!
- Well-draining potting mix: A good blend for palms is ideal. I usually mix about 2 parts coco coir or peat moss with 1 part perlite and 1 part coarse sand.
- Small pots or trays with drainage holes: Enough for your cuttings, or for dividing offsets.
- Rooting hormone powder (optional but helpful): Look for one formulated for woody or semi-woody plants.
- Clear plastic bag or a propagator lid: To create a humid environment.
- Watering can with a fine rose: For gentle watering.
- Gloves (optional): If you prefer cleaner hands.
Propagation Methods
Livistona mariae is most reliably propagated by offsets, also sometimes called pups or suckers. These are baby plants that grow from the base of the mature plant. Division is the way to go here!
Here’s how I do it:
- Gently Excavate: Carefully dig around the base of your Livistona mariae to expose the offsets. You want to get a good look at where they’ve emerged from the parent plant. Don’t be afraid to get a little dirt under your fingernails – it’s part of the fun!
- Find a Clean Break: Look for an offset that has a decent size and, ideally, its own root system emerging from it. Use your sharpest pruning shears or a clean, sharp knife to make a clean cut between the offset and the parent plant. Try to get as much of the offset’s base and any nascent roots as possible. If an offset doesn’t have its own roots yet, don’t worry too much, but it will take longer to establish.
- Prepare the Offset: If your offset has any lower leaves that are yellowing or dead, gently remove them. This helps the plant focus its energy on root development rather than on sustaining damaged foliage. You can also lightly dust the cut surface with rooting hormone powder if you’re using it, tapping off any excess.
- Potting Up: Fill your small pots with your prepared well-draining potting mix. Make a cozy hole in the center and settle your offset in, firming the soil gently around its base. You want the bottom of the offset to be at soil level, or just slightly below.
- Initial Watering: Water thoroughly but gently, allowing excess water to drain away. We’re aiming for moist, not soggy, soil.
- Create Humidity: This is crucial! Place a clear plastic bag over the pot, securing it loosely around the rim with a rubber band or plant tie. Alternatively, if you have a propagator, simply place the pot inside with the lid on. This creates a mini greenhouse effect, keeping the humidity high, which is vital for the offset to develop roots before it can effectively take up water from the soil.
The “Secret Sauce” (Pro Tips)
You know, after years of gardening, you pick up a few little tricks that just seem to make a difference. Here are a couple for Livistona mariae offsets:
- Don’t Bury Too Deep: When potting up your offset, resist the urge to bury it too deep. The crown (where the leaves emerge) needs to be kept above the soil line to prevent rot. Think of it as giving it a good, airy start.
- Bottom Heat is Your Friend: If you can provide a little warmth from below, your offsets will thank you profusely. A gentle heat mat, placed under your propagation tray or pots, can significantly speed up root development. It mimics the conditions of a tropical summer and encourages those roots to stretch out.
Aftercare & Troubleshooting
Once your Livistona mariae offset is potted and has its humidity dome, place it in a bright location but out of direct, harsh sunlight. You’ll want to check the soil moisture every few days. If the top inch of soil feels dry, give it a gentle watering.
You’ll know your offset is happy and developing roots when you see new leaf growth emerging. This can take anywhere from a few weeks to a couple of months, so patience is key! Once new growth appears, you can gradually acclimate it to less humid conditions by opening the plastic bag or propagator lid for longer periods each day, eventually removing it altogether.
The most common sign of trouble with plant propagation is rot. If you notice your offset turning black and mushy at the base, it’s usually a sign of too much moisture and poor air circulation. If this happens, you may need to discard the affected part and try again with drier conditions and better drainage. Yellowing leaves can also happen, especially if the plant is stressed, but if it’s accompanied by mushiness, it’s a red flag for rot.
A Little Encouragement
So there you have it! Propagating Livistona mariae by division is a truly satisfying way to expand your collection or share these gorgeous palms with friends. Be patient with yourself and the process. Each plant is a unique little world, and coaxing new life from it is a privilege. Enjoy every step, and happy gardening!
Resource:
https://identify.plantnet.org/k-world-flora/species/Livistona%20mariae%20F.Muell./data