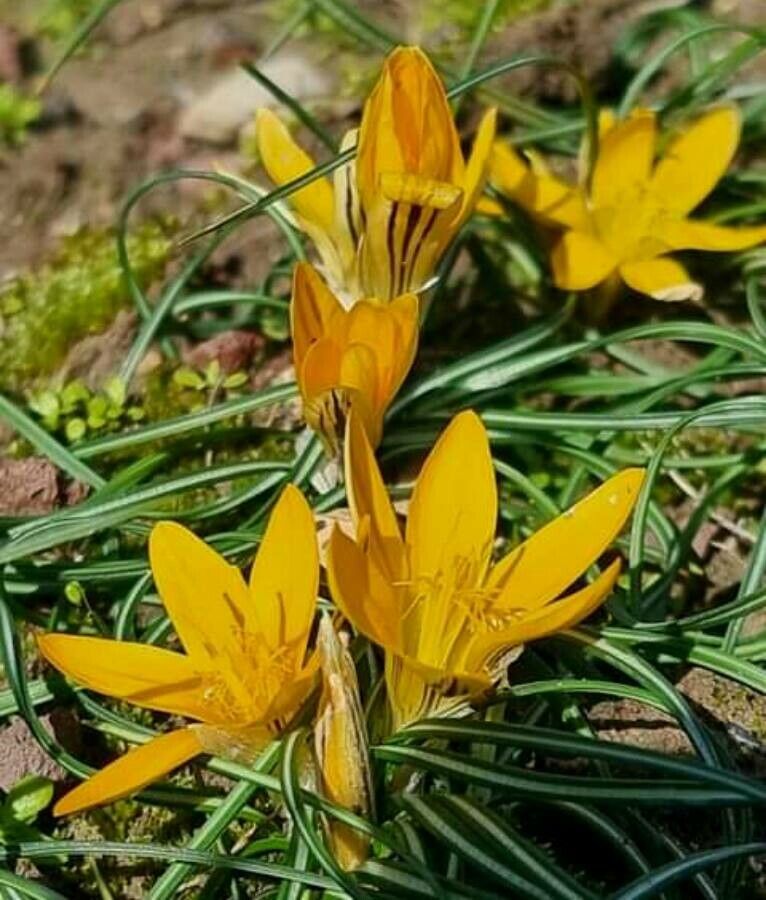
Oh, hello there! Come on in, grab a mug. So, you’re interested in multiplying your Crocus graveolens? Wonderful choice! These little beauties, with their delicate blooms often gracing the garden when we need them most, are such a joy. There’s something incredibly satisfying about nurturing a new plant from a tiny piece of its parent. And honestly, Crocus graveolens might be a touch more involved than, say, a pothos cutting, but it’s far from impossible for the eager beginner. Think of it as a delightful challenge that’s truly worth the effort.
When to Get Your Hands Dirty
The absolute best time to think about propagating Crocus graveolens is during its dormant period. This usually means late summer or early autumn, after the foliage has completely died back. This is when the plant is storing energy and is least stressed. Trying to propagate while it’s actively growing or flowering can be a bit too demanding for it.
Your Propagation Toolkit
Here’s what you’ll want to have on hand:
- Sharp, sterilized pruning shears or a clean knife: For making precise cuts.
- Well-draining potting mix: A mix designed for bulbs or succulents works beautifully. I often add a good scoop of perlite to my basic potting soil to ensure excellent drainage.
- Small pots or trays: With drainage holes, of course!
- Watering can with a fine rose or a spray bottle: For gentle watering.
- Rooting hormone (optional but recommended): A powder or gel can give your cuttings a helpful boost.
- Marker and labels: To keep track of what you’ve planted and when.
- A shady, protected spot: For your newly potted propagations.
Unlocking New Crocuses: The Cobea Method
For Crocus graveolens, the most successful and common method is via division of corms. Think of the corms as little underground bulbs.
- Gently Excavate: When the foliage has completely faded, carefully dig up your Crocus graveolens plants. Be gentle! You don’t want to nick or damage the corms. Use a garden fork or a trowel to loosen the soil around them.
- Clean and Inspect: Brush off excess soil. You’ll see the main corm, and often, smaller offsets (new corms) attached to its sides. These offsets are what you’ll be working with.
- Separate the Corms: This is the key step. You can often gently pull the smaller corms away from the parent corm. If they are firmly attached, use your sterilized knife or shears to make a clean cut. Ensure each new corm has at least one “eye” or growth point on it.
- Allow to Cure (Optional but recommended): Let the separated corms sit for a day or two in a dry, airy place. This helps any cut surfaces to heal over, reducing the risk of rot.
- Pot Up: Plant each corm about 2-4 inches deep in your well-draining potting mix. You can plant multiple corms in a single pot, spacing them a few inches apart. Water them in gently.
The “Secret Sauce” from My Garden
Now, for a couple of little tricks I’ve learned over the years that make a real difference:
- The “Dry Soil” Start: After potting your corms, resist the urge to water them heavily. Keep the soil barely moist until you see signs of new growth. Overwatering at this stage is the quickest way to invite rot. Think of it as waking them up gently.
- Little & Often Watering: Once you see that first hint of green pushing through, then you can start watering a little more regularly, but still ensuring the soil dries out between waterings. It’s all about balance!
Tending to Your Tiny Treasures
Once your Crocus graveolens starts to show its leaves, treat it much like its parent plant.
- Light: Place it in a bright spot, but avoid direct, scorching sun for too long, especially if it’s a young plant.
- Watering: Continue to water when the top inch of soil feels dry. Good drainage is paramount.
- Feeding (Optional): A light feeding with a balanced liquid fertilizer once the leaves are well-established can be beneficial, but don’t overdo it.
The most common thing to watch out for is rot. If you notice mushy, discolored corms, or a foul smell, it’s likely due to too much moisture. Unfortunately, once rot sets in, it’s hard to recover. This is why excellent drainage and careful watering are your absolute best friends. Other signs of failure might be simply no growth after a reasonable amount of time, which could mean the corm wasn’t viable or suffered rot before you got to it.
Don’t be discouraged if not every single division thrives. Gardening is a journey, and sometimes a bit of trial and error is part of the fun. Be patient with your new little crocuses, and enjoy the quiet satisfaction of watching them grow. Happy planting!
Resource:
https://identify.plantnet.org/k-world-flora/species/Crocus%20graveolens%20Boiss.%20&%20Reut./data