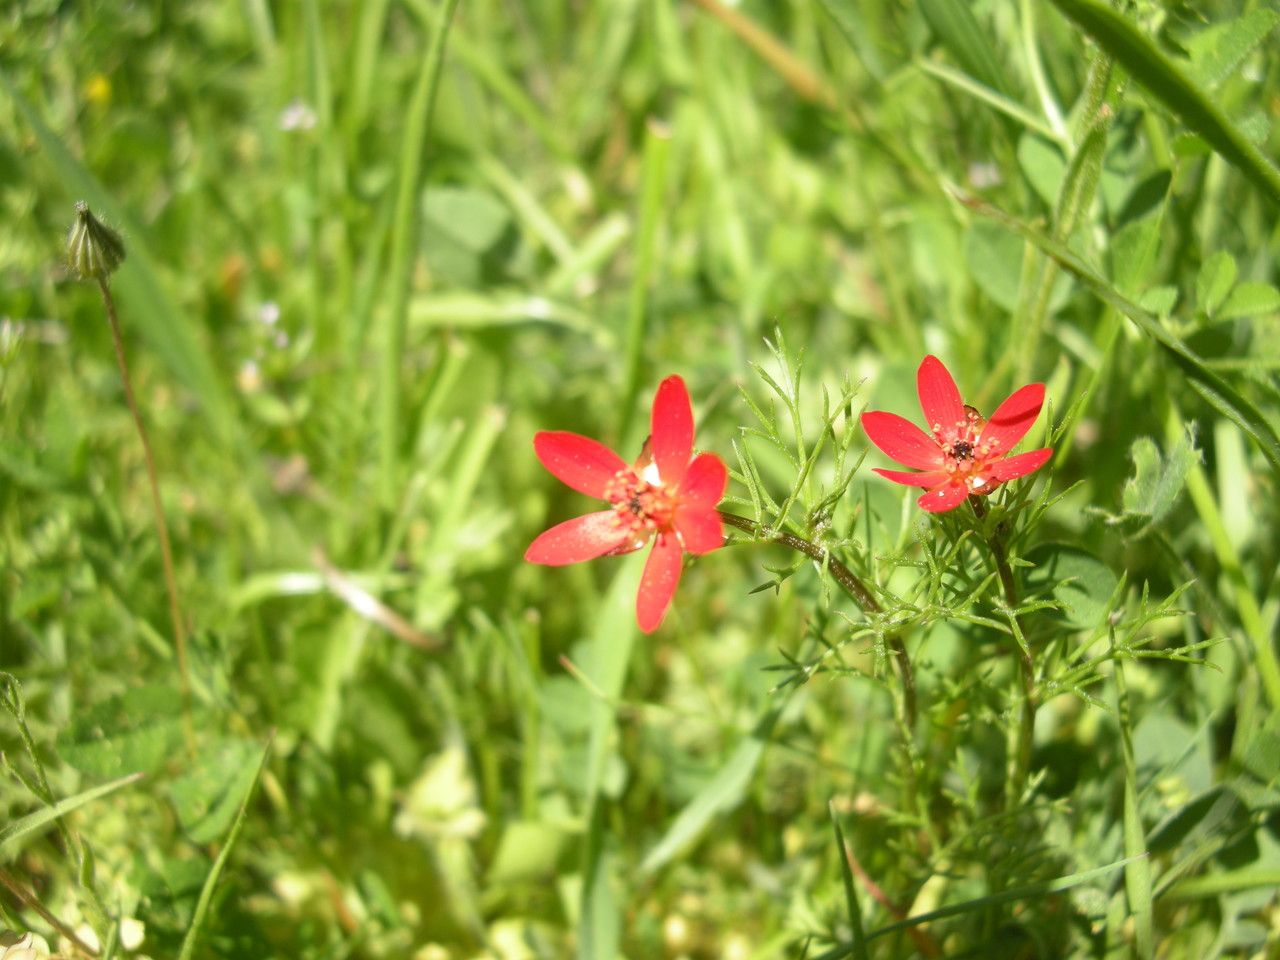
Oh, the allure of Adonis flammea! That vibrant splash of fiery red against delicate, finely cut foliage – it’s truly a charmer in any garden. For me, coaxing a new life from something I already love feels like a little bit of gardening magic. And the great news? While it has its nuances, propagating Adonis flammea is absolutely achievable, even for those of you just starting to get your hands dirty. It’s a deeply satisfying journey, watching those tiny roots unfurl and a new plant begin its life.
The Best Time to Start
For Adonis flammea, timing is key. The sweetest spot for propagation is late spring to early summer, when the plant is actively growing but before the intense heat of midsummer sets in. You’re looking for softwood cuttings, which means taking them from the new, flexible growth of the season. Hardwood cuttings taken in fall or winter can work, but you’ll likely find more success with those younger, more pliable stems.
Supplies You’ll Need
Here’s what you’ll want to have on hand:
- Sharp pruning shears or a clean, sharp knife: For making clean cuts.
- A good quality potting mix: I like to use a blend of seed-starting mix and perlite (about 50/50). This ensures excellent drainage, which is crucial for avoiding rot.
- Small pots or trays with drainage holes: About 3-4 inches in diameter are perfect.
- Rooting hormone (optional but recommended): This really gives your cuttings a boost. Look for one that’s formulated for softwood cuttings.
- A clear plastic bag or a propagation cover: To create a humid environment for your cuttings.
- A spray bottle filled with clean water.
- Labels and a pen: So you don’t forget what you planted and when!
Propagation Methods
Adonis flammea is most commonly and reliably propagated from stem cuttings. Here’s how I do it:
- Gather Your Cuttings: On a bright morning, when the plant is well-hydrated, select healthy, non-flowering stems. Look for sections that have recently grown and are still somewhat flexible. You want cuttings that are about 4-6 inches long. Make a clean cut just below a leaf node (where a leaf attaches to the stem).
- Prepare the Cuttings: Gently remove the lower leaves from the cutting, leaving just the top two or three sets of leaves. If the remaining leaves are very large, you can even cut them in half to reduce water loss. Now, dip the cut end into your rooting hormone, tapping off any excess.
- Planting Them Up: Fill your small pots with your prepared potting mix. Make a hole in the center of the mix with your finger or a pencil. Carefully insert the prepared cutting into the hole, ensuring the leaf nodes where you removed the leaves are below the soil surface. Gently firm the soil around the stem.
- Create the Humid Environment: Water the soil lightly. Then, place a clear plastic bag over the pot, securing it with a rubber band around the rim, or use your propagation cover. This creates the mini-greenhouse effect that keeps your cuttings from drying out.
- Placement: Place the pots in a bright location, but out of direct sunlight. A spot on a bright windowsill or under grow lights is ideal. Consistent moisture and warmth are your friends here.
The “Secret Sauce” (Pro Tips)
Over the years, I’ve learned a few small tricks that make all the difference:
- Bottom Heat is Your Best Friend: If you have a seedling heat mat, place your pots on it. This gentle warmth from below encourages root development much faster and more reliably than ambient room temperature alone. It’s a real game-changer for encouraging those roots to form.
- Don’t Let the Leaves Touch the Water: If you’re ever tempted to try water propagation (though cuttings are generally better for Adonis flammea), remember this golden rule: no leaves should be submerged. Rot sets in incredibly fast if leaves are sitting in water. They need to be above the waterline so they don’t become a breeding ground for mildew. For stem cuttings in soil, this translates to ensuring no leaves are resting directly on the soil surface, which can also encourage rot.
- A Gentle Mist is Better Than a Flood: When you need to water, mist the cuttings gently instead of pouring water directly onto them. This helps maintain humidity without waterlogging the soil, which is the quickest way to invite fungal issues.
Aftercare & Troubleshooting
Once those roots have started to form (this can take anywhere from 3-6 weeks), you’ll start to see signs of new growth. You can test for roots by giving a very gentle tug on the cutting; if there’s resistance, you’ve got them!
Once roots are established, gradually acclimate your new plants to normal room humidity by opening the plastic bag a little more each day for about a week. Then, you can remove the bag entirely. Continue to keep them in bright, indirect light and water when the top inch of soil feels dry.
The most common problem you might encounter is rot. If a cutting turns black and mushy, it’s a sign of too much moisture and poor drainage. Unfortunately, these cuttings are usually lost. Prevention is key here: use that excellent draining mix and don’t overwater! Look out for wilting or yellowing leaves that aren’t explained by lack of water – this can sometimes indicate the start of a rot issue or that the cutting simply didn’t take.
Closing
Propagating Adonis flammea is a rewarding endeavor that extends the beauty of these stunning flowers into your garden. Be patient with yourself and the process. Some cuttings will thrive while others may fall by the wayside – that’s just part of the gardening dance! Enjoy the learning, the anticipation, and the eventual joy of seeing your very own little Adonis flammea plants take root and flourish. Happy gardening!
Resource:
https://identify.plantnet.org/k-world-flora/species/Adonis%20flammea%20Jacq./data