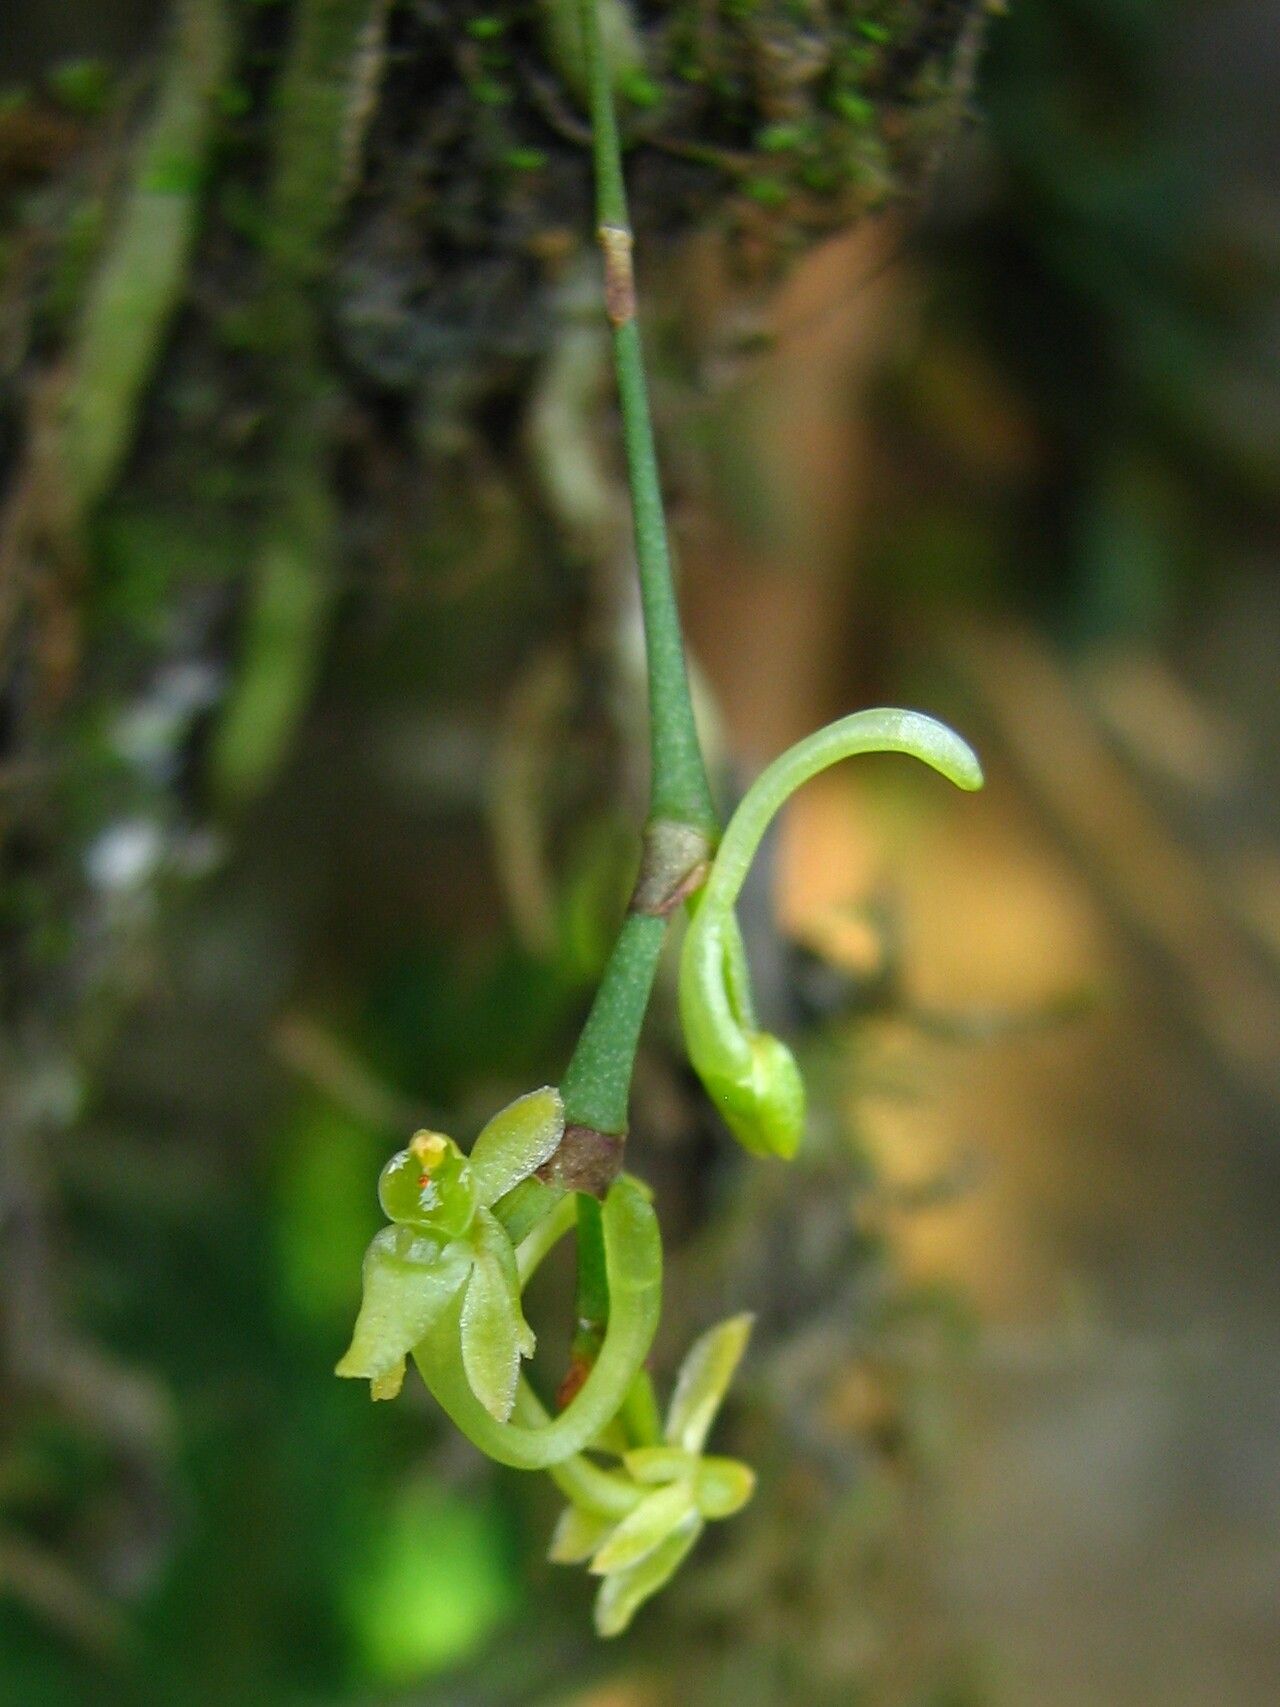
Oh, Kylicanthe arcuata! What a beauty. I’ve always been captivated by its delicate, arching blooms and the way they just seem to dance in the breeze. If you’ve got one of these stunners in your garden, you’re in for a treat. And growing more of them? That’s a truly rewarding experience, like sharing a little piece of your garden magic with yourself (and maybe a lucky friend!).
Now, about propagating Kylicanthe arcuata: Is it a walk in the park for absolute beginners? Honestly, it’s more of a gentle stroll. It’s not the absolute easiest plant to start from scratch, but with a little patience and a few key tricks, you’ll be well on your way to success. Don’t let that deter you; the results are absolutely worth it!
The Best Time to Start
For Kylicanthe arcuata, I’ve found the sweet spot is late spring to early summer, when the plant is in its active growing phase. You want to take cuttings when the stems are firm but not woody – think of them like young, enthusiastic shoots that are bursting with life. Avoid taking cuttings from flowering stems; those energies are better spent on making seeds for the plant’s reproduction.
Supplies You’ll Need
Here’s what you’ll want to have on hand before you get started:
- Sharp Pruning Shears or a Craft Knife: Cleanliness is key! We don’t want to introduce any nasty pests or diseases.
- Rooting Hormone (Optional but Recommended): This little helper can significantly boost your success rates.
- Well-Draining Potting Mix: A good blend often includes perlite or coarse sand for aeration. A standard houseplant mix with extra perlite works well.
- Small Pots or Seed Trays: Clean ones are essential.
- Plastic Bags or a Propagator Lid: To create a humid environment.
- Watering Can or Mister: For gentle watering.
- Labeling Stakes: To remember what you planted and when!
Propagation Methods
The most reliable way to get more Kylicanthe arcuata is through stem cuttings. It’s straightforward and effective.
- Take Your Cuttings: Using your clean shears or knife, select a healthy, non-flowering stem. Cut a section about 4-6 inches long, just below a leaf node (where a leaf attaches to the stem). Remove the lower leaves, leaving just a few at the top.
- Prepare for Rooting: If you’re using rooting hormone, dip the cut end of the stem into the powder, tapping off any excess.
- Planting: Fill your small pots with your well-draining potting mix. Make a small hole in the center with your finger or a pencil.
- Insert the Cutting: Gently place the prepared cutting into the hole, making sure the leaf nodes are covered by the soil. Firm the soil gently around the stem.
- Water and Cover: Water the soil lightly but thoroughly. Then, cover the pot with a clear plastic bag or place it inside a propagator with a lid. This creates a mini-greenhouse, keeping the humidity high, which is crucial for cuttings.
The “Secret Sauce” (Pro Tips)
Here are a couple of things I’ve learned over the years that really make a difference:
- Bottom Heat is Your Friend: If you have a propagation mat or can place your pots on a warm surface (like the top of a warm refrigerator), it can significantly speed up root formation. The warmth encourages cell division and root growth from the bottom up.
- Mist, Don’t Drench: While high humidity is vital, you don’t want the soil to become waterlogged. Mist the leaves and the surface of the soil lightly every couple of days to keep things from drying out completely. Check the soil moisture by gently pressing it with your finger; it should feel moist but not soggy.
- Watch for the “Tug Test”: Once you think roots might have formed, give the cutting a very gentle tug. If you feel a slight resistance, that’s a good sign roots are developing.
Aftercare & Troubleshooting
Once you start seeing new growth, that’s your signal that roots have formed! You can then gradually acclimatize your new plant by opening the plastic bag or propagator lid a little bit each day over a week or so.
What to watch out for? The most common issue is rot. If your cutting turns black and mushy, it’s likely too much moisture or not enough air circulation. Unfortunately, once rot sets in, it’s usually game over for that particular cutting. Make sure your soil drains well and you aren’t overwatering. Another sign of failure is if the cutting just seems to wither and dry out – this usually means it wasn’t kept humid enough.
A Little Patience Goes a Long Way
Propagating plants is a journey, and Kylicanthe arcuata is no different. Be patient with your little cuttings. Some might take their time, while others will surprise you with their speedy rooting. Enjoy the process of nurturing these new lives, and soon you’ll be admiring your very own homegrown Kylicanthe arcuata! Happy gardening!
Resource: