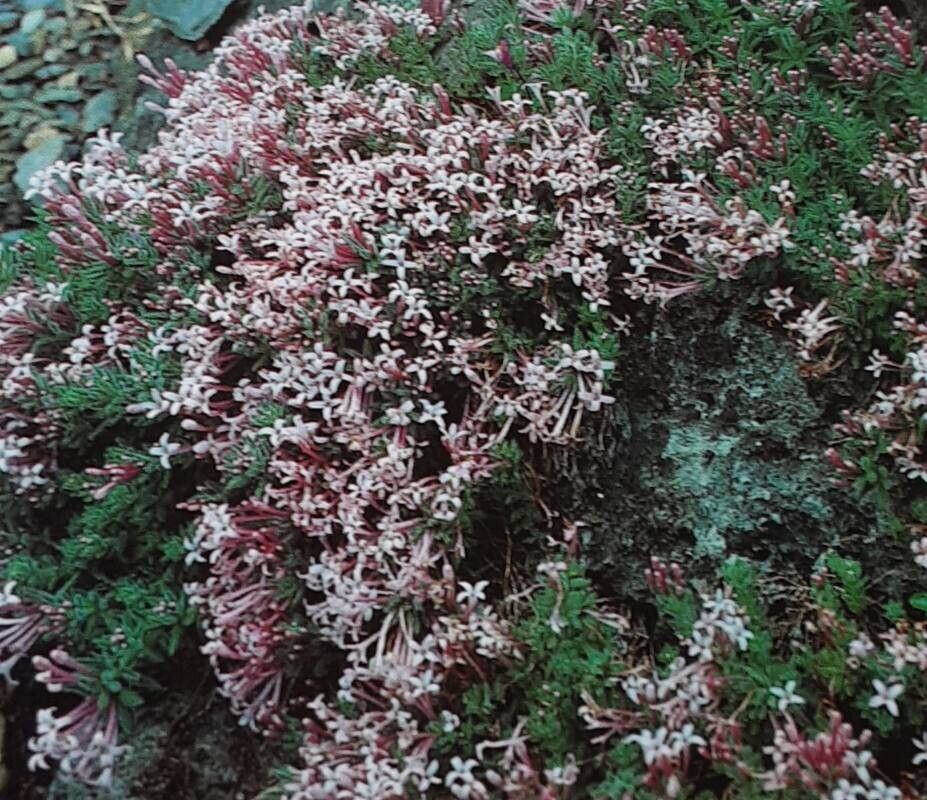
Oh, hello there! It’s wonderful to have you join me for a virtual coffee on the patio. Today, we’re diving into the delightful world of Hexaphylla arcadiensis, a plant that truly brightens any corner with its lush, architectural leaves. If you’ve ever admired its elegant form and thought, “I wish I had more of those!”, then you’re in the right place. Propagating this beauty is incredibly rewarding, and while it can seem a bit daunting at first, I promise you, it’s quite achievable. It’s not quite a “set it and forget it” plant for the absolute beginner, but with a little care and attention, you’ll be a Hexaphylla pro in no time.
The Best Time to Start
My favorite time to get propagating is when the plant is just hitting its stride, generally in late spring or early summer. This is when the plant is actively growing and has the most energy to put into developing new roots. Think of it like this: the plant feels invigorated by the warmth and longer days, making it more receptive to creating new life.
Supplies You’ll Need
Here’s a little kit to get you going:
- Sharp Pruning Shears or a Clean Knife: Essential for making clean cuts to encourage healing and prevent disease.
- Potting Mix: I like a well-draining mix. A good blend for this is about 50% perlite and 50% peat moss or coco coir. You can also buy specific houseplant rooting mixes.
- Small Pots or Seed Starting Trays: Whatever you have on hand that’s clean and has drainage holes.
- Rooting Hormone (Optional but Recommended): This gives your cuttings a little boost and increases your chances of success. I prefer the powder form.
- Clear Plastic Bag or Humidity Dome: To create a mini-greenhouse effect.
- Water: For watering and potentially for water propagation.
- Spray Bottle: For misting.
Propagation Methods
Let’s get our hands dirty! For Hexaphylla arcadiensis, we’ll focus on a couple of tried-and-true methods.
Stem Cuttings
This is my go-to for multiplying my collection.
- Select a Healthy Stem: Look for a vigorous stem that’s at least 4-6 inches long and hasn’t flowered.
- Make the Cut: Using your sharp shears or knife, make a clean cut just below a leaf node (where a leaf attaches to the stem). This is where the magic happens, where roots are most likely to form.
- Prepare the Cutting: Gently remove the lower leaves, leaving just a few at the top. If the leaves are very large, you can even cut them in half horizontally to reduce water loss.
- Apply Rooting Hormone (Optional): Dip the cut end of the stem into your rooting hormone, tapping off any excess.
- Plant Your Cutting: Make a small hole in your prepared potting mix with a pencil or your finger. Insert the cutting, gently firming the soil around it.
- Water Gently: Water the soil thoroughly but avoid waterlogging.
- Create a Humid Environment: Cover the pot with a clear plastic bag or humidity dome. Make sure the leaves aren’t touching the plastic if possible.
Water Propagation
This is a visually satisfying way to propagate, and you can see the roots developing!
- Take a Cutting: Follow steps 1-3 for stem cuttings.
- Place in Water: Fill a clean jar or glass with room temperature water. Place your cutting in the water, ensuring the leaf nodes are submerged but the leaves themselves are not touching the water. This is crucial to prevent rot.
- Change Water Regularly: This is key! Change the water every 2-3 days to keep it fresh and oxygenated.
- Find a Bright Spot: Place the jar in a bright location, but out of direct, harsh sunlight.
The “Secret Sauce” (Pro Tips)
Here are a few little tricks I’ve picked up over the years:
- Bottom Heat is Your Friend: If you have a heat mat designed for seedlings, popping your pots on it can significantly speed up root development, especially for stem cuttings. It mimics the warmth of the soil in summer.
- Don’t Be Afraid to Be Ruthless: Sometimes, a stem might look perfectly healthy but just isn’t taking. If after a few weeks you see no signs of root growth on stem cuttings, or the cutting is looking limp and sad, it’s often best to discard it and try again. It’s better to lose one cutting than have it potentially spread any issues to healthier ones.
- The “Tap Test” for Water Propagation: When your water-propagated cuttings have developed a good network of roots (at least an inch or two long), before you pot them up, gently give the pot a little tap. If the roots are strong enough to hold together a bit, they are ready for potting.
Aftercare & Troubleshooting
Once you see signs of new growth or a healthy root system, it’s time to treat your new plant like the precious youngster it is!
- For Water Cuttings: Once the roots are about 1-2 inches long, carefully pot them into your well-draining potting mix, using the same method as for stem cuttings. Water well.
- For Stem Cuttings: You’ll know they’ve rooted when you feel a slight resistance when you gently tug on the stem. You might also see new leaf growth. Continue to keep the soil consistently moist but not soggy.
- Acclimatize: Once rooted, gradually remove the plastic bag or humidity dome over a week or so. Let the plant get used to the drier air in your home.
- Troubleshooting:
- Yellowing or Drooping Leaves: This can be a sign of overwatering or underwatering. Check the soil moisture. If it’s too wet, let it dry out. If it’s bone dry, water thoroughly.
- Rotting Stems: This is the most common pitfall. It’s usually caused by too much moisture and poor air circulation. Ensure your soil drains exceptionally well and remove any affected parts immediately with a clean tool. In water propagation, this means changing the water more frequently and ensuring leaves aren’t submerged.
A Little Encouragement
Growing new plants is such a rewarding journey, and watching something you nurtured from a tiny cutting flourish is truly special. Be patient with your Hexaphylla arcadiensis; sometimes, propagation takes time. Don’t get discouraged if your first attempt isn’t a roaring success. Learn from it, adjust your approach, and try again. Happy growing, my friend!
Resource: