Oh, hello there! Pull up a chair, grab your favorite mug – mine’s a bit chipped, but it holds a good cup of coffee! Today, we’re going to dive into something truly special: propagating Panicum hirtum.
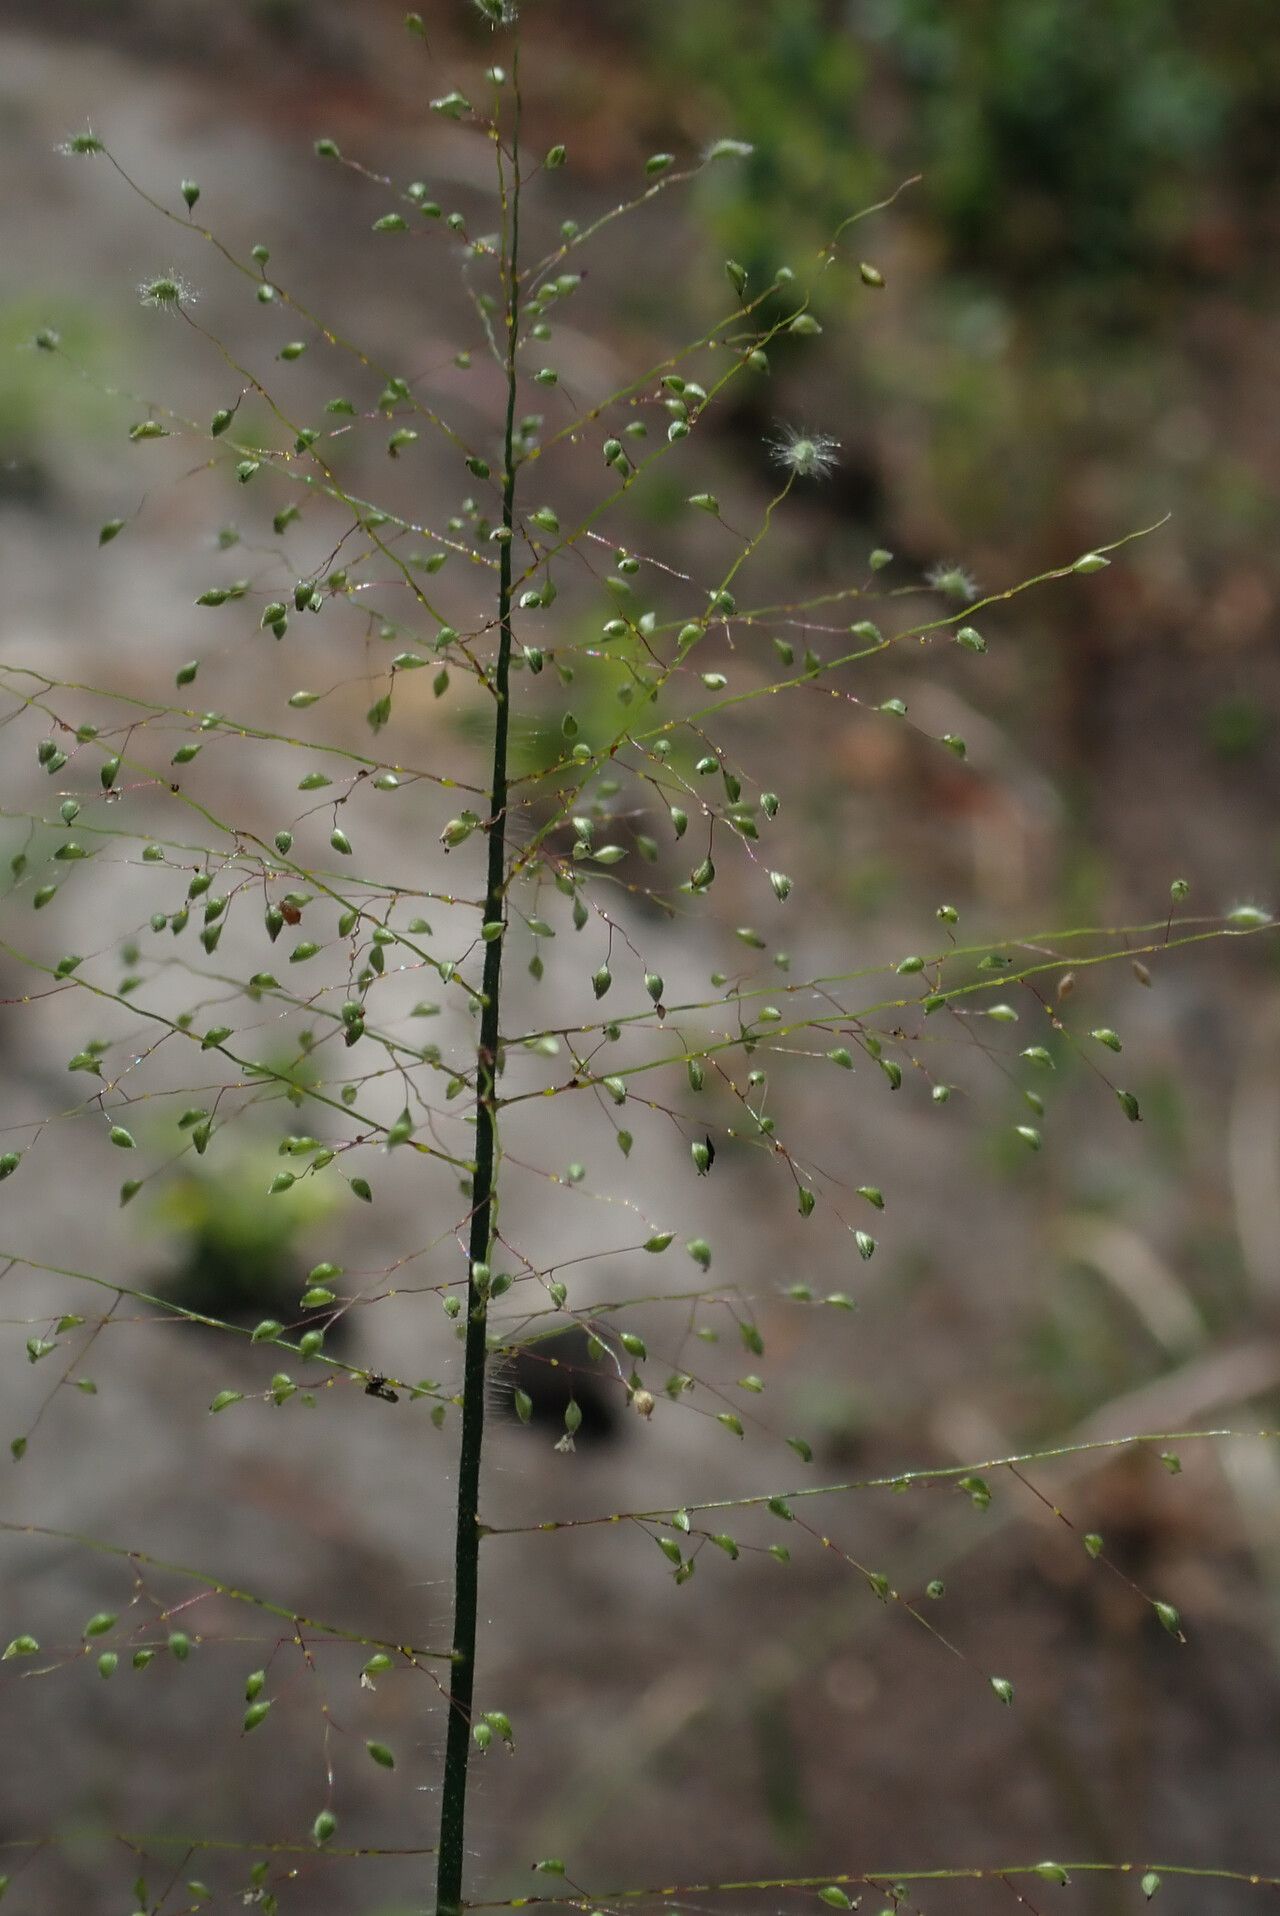
You know that lovely, graceful ornamental grass? The one with the delicate, airy plumes that dance in the breeze? That’s Panicum hirtum, and trust me, there’s a special kind of joy in creating more of that beauty yourself. It’s not overly complicated, which is fantastic news for those of you just dipping your toes into the gardening world. I’ve found it to be quite a rewarding plant to work with, and I think you will too.
The Best Time to Start
For the most robust success, I like to start propagating Panicum hirtum in the late spring or early summer. This is when the plant is in full swing, actively growing. You’ll find it’s much more eager to put out roots when the days are longer and warmer. Waiting for the plant to really show some vigorous new growth means it has plenty of energy to share.
Supplies You’ll Need
Before we get our hands dirty, let’s gather our tools. It’s always good to be prepared!
- Sharp Pruning Shears or a Clean Knife: For making clean cuts.
- Rooting Hormone (Optional, but helpful): A little boost never hurts!
- Well-Draining Potting Mix: I prefer a mix of peat moss, perlite, and a bit of sand. You can also find specific succulent or cactus mixes that work beautifully.
- Small Pots or Trays: Around 4-inch pots are usually a good size. Make sure they have drainage holes!
- Watering Can with a Fine Rose: For gentle watering.
- Plastic Bags or Clear Domes: To create a mini-greenhouse.
- Warm Location: A sunny windowsill or a heated propagation mat.
Propagation Methods
We’ll focus on the method I find most reliable for Panicum hirtum: stem cuttings.
- Select Your Cuttings: Look for healthy, non-flowering stems. You want stems that are actively growing but not woody. Aim for cuttings that are about 4-6 inches long.
- Make the Cut: Using your sharp shears or knife, make a clean cut just below a leaf node (where a leaf attaches to the stem). This is where the magic happens, and new roots will be most likely to form.
- Prepare the Cutting: Gently remove the lower leaves from the cutting, leaving just a few at the top. This prevents them from rotting in the soil.
- Apply Rooting Hormone (Optional): If you’re using rooting hormone, dip the cut end of the stem into the powder or gel. Tap off any excess.
- Potting Up: Fill your small pots with your well-draining potting mix. Create a small hole in the center of the soil with your finger or a pencil.
- Insert the Cutting: Gently place the cutting into the hole, ensuring the leaf nodes are nestled in the soil. Firm the soil around the base of the cutting.
- Water Gently: Water the soil thoroughly but gently. You want it moist, not soggy.
- Create a Humid Environment: Place the pot inside a clear plastic bag or cover it with a clear plastic dome. This traps moisture around the cutting, which is crucial for root development. Make sure the plastic bag doesn’t touch the leaves too much – a few stakes can help if needed.
- Find a Warm Spot: Place your newly potted cuttings in a warm location. A bright windowsill that doesn’t get direct, scorching sun is ideal. If your home tends to be a bit cool, a heated propagation mat can be a game-changer.
The “Secret Sauce” (Pro Tips)
Here are a few little tricks I’ve picked up over the years that really make a difference:
- Don’t Drown Your Cuttings! While humidity is key, overwatering is the fastest way to invite rot. The soil should stay consistently moist, like a wrung-out sponge, not waterlogged. Check the soil moisture regularly by gently touching the surface.
- Bottom Heat is Your Friend: As I mentioned, a little warmth from below can significantly speed up root formation. Ornamental grasses, like many plants, really appreciate that gentle heat encouraging those roots to reach out.
- Patience, Young Grasshopper! It’s easy to get impatient and constantly check for roots. Resist the urge! Give them at least 3-4 weeks before you gently tug on a cutting. If there’s resistance, you’ve got roots!
Aftercare & Troubleshooting
Once you see new growth emerging or feel that resistance when you gently tug, it’s a good sign. You can gradually acclimate your new plants to normal humidity by opening the plastic bag or dome a little more each day over a week. Once they look sturdy and have a good root system (you might see roots peeking out the drainage holes), you can transplant them into slightly larger pots. Continue to water them when the top inch of soil feels dry.
The main sign of trouble is usually rot. If you see your cuttings turning mushy, blackening, or just wilting dramatically without any sign of new growth after several weeks, it’s likely they’ve succumbed to too much moisture or not enough airflow. Don’t be discouraged! It happens to all of us. Just clean out the pot and try again with fresh cuttings.
A Encouraging Closing
Propagating plants is a journey, and every cutting is a small adventure. Be patient with your Panicum hirtum, enjoy the process of nurturing these tiny new lives, and soon you’ll have a whole collection of these beautiful grasses to admire and share. Happy propagating!
Resource:
https://identify.plantnet.org/k-world-flora/species/Panicum%20hirtum%20Lam./data