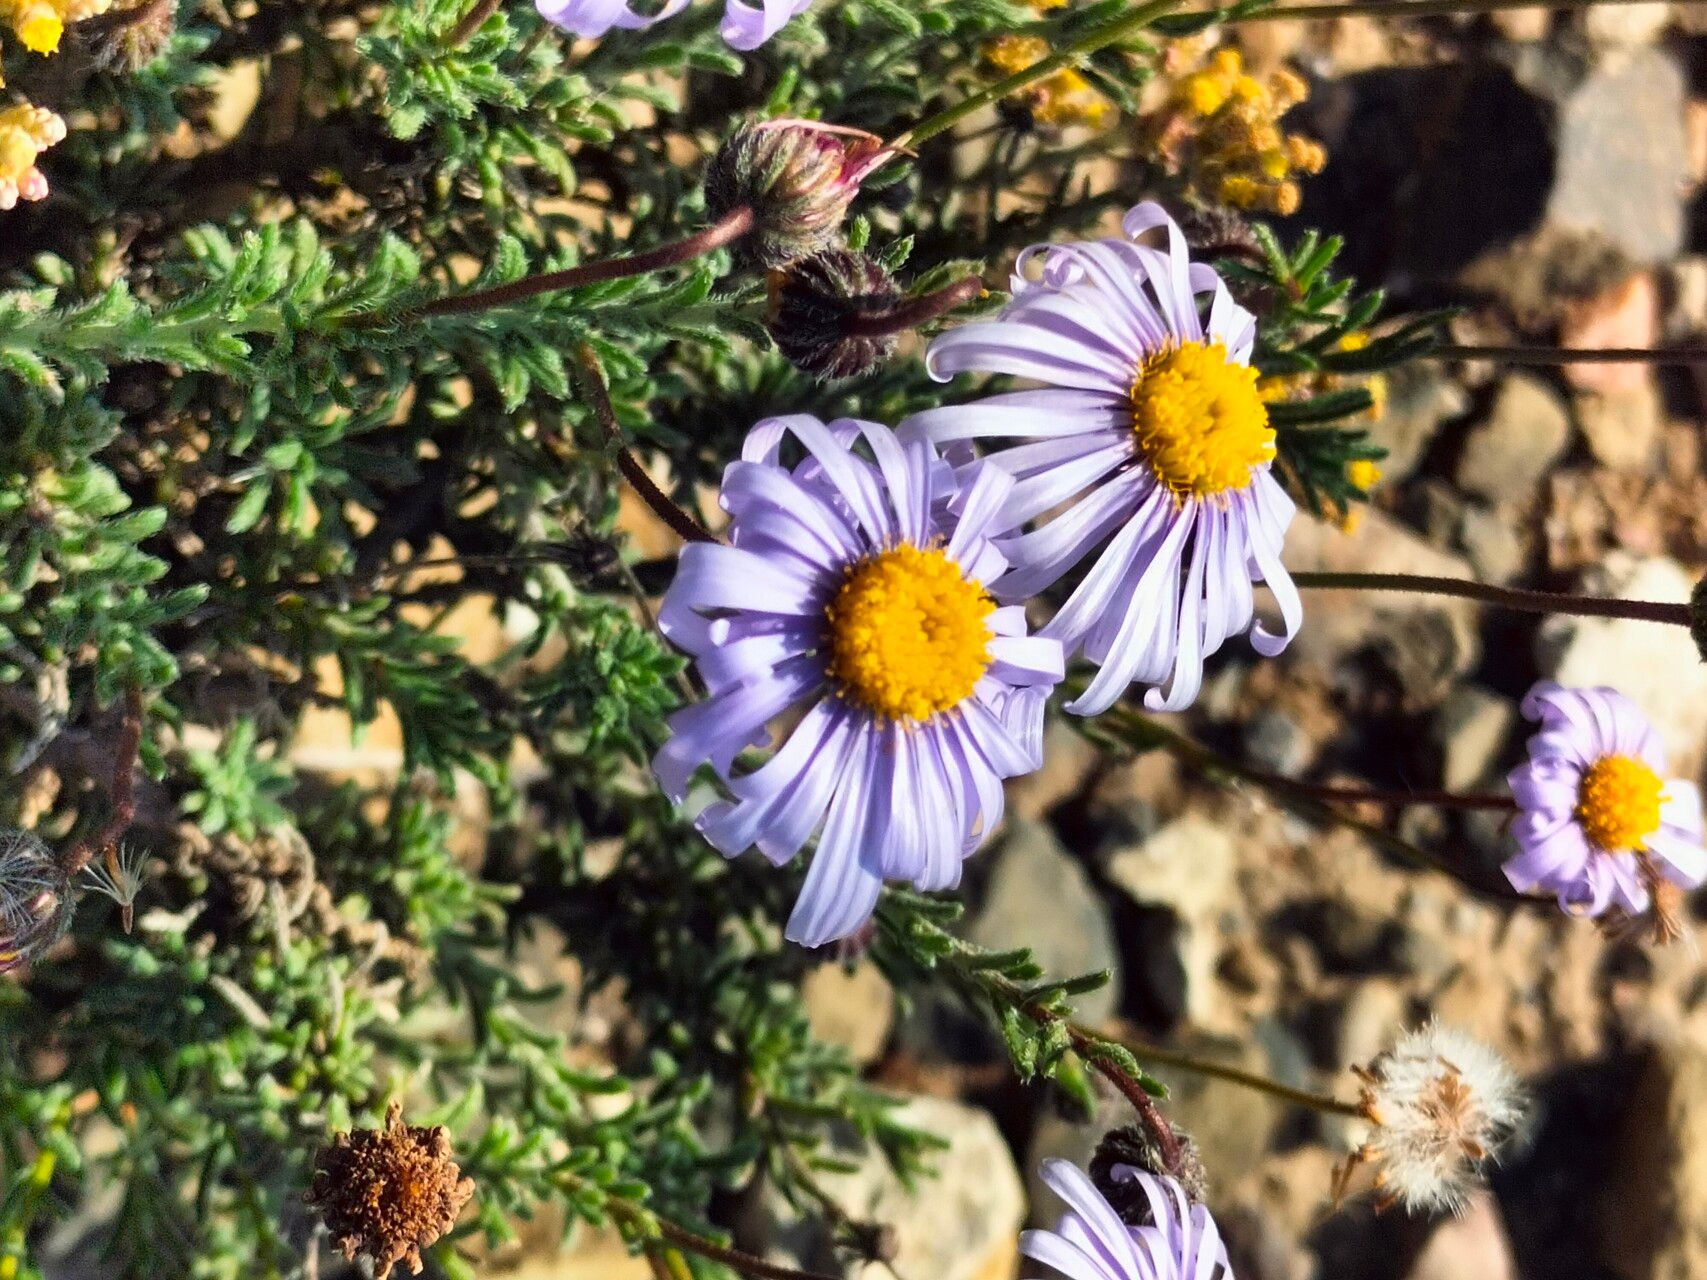
Oh, Felicia muricata! Also known as the Kingfisher daisy, isn’t it just a darling? With those vibrant blue petals and cheerful yellow centers, it’s like a little piece of sky brought right down to earth. Growing this beauty is so rewarding, and honestly, propagating it is a joy. If you’re new to the gardening game, I think you’ll find Felicia to be a wonderfully forgiving plant to start with. It’s quite keen to make more of itself!
The Best Time to Start
For Felicia, the sweet spot is definitely early to mid-spring. That’s when the plant is really kicking into gear after a winter rest, brimming with fresh, energetic growth. You’ll have the best chance of getting healthy cuttings that root readily. Waiting until the heat of summer can sometimes be a bit too much for delicate new propagations, so spring is your golden ticket.
Supplies You’ll Need
Here’s what you’ll want to have on hand to get started:
- A sharp, clean pruning shear or craft knife. Sterilize it first with rubbing alcohol.
- A well-draining potting mix. I like a blend of peat moss, perlite, and a little bit of compost. You can also buy specialized seed starting or propagation mixes.
- A small pot or tray with drainage holes.
- Rooting hormone (optional, but it can give you a nice boost!). Look for one with IBA.
- A spray bottle filled with water.
- Labels to mark your cuttings! Trust me, you’ll thank yourself later.
- Clear plastic bags or a propagator lid to create a humid environment.
Propagation Methods
Let’s get our hands dirty! The easiest and most reliable way to propagate Felicia muricata is through stem cuttings.
- Take Your Cuttings: In spring, look for nice, healthy stems on your Felicia. You want pieces that are about 3-4 inches long. Make a clean cut just below a leaf node. A leaf node is where a leaf attaches to the stem – that’s where the magic happens for root development. Gently remove the lower leaves, leaving just a couple at the very top.
- Prepare the Cuttings: If you’re using rooting hormone, dip the cut end of the stem into it. Just a light coating is all you need. Tap off any excess.
- Plant Your Cuttings: Fill your small pot with your prepared rooting mix. Make a small hole in the center of the mix with your finger or a pencil. Carefully insert the prepared cutting into the hole, ensuring the leaf nodes you removed are below the surface of the soil. Gently firm the mix around the stem to support it.
- Water and Cover: Give your newly planted cuttings a gentle watering. You want the soil to be moist but not soggy. Then, cover the pot with a clear plastic bag or place it inside a propagator. This creates a humid environment, which is crucial for cuttings to root without drying out. Secure the bag with a rubber band or close the propagator lid.
The “Secret Sauce”
Now, for a couple of little tricks that I’ve learned over the years:
- Don’t Let Leaves Touch the Water (If Water Propagating): While I prefer soil propagation for Felicia, if you do decide to try water propagation (just stick a cutting in a glass of water), make sure no leaves are submerged. Submerged leaves will just rot, and that’s not a good start for your new plant.
- Bottom Heat is Your Friend: If you have a heat mat, placing your propagator or pot on gentle bottom heat can significantly speed up the rooting process. It mimics spring soil temperatures and really encourages those roots to sprout. Just a gentle warmth, not hot!
Aftercare & Troubleshooting
Once your cuttings have been planted, place them in a bright spot, but out of direct sunlight. Too much sun can scorch them. Mist them with water every couple of days to keep the humidity high, especially if you’re not using a propagator lid.
You’ll know your cuttings have rooted when you start to see new leaf growth or when they feel a little resistant if you gently tug on them. This can take anywhere from 2 to 6 weeks. Once they have a good root system, you can carefully remove the plastic bag gradually over a few days to let them acclimatize to normal humidity. Then, you can pot them up into slightly larger containers with fresh potting mix.
The most common issue you might encounter is rot. This usually happens because the soil is too wet or the humidity is too high for too long without any ventilation. If a cutting looks mushy or black at the base, it’s likely rotted, and sadly, you’ll need to discard it and try again.
A Encouraging Closing
Propagating Felicia muricata is such a rewarding way to multiply your garden’s beauty. Be patient with your little cuttings. Some will take off like rockets, while others might be a bit slower to respond. Celebrate every success, learn from any setbacks, and most importantly, enjoy the magical process of fostering new life in your garden. Happy propagating!
Resource:
https://identify.plantnet.org/k-world-flora/species/Felicia%20muricata%20(Thunb.)%20Nees/data