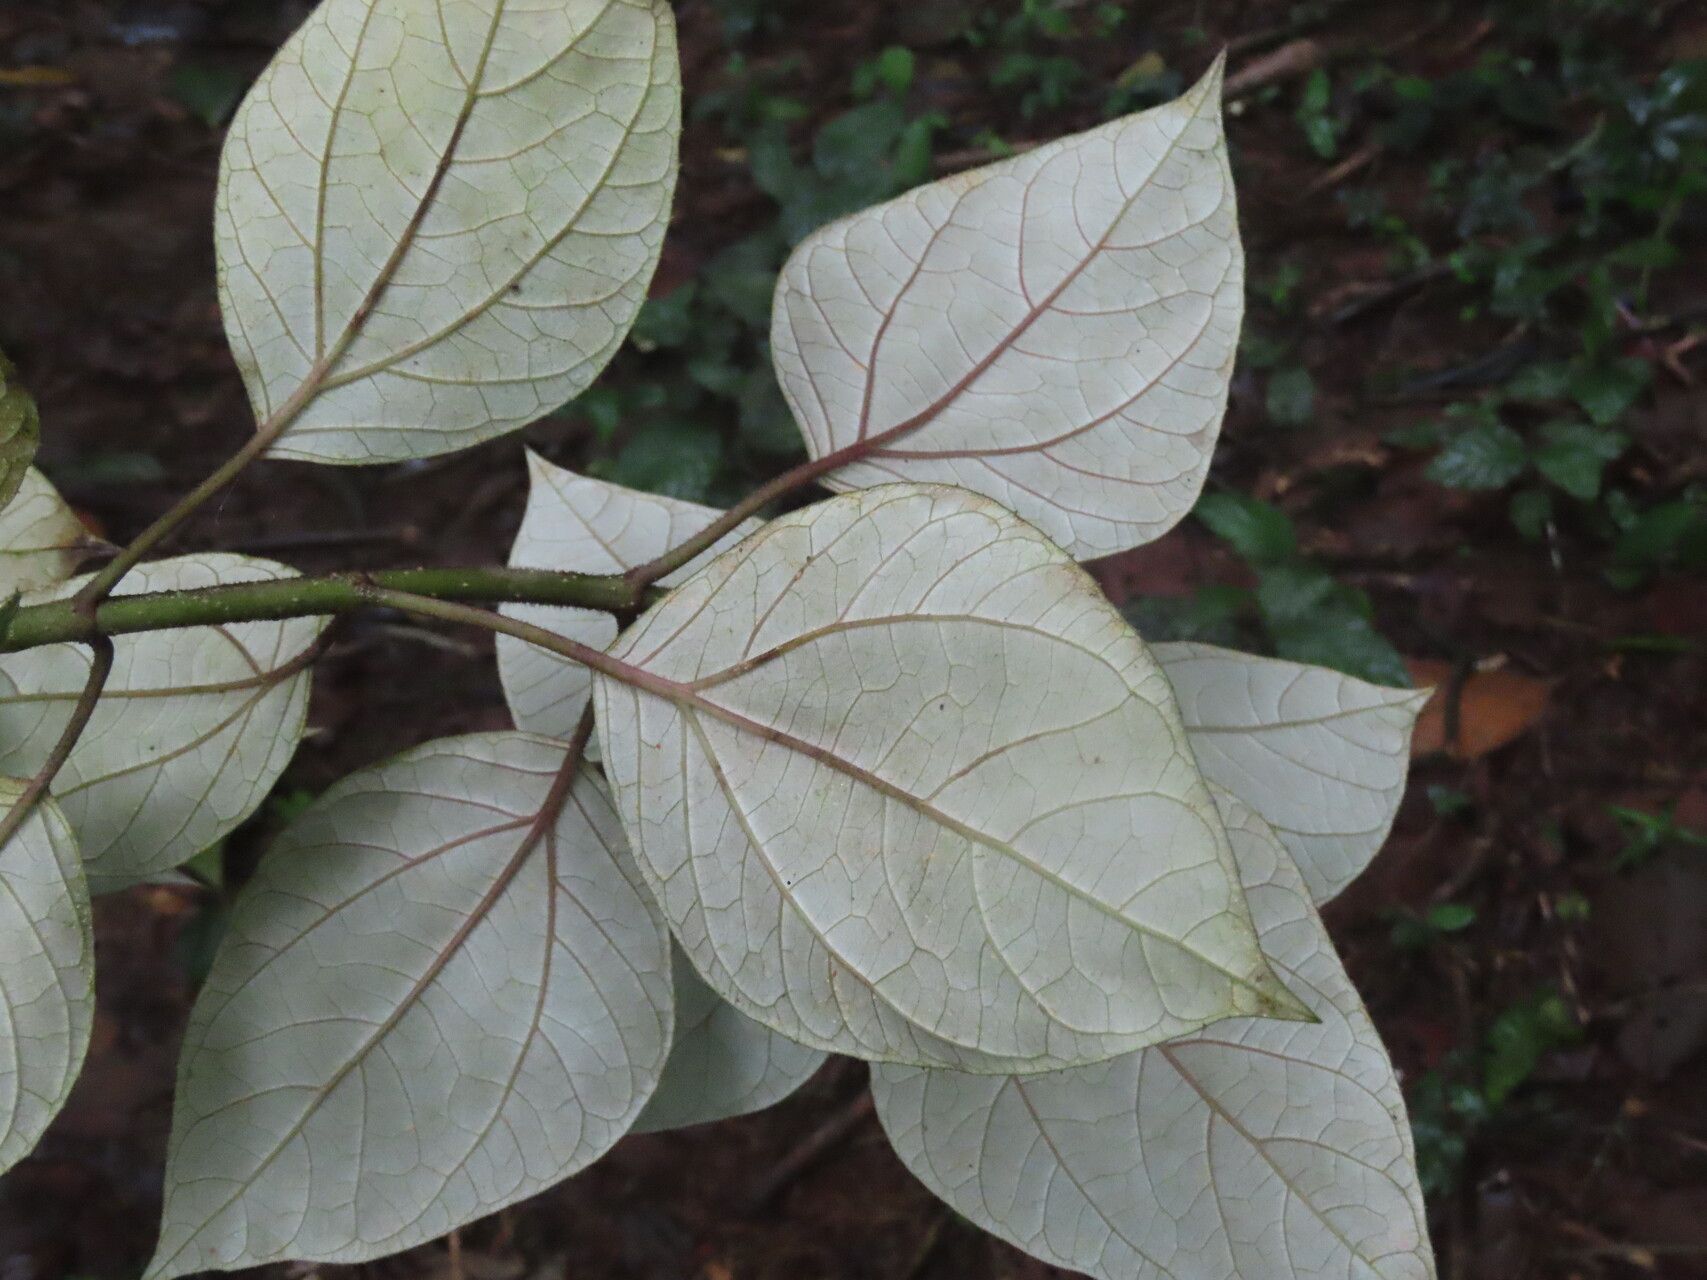
Hello, fellow plant enthusiasts! Today, we’re diving into the wonderful world of propagating Sinclairia polyantha. You know, that gorgeous, lush plant with those striking, architectural leaves that can really make a statement in your home or garden. I’ve been growing and multiplying these beauties for years, and I can tell you, there’s a deep satisfaction in coaxing a new life from a piece of an existing one.
If you’re a beginner, don’t be intimidated! Sinclairia polyantha is quite forgiving, making it a rewarding plant to try propagating. It’s a project that doesn’t require a huge learning curve, and the results are usually well worth your effort.
The Best Time to Start
For the highest success rate with Sinclairia polyantha, I find that spring and early summer are your golden ticket. This is when the plant is actively growing, brimming with energy, and more receptive to forming new roots. Waiting until after the initial burst of spring growth is ideal. You want to take cuttings from healthy, vigorous stems.
Supplies You’ll Need
Gathering your supplies before you begin makes the whole process smoother. Here’s what I always have on hand:
- Clean, sharp pruning shears or a knife
- A good quality potting mix, preferably well-draining. I often mix my own with peat moss, perlite, and a bit of compost.
- Small pots or trays for your cuttings. Make sure they have drainage holes!
- Optional: Rooting hormone – this can give your cuttings an extra boost.
- Optional: A spray bottle for misting.
- Optional: A clear plastic bag or dome to create a humid environment.
Propagation Methods
Sinclairia polyantha is wonderfully versatile, and I’ve had the most success with stem cuttings and water propagation.
Stem Cuttings: My Favorite Approach
- Select your cutting: Look for a healthy, non-flowering stem that is at least 4-6 inches long. It should have at least 2-3 sets of leaves.
- Make the cut: Using your clean, sharp shears, make a clean cut just below a leaf node. This is where new roots are most likely to form.
- Prepare the cutting: Gently remove the lower leaves from the cutting, leaving only the top 1-2 sets of leaves. If the remaining leaves are very large, you can even cut them in half to reduce water loss.
- Apply rooting hormone (optional): If you’re using rooting hormone, dip the cut end into the powder or gel. Tap off any excess.
- Pot it up: Fill your small pot with your prepared potting mix. Make a small hole with your finger or a pencil, and carefully insert the cut end of the stem into the soil. Gently firm the soil around the stem to ensure good contact.
- Water gently: Water the soil thoroughly but gently, so you don’t dislodge the cutting.
Water Propagation: Simple and Visual
This method is fantastic because you can actually see the roots developing!
- Prepare your cutting: Follow steps 1-3 from the stem cutting method above.
- Place in water: Put the prepared cutting into a clean glass or jar filled with room temperature water. Make sure the leaf nodes are submerged, but importantly, don’t let the leaves themselves touch the water. They will rot quickly.
- Change the water: Change the water every few days to keep it fresh and oxygenated.
The “Secret Sauce” (Pro Tips)
After years of tinkering, I’ve learned a few tricks that really make a difference.
- Bottom Heat is Your Friend: Especially for stem cuttings, providing a little warmth from below can significantly speed up root formation. A heated propagator mat or even placing the pots on top of a router (if it’s not too hot!) can work wonders.
- Create a Mini Greenhouse: For both methods, covering your cuttings loosely with a clear plastic bag or a plastic dome creates a humid environment, which is crucial for preventing the cuttings from drying out before they can form roots. Just make sure to open it daily for a few minutes to allow for air circulation and prevent mold.
- Patience with the Process: It’s tempting to pull at your cutting to see if it has roots, but resist the urge! For stem cuttings, you’ll start to see new growth at the top, which is a good indicator. For water cuttings, you’ll visually see those little white roots appearing.
Aftercare & Troubleshooting
Once you see good root development (about an inch or so long for water cuttings, or new growth for soil cuttings), it’s time to move them to slightly larger pots if necessary.
- Transitioning to Soil: If your cuttings were in water, gently pot them into your well-draining potting mix. Water them in well. They might look a bit shocked at first, but they’ll perk up.
- Consistent Moisture: Keep the soil consistently moist but not waterlogged. Overwatering is the quickest way to lose a new cutting.
- Light: Place your new plants in bright, indirect light. Direct sun can scorch tender new growth.
- Rot: The most common issue is rot. This usually happens from too much moisture, poor drainage, or if leaves are submerged in water. If you see mushy, black stems or leaves, it’s usually a sign of rot. Sadly, these are often beyond saving, but it’s a good lesson!
A Gentle Encouragement
Propagating plants is a journey of observation and patience. Don’t get discouraged if your first attempt isn’t perfect. Each cutting is a little experiment, and the joy of seeing that tiny root emerge or a new leaf unfurl is truly one of gardening’s greatest rewards. So go ahead, grab your shears, and happy propagating! I have a feeling you’ll be surrounded by little Sinclairia polyantha babies in no time.
Resource:
https://identify.plantnet.org/k-world-flora/species/Sinclairia%20polyantha%20(Klatt)%20Rydb./data