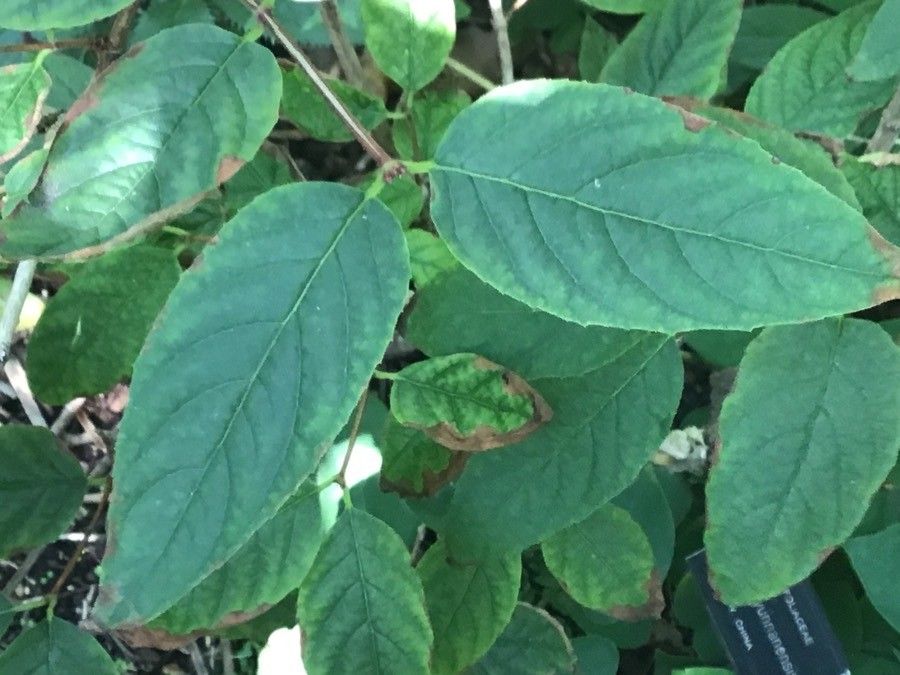
Ah, my friends, let’s talk about a plant that truly captures my heart: Dipelta yunnanensis. If you’re looking for something a little bit different, something with a gorgeous display of nodding, bell-shaped flowers that dangle like tiny lanterns, you’ve found it. This shrub, native to the woodlands of Yunnan, China, is a real stunner. Propagating it yourself? That’s where the real magic happens. It’s like coaxing a little piece of that woodland charm right into your own garden. For beginners, I’d say this one’s moderately easy, but with a little care and attention, you’ll be rewarded with beautiful new plants.
The Best Time to Start
For the best chance of success with Dipelta yunnanensis, I always reach for my pruning shears in early to mid-summer. This is when the plant is actively growing, and you’ll be taking cuttings from semi-hardwood. This means the stems have started to mature but are still flexible enough to root. Avoid taking cuttings from brand new, bright green growth, as it tends to be too soft and prone to rot.
Supplies You’ll Need
Here’s what I like to have on hand before I get started:
- Sharp, clean pruning shears or a knife: Essential for making clean cuts.
- Rooting hormone: A little boost helps tremendously, especially for woody cuttings. I prefer a powder form.
- A well-draining potting mix: A good starter mix is 50% peat moss or coir and 50% perlite or sharp sand. You want good aeration!
- Small pots or seedling trays: Clean pots are a must to prevent disease.
- A clear plastic bag or a propagation dome: To maintain humidity.
- Watering can or spray bottle: For gentle watering.
- Bottom heat (optional but recommended): A heat mat can significantly speed up the rooting process.
Propagation Methods
I find that stem cuttings are your best bet for Dipelta yunnanensis. It’s straightforward and yields great results.
Stem Cuttings:
- Select Your Cuttings: Look for healthy stems on your mature Dipelta. You want stems that are about the thickness of a pencil and have a few leaf nodes. Aim for cuttings that are 6-8 inches long.
- Make the Cut: Using your clean shears or knife, make a clean cut just below a leaf node. The leaf node is where new roots will emerge.
- Prepare the Cutting: Gently remove the leaves from the bottom half of the cutting. If the remaining leaves are very large, you can cut them in half horizontally to reduce water loss through transpiration.
- Apply Rooting Hormone: Dip the cut end of the stem into your rooting hormone, tapping off any excess. Make sure the portion that will be below the soil is coated.
- Pot Them Up: Fill your clean pots with your prepared potting mix. Make a small hole with your finger or a pencil and insert the cutting, firming the soil gently around it. You should aim to have at least two leaf nodes buried in the soil.
- Water Gently: Water the soil thoroughly but gently, ensuring it’s moist but not waterlogged.
- Create a Humid Environment: Place the pots inside a clear plastic bag, sealing it loosely, or cover them with a propagation dome. If you’re using a heat mat, place the pots on top of it now. This humidity is crucial for keeping the cuttings from drying out while they work on growing roots.
The “Secret Sauce” (Pro Tips)
Here are a couple of things I’ve learned through the years that really make a difference:
- Don’t let the leaves touch the water… if you were doing water propagation! (Just kidding, we’re doing soil here!) My real tip for soil cuttings: Ensure the leaves are above the soil line. Any foliage submerged will just rot and introduce disease to your precious cutting. You want clean air circulation around the leaves.
- Bottom heat is a game-changer. Seriously, if you can swing it, invest in a small propagation heat mat. It mimics the warmth of spring soil and can halve your rooting time. It encourages those root hormones to get going much faster.
- Take more cuttings than you think you need. Not every cutting will make it, and that’s okay! The more you take, the better your chances of success. Plus, it’s a lovely excuse to trim up your existing plant.
Aftercare & Troubleshooting
Once your cuttings are potted, the main job is to keep them consistently moist but not soggy, and maintain that humidity. Keep them in a bright spot, but out of direct, harsh sunlight, which can scorch them.
You’ll know your cuttings are happy when you start to see new leaf growth – that’s a sure sign they’re developing roots. You can also give them a gentle tug. If there’s resistance, roots are forming! This can take anywhere from 4 to 8 weeks, sometimes longer.
The most common problem you’ll encounter is rot. If you see your cutting turning black and mushy, or the soil seems perpetually waterlogged, you might have a rot issue. This is usually due to overwatering or poor drainage. If you catch it early, you can try to salvage the cutting by trimming away the rotten parts and repotting it in fresh, dry mix. But sometimes, nature just has its own way.
Once roots are well-established and you can see them peeking out of the drainage holes or the plant feels sturdy, it’s time to gradually acclimate them to drier air. Open the bag or dome for a few hours each day for about a week before removing it completely. Then, you can transplant them into slightly larger pots with a good quality potting soil.
A Encouraging Closing
Propagating Dipelta yunnanensis is a journey, and like all good gardening adventures, it requires a bit of patience. Don’t get discouraged if your first attempt isn’t perfect. Learn from it, enjoy the process of nurturing these little life forms, and before you know it, you’ll have a whole garden of these beautiful, nodding blooms. Happy propagating!
Resource:
https://identify.plantnet.org/k-world-flora/species/Dipelta%20yunnanensis%20Franch./data