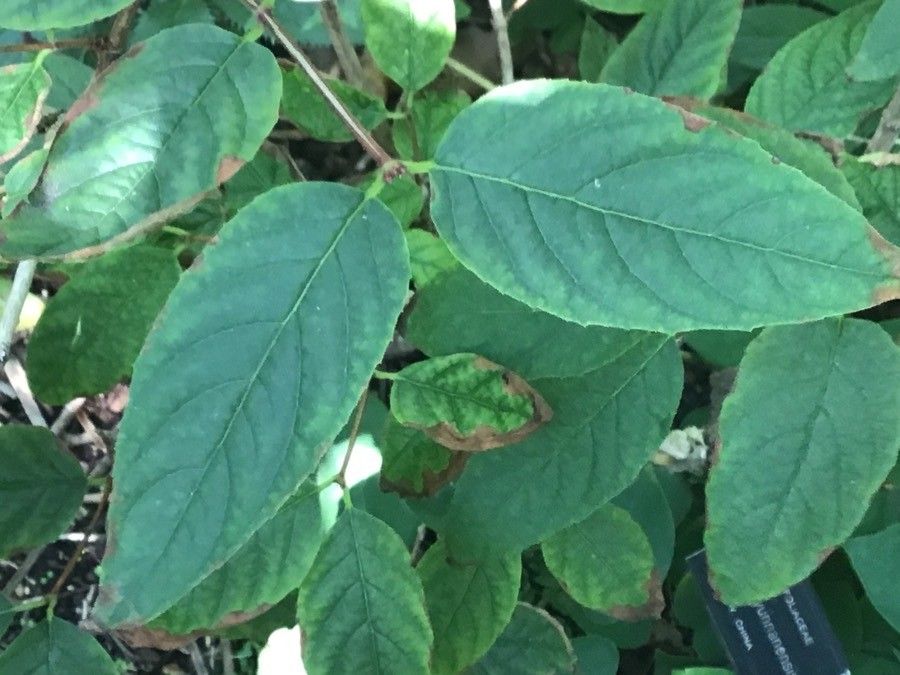
Oh, hello there! Come on in and pull up a chair. I’ve got my favorite mug of Earl Grey, and I’m just buzzing to talk about a plant that’s stolen my heart recently: Dipelta yunnanensis. If you’re looking for a shrub that brings a touch of the exotic to your garden with its graceful, bell-shaped flowers and lovely foliage, this is it. And the best part? You can easily multiply this beauty yourself! Propagating Dipelta yunnanensis is an incredibly rewarding journey, and while it has a few quirks, it’s certainly not a plant that will make beginners want to give up gardening forever. Think of it more as a delightful puzzle to solve.
The Best Time to Start
For the highest success rate with Dipelta yunnanensis, I’ve found that late spring to early summer, right after the plant has finished its initial flush of flowering, is the absolute sweet spot. This is when the new growth is still somewhat soft and pliable but has had a chance to mature a little. You want to catch it at this stage – not too woody, not too soft.
Supplies You’ll Need
Gathering your tools beforehand makes the whole process so much smoother. Here’s what I always have on hand:
- Sharp Pruning Shears or a Knife: Cleanliness is key here to prevent disease.
- Rooting Hormone: A powder or gel works wonders.
- A Well-Draining Potting Mix: I usually use a blend of perlite, peat moss, and a little compost. You can buy specific propagation mixes too.
- Small Pots or Seed Trays: Clean, of course!
- Plastic Bags or a Propagator: To create a humid environment.
- Watering Can with a Fine Rose: Gentle watering is essential.
- Optional: Bottom Heat Mat: This can significantly speed up rooting.
Propagation Methods
Let’s get our hands dirty! I find that stem cuttings are your best bet for Dipelta yunnanensis.
Taking Semi-Hardwood Cuttings:
- Select Your Cuttings: Head out to your Dipelta and look for stems that are pencil-thick and have started to turn from bright green to a slightly more mature, grayish-green. You want to find sections that are about 4-6 inches long.
- Make the Cut: Using your sharp, clean shears, make a cut just below a leaf node. This is where the magic happens, where the plant’s rooting hormones are concentrated.
- Prepare the Cuttings: Gently remove the lower leaves, leaving just two or three at the very tip. You can also trim any larger leaves in half to reduce water loss through transpiration.
- Apply Rooting Hormone: Dip the cut end of the stem into your rooting hormone. Swirl it around so it’s well-coated.
- Potting Up: Fill your small pots with your prepared potting mix. Make a small hole in the center with a pencil or your finger.
- Insert the Cuttings: Gently place the hormone-coated end of the cutting into the hole and firm the soil around it. Make sure the leaf nodes you removed are buried.
- Water Gently: Water the soil thoroughly but gently so it’s moist but not waterlogged.
The “Secret Sauce” (Pro Tips)
After years of trial and error, I’ve picked up a few tricks that make a real difference:
- The Humidity Chamber is Crucial: Once your cuttings are in their pots, place them inside a clear plastic bag, zipping it up or tying it loosely. This creates a miniature greenhouse, keeping the humidity high, which is vital for these cuttings to root. Make sure no leaves are touching the plastic, as this can lead to rot.
- Don’t Rush the Bottom Heat: If you have a bottom heat mat, use it! It really encourages those root cells to get going. Aim for a temperature of around 70-75°F (21-24°C). It’s like a cozy warm bed for your cuttings.
- Cleanliness is Your Best Friend: I can’t stress this enough. Sterilize your tools before and after each use. Use clean pots and fresh potting mix. Fungus gnats and root rot are unwelcome guests, and cleanliness is your first line of defense.
Aftercare & Troubleshooting
Once your cuttings are potted, place them in a bright spot out of direct sunlight. Keep the soil consistently moist but never soggy. You can gently tug on a cutting after about 4-6 weeks. If you feel resistance, congratulations, you’ve got roots!
The main thing to watch out for is rot. If your cuttings turn black and mushy, it’s a sign of too much moisture and not enough air circulation or the presence of fungi. If you see mold developing, remove the affected cutting immediately and try to improve airflow. Sometimes, even with the best care, a cutting just won’t take, and that’s okay! Nature has its own schedule.
A Encouraging Closing
Propagating plants is a process of patience and observation. Don’t be discouraged if your first few tries aren’t picture-perfect. Each cutting you take is a little experiment, a chance to learn more about your plants and about gardening itself. Enjoy the journey, celebrate every tiny root you see, and soon you’ll have a whole collection of beautiful Dipelta yunnanensis to share with friends or plant out in your own garden. Happy propagating!
Resource:
https://identify.plantnet.org/k-world-flora/species/Dipelta%20yunnanensis%20Franch./data