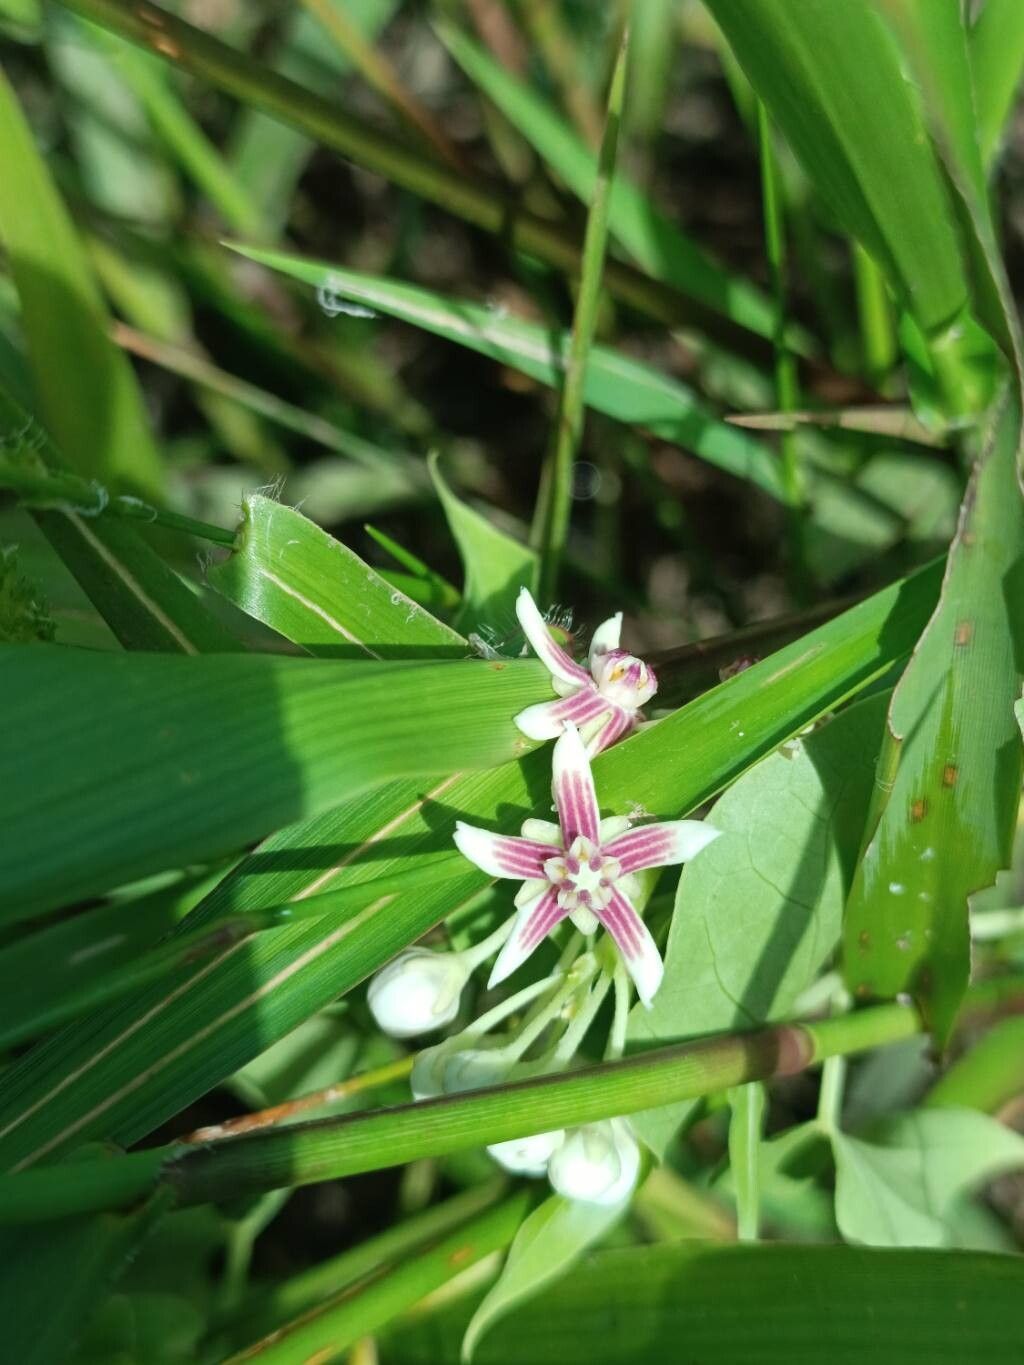
Hello fellow plant lovers! I’m so delighted you’ve stopped by today to chat about a plant that’s truly captured my heart over the years: Cynanchum montevidense. You might know it by its common name, the Montevideo Swallow-wort, or perhaps you’ve admired its delicate, star-shaped flowers and unique, rambling growth habit. It’s a real showstopper, and honestly, the joy of seeing a tiny cutting transform into a thriving new plant is something truly special. If you’re wondering whether this is a good plant for a beginner to propagate, I’d say it’s moderately easy. With a little patience and these tips, you’ll be well on your way.
The Best Time to Start
For the highest success rate with Cynanchum montevidense, I always aim to take cuttings in late spring to early summer. This is when the plant is actively growing and has plenty of energy to put into developing new roots. You want to select stems that are semi-hardwood – meaning they’re not brand new and floppy, but not woody and stiff either. They should have a bit of give when you bend them.
Supplies You’ll Need
Gathering your supplies beforehand makes the whole process smoother. Here’s what I recommend having on hand:
- Sharp pruning shears or a clean knife: For making clean cuts.
- Rooting hormone (optional but recommended): A powder or gel can give your cuttings a significant boost.
- Well-draining potting mix: I like a blend of perlite, coco coir, and a little bit of compost. You can also use a specific seed starting mix.
- Small pots or trays: Drainage holes are a must!
- Plastic bags or a propagation dome: To create a humid environment.
- Watering can with a fine rose or spray bottle: For gentle watering.
- Labels: To remember what you’ve planted and when.
Propagation Methods
Cynanchum montevidense is quite forgiving and can be propagated using a couple of reliable methods.
Stem Cuttings
This is my go-to method.
- Select your cuttings: Look for healthy, non-flowering stems that are about 4-6 inches long.
- Make the cut: Using your sharp shears or knife, take cuttings from just below a leaf node (where a leaf attaches to the stem). A clean cut is crucial to prevent disease.
- Remove lower leaves: Strip off the leaves from the bottom half of the cutting. This prevents them from rotting in the soil and encourages the plant to focus its energy on root development. You can leave the top couple of leaves intact.
- Apply rooting hormone (optional): Dip the cut end of the stem into your rooting hormone. Tap off any excess.
- Plant the cuttings: Make a small hole in your potting mix with your finger or a pencil. Insert the cutting into the hole, ensuring the leaf nodes are buried. Gently firm the soil around the base.
- Water gently: Water the soil thoroughly but gently.
- Create humidity: Cover the pot with a plastic bag or place it under a propagation dome. Make sure the plastic doesn’t touch the leaves too much. You can prop it up with small stakes if needed.
- Place in bright, indirect light: Find a warm spot that receives plenty of bright, filtered sunlight. Avoid direct sun, which can scorch the tender cuttings.
Water Propagation (for the patient!)
While I prefer soil propagation, some people have success with water.
- Prepare the cutting: Follow steps 1-3 from the stem cutting method.
- Place in water: Put the cutting in a clean glass or jar filled with fresh, room-temperature water.
- Change water regularly: This is key! Change the water every 2-3 days to keep it fresh and prevent bacterial growth.
- Location: Place the jar in bright, indirect light.
- Monitor roots: You should start to see small white roots emerge from the nodes. This can take several weeks. Once the roots are about an inch long, you can carefully transplant them into your well-draining potting mix.
The “Secret Sauce” (Pro Tips)
Here are a couple of things I’ve learned along the way that can really make a difference:
- Bottom heat is your friend: If you can, place your pots on a heat mat designed for seedlings. This gentle warmth from below encourages root formation. I find my cuttings root much faster when they have that extra warmth.
- Don’t overwater: This is probably the biggest pitfall! Overwatering can quickly lead to rot. Water only when the top inch of soil feels dry to the touch. The humidity from the plastic bag should keep the leaves moist, but the soil needs to breathe.
- Patience is paramount: Some cuttings will take off right away, while others will take their sweet time. I’ve had some stubborn ones that surprised me after weeks of waiting. Don’t discard them too soon!
Aftercare & Troubleshooting
Once you see new leaf growth or gentle tugging reveals resistance, your cutting has rooted!
- Acclimatize: Gradually remove the plastic bag or dome over a week or so. This helps the plant adjust to normal humidity levels.
- Continue care: Keep the soil consistently moist but not soggy, and maintain bright, indirect light.
- Repotting: Once the new plant is a good size and has a strong root system, you can transplant it into a slightly larger pot with fresh potting mix.
The most common sign of trouble is rot. If your cutting turns black and mushy, or the leaves seem to be wilting and yellowing despite being watered, it’s likely suffering from too much moisture. If this happens, remove the affected cutting, ensure your soil is draining well, and be more judicious with watering. Sometimes, a slightly underwatered cutting will look sad, but it’s easily remedied.
A Welcoming Closing
Watching your new Cynanchum montevidense grow from a little snipped stem into a vibrant plant is incredibly rewarding. Don’t be discouraged if your first attempt isn’t perfect – gardening is a journey of learning and adapting. Be patient with your cuttings, celebrate every little sign of progress, and most importantly, enjoy the process of bringing more green into your life! Happy propagating!
Resource:
https://identify.plantnet.org/k-world-flora/species/Cynanchum%20montevidense%20Spreng./data