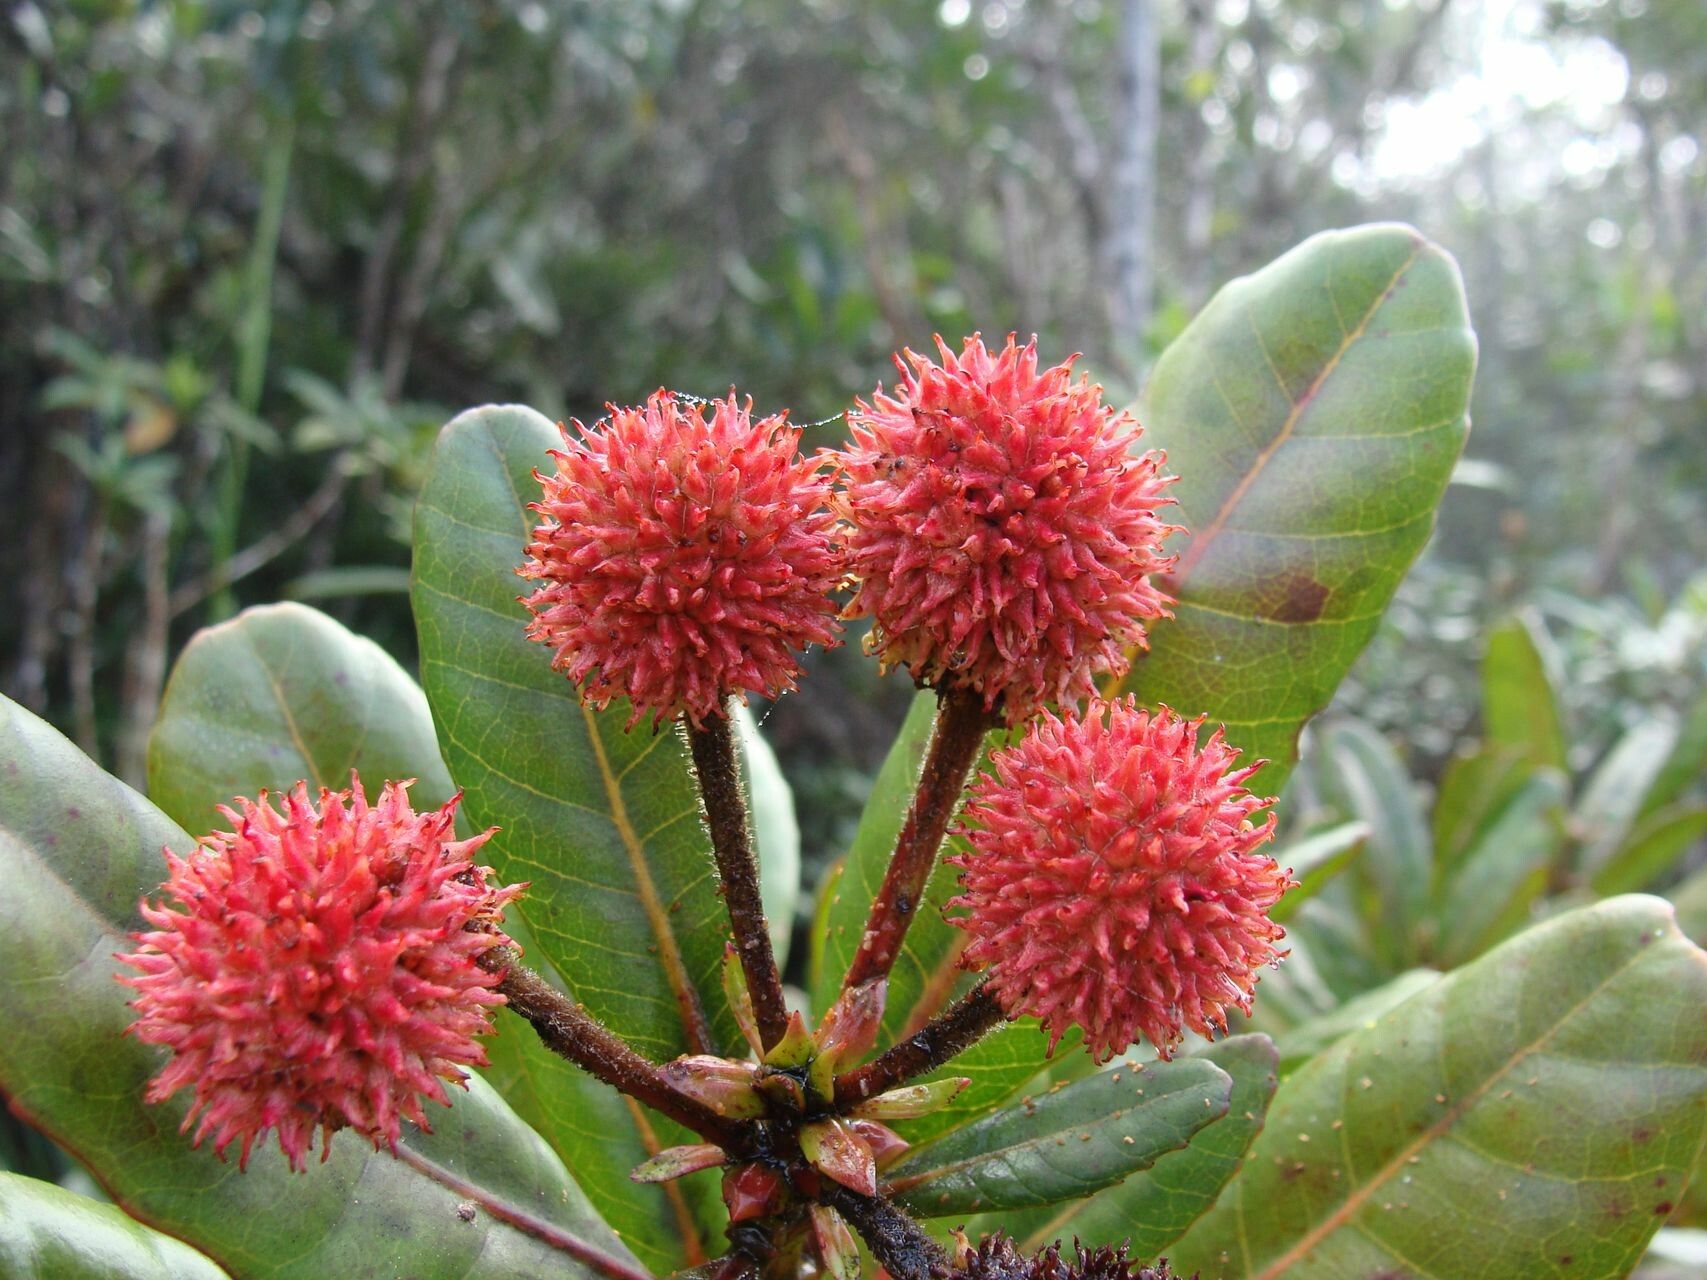
Hey there, fellow plant lovers!
Today, we’re diving into the wonderful world of propagating Pancheria ajiearoana. If you’ve had the pleasure of seeing one of these beauties, you know they bring a certain… je ne sais quoi to any space. Their unique foliage and often elegant growth habit make them a real showstopper. And the best part? You can multiply these treasures! Propagating them is incredibly rewarding, offering a deep connection to the plant as you nurture a new life from a tiny piece. For those of you just starting out, Pancheria ajiearoana can be a moderately easy plant to propagate, especially if you’re patient.
The Best Time to Start
My favorite time to get my hands dirty with propagating Pancheria ajiearoana is in the late spring to early summer. This is when the plant is actively growing, full of energy. You’ll find it’s much easier to get cuttings to root and grow vigorously when they’re taken during this peak growth phase. Waiting until the plant has settled into its summer stride usually means better results.
Supplies You’ll Need
Before we get started, let’s gather our tools. Think of this as assembling your garden artist’s palette!
- Sharp Pruning Shears or a Clean Knife: For making clean cuts.
- Rooting Hormone (Optional, but recommended): A powder or gel that helps cuttings develop roots faster.
- Well-Draining Potting Mix: I like a blend of equal parts peat moss, perlite, and vermiculite. You can also use a specialized succulent or cactus mix.
- Small Pots or Seedling Trays: With drainage holes, of course.
- Plastic Bags or a Propagator: To create a humid environment.
- Watering Can or Spray Bottle: For gentle watering.
- Labels: To keep track of what you’ve potted!
- Optional: A Heat Mat: To provide gentle bottom heat.
Propagation Methods
Let’s get down to business! I find two methods work particularly well for Pancheria ajiearoana.
Stem Cuttings
This is probably the most straightforward way to go.
- Select a Healthy Stem: Look for a mature stem that is firm but not woody. Aim for a length of about 4-6 inches.
- Make the Cut: Using your clean pruning shears or knife, make a clean cut just below a leaf node. A leaf node is where a leaf attaches to the stem.
- Prepare the Cutting: Gently remove the lower leaves from the cutting, leaving just a few at the top. This prevents them from rotting in the soil.
- Apply Rooting Hormone (Optional): If you’re using rooting hormone, dip the cut end of the stem into the powder or gel, tapping off any excess.
- Pot the Cutting: Fill your small pot with your well-draining potting mix. Make a small hole in the center with your finger or a pencil.
- Insert the Cutting: Place the cut end of the stem into the hole and gently firm the soil around it.
- Water Gently: Water the soil lightly. You want it to be moist, not waterlogged.
- Create Humidity: Cover the pot loosely with a plastic bag or place it in a propagator. Make sure the leaves don’t touch the plastic. If you’re using a plastic bag, you can use a chopstick to prop it up.
Water Propagation
This method is satisfying to watch as you can see the roots forming!
- Select and Cut: Follow steps 1 and 2 for stem cuttings.
- Remove Lower Leaves: Again, remove any leaves that would be submerged in water.
- Place in Water: Put the cutting in a clean jar or glass filled with room-temperature water. Make sure the leaf nodes are submerged, but the remaining leaves are not.
- Find a Bright Spot: Place the jar in a bright location, but out of direct sunlight.
- Change the Water: Change the water every few days to keep it fresh and prevent bacterial growth.
- Pot When Ready: Once you see roots that are about an inch long, it’s time to pot your new plant into well-draining soil, following steps 5-7 from the stem cutting method.
The “Secret Sauce” (Pro Tips)
Here are a few things I’ve learned over the years that can make all the difference:
- Bottom Heat is Your Friend: If you have a heat mat, place your potted cuttings on it. This gentle warmth from below encourages root development significantly faster. It’s like giving them a cozy blanket!
- Don’t Rush the Transplant: For water propagation, be patient. Wait until the roots are a good length before moving them to soil. Trying to transplant too early can shock the delicate new root system.
- Sterilize Everything: Always use clean tools and pots. This is crucial to prevent fungal diseases from taking hold, which can quickly derail even the most promising cuttings.
Aftercare & Troubleshooting
Once your rooting efforts prove successful, it’s time for a bit of nurturing.
- Introduce Gradually: If you used the plastic bag method, gradually increase ventilation by opening the bag for longer periods over a week or two. This helps the new plant acclimate to your home’s humidity.
- Watering: Water when the top inch of soil feels dry. Avoid overwatering, as this is the most common culprit for failure. Yellowing leaves that feel soft and mushy are a sure sign of rot.
- Light: Continue to provide bright, indirect light. Too much direct sun can scorch young leaves.
- Signs of Failure: The most common issue is rot, which appears as black, mushy stems. If you see this, you may need to discard the cutting and try again. Another sign of trouble is wilting that doesn’t improve with watering – this can indicate root rot or that the cutting simply didn’t take.
A Heartfelt Encouraging Closing
Propagating plants is a journey, and there will be times when not every cutting makes it. Don’t get discouraged! Each attempt is a learning experience. Be patient, trust your instincts, and most importantly, enjoy the process of bringing new life into your home. Happy propagating!
Resource: