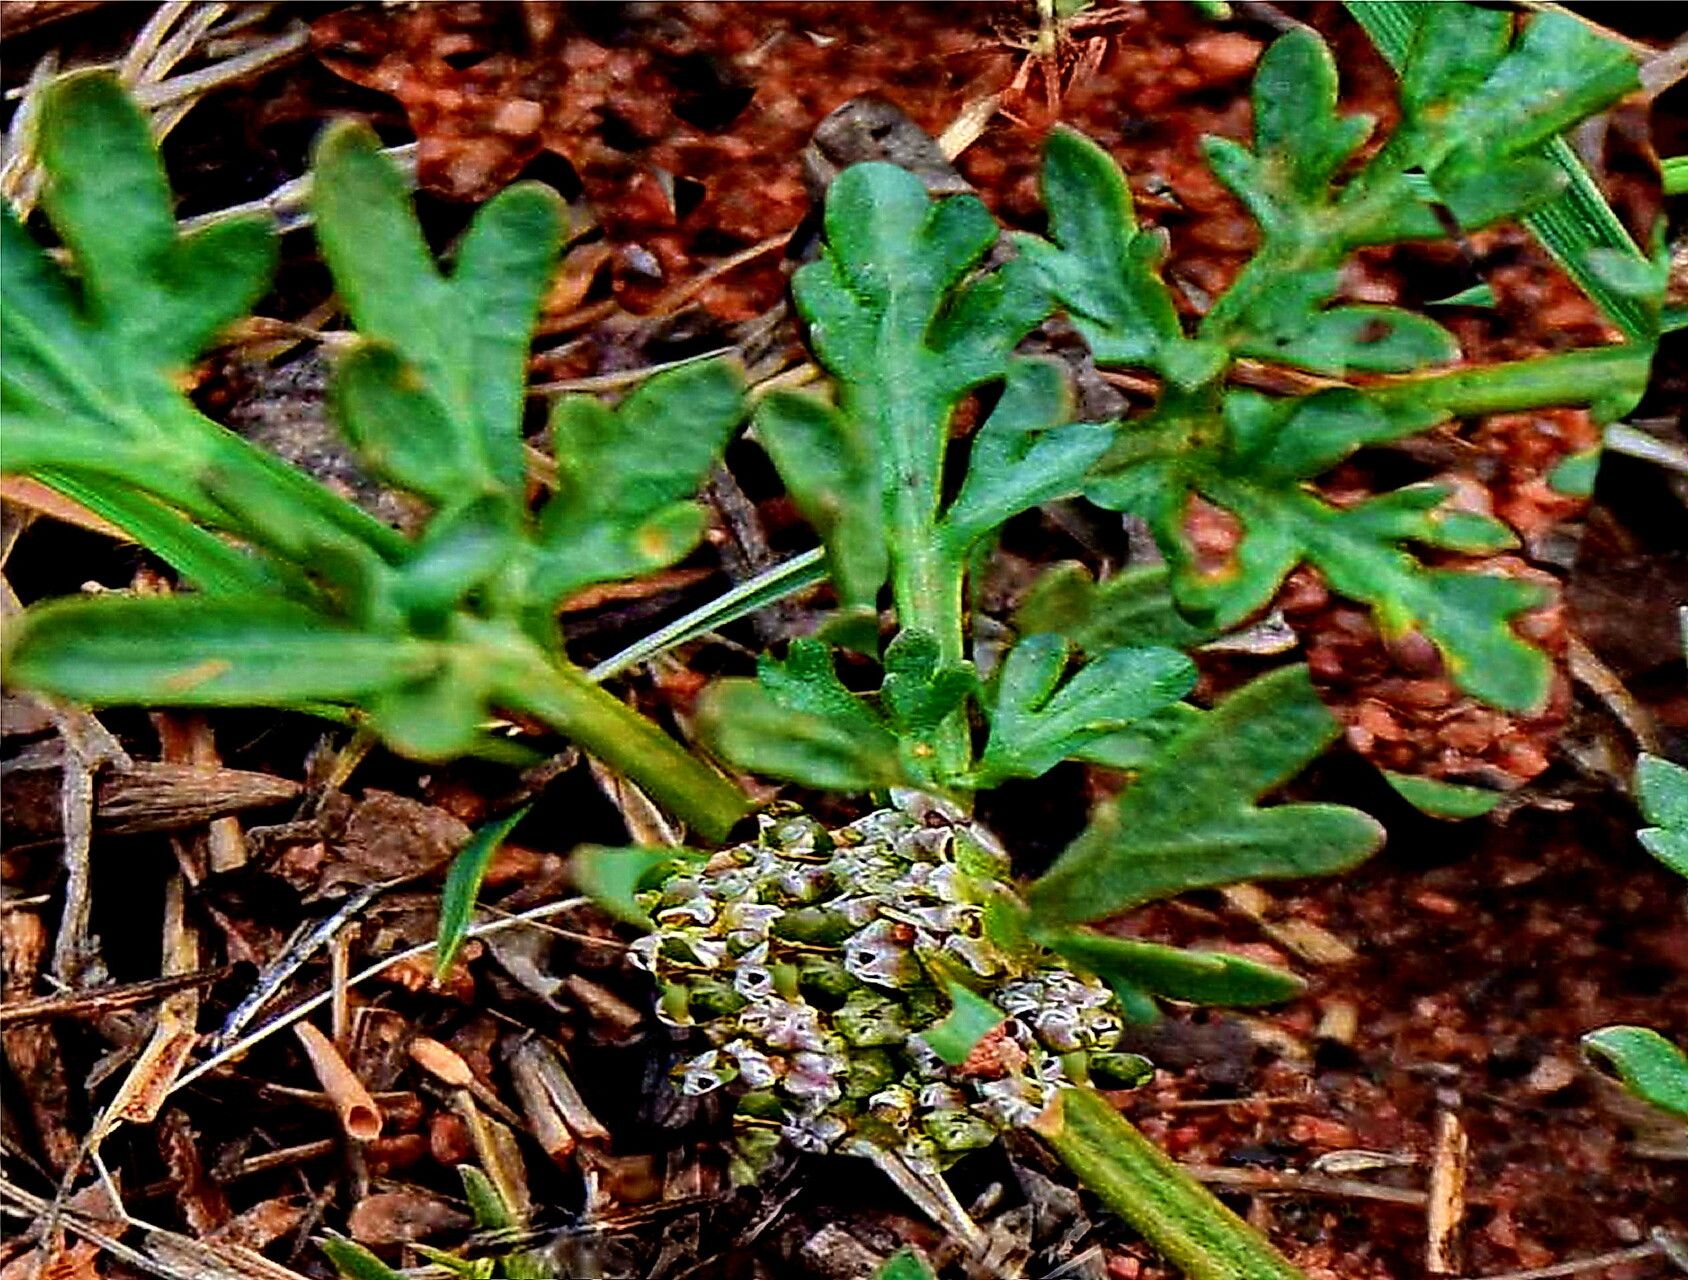
Hello there, fellow plant lovers! It’s so wonderful to have you here in my little corner of the gardening world. Today, we’re going to dive into something truly special: propagating Cymopterus glomeratus.
Now, this little gem, often called the Australian fan flower, is an absolute delight in the garden. Its delicate, fan-shaped blooms in shades of blue, purple, and white can bring such a whimsical charm to flowerbeds and containers. And the best part? Growing new plants from your existing ones is incredibly rewarding. It’s like magic, but with roots! For beginners, Cymopterus glomeratus is moderately easy to propagate, making it a great plant to try your hand at. You’ve got this!
The Best Time to Start
Timing is everything in the garden, isn’t it? For Cymopterus glomeratus, the absolute sweet spot for propagation is late spring to early summer. This is when the plant is actively growing, buzzing with energy, and has plenty of reserves to put into creating new life. Starting around May or June will give you the best chance of success. You want to work with healthy, vigorous stems, not those that are stressed or looking a bit tired.
Supplies You’ll Need
Gathering your supplies beforehand makes the whole process much smoother. Here’s what I always have on hand:
- Sharp, clean pruning shears or a sharp knife: For making clean cuts.
- Small pots or seed trays: With good drainage holes, of course.
- Well-draining potting mix: A mix of equal parts potting soil and perlite or coarse sand works beautifully. You can also find specialized seedling starters.
- Rooting hormone (optional but recommended): A powder or gel that can give your cuttings a helpful boost.
- Small plastic bags or a propagation cover: To create a mini-greenhouse environment.
- Watering can or spray bottle: For gentle watering.
Propagation Methods
Cymopterus glomeratus is a champion when it comes to propagation by stem cuttings. It’s straightforward and yields great results.
Stem Cuttings:
- Choose your cutting: On a healthy, mature plant, select a non-flowering stem that’s about 4-6 inches long. Look for stems that are a bit woody at the base but still have some flexibility.
- Make the cut: Using your sharp shears or knife, make a clean cut just below a leaf node (the point where a leaf grows from the stem). This is where the plant has the most potential to form roots.
- Prepare the cutting: Gently remove the lower leaves from the stem, leaving just a few at the very top. If there are any tiny flower buds, pinch those off too – we want all the energy focused on root development.
- Apply rooting hormone (optional): If you’re using rooting hormone, dip the cut end of the stem into the powder or gel. Tap off any excess.
- Plant the cutting: Fill your small pots with your prepared potting mix. Make a small hole in the center with your finger or a pencil.
- Insert the cutting: Place the cut end of the stem into the hole, ensuring at least one leaf node is buried beneath the soil surface. Gently firm the soil around the stem to hold it in place.
- Water gently: Water the soil thoroughly but gently. You don’t want to dislodge the cutting.
- Create a humid environment: Place the pots into clear plastic bags, sealing them loosely around the rim of the pot, or use a propagation lid. This traps moisture and keeps the humidity high, which is crucial for cuttings.
- Find a bright spot: Place the pots in a location that receives bright, indirect light. Avoid direct sunlight, as this can scorch the delicate cuttings.
The “Secret Sauce” (Pro Tips)
Here are a couple of little tricks that have saved me more than a few propagation attempts:
- Keep those leaves from touching the soil: This is a big one! If any lower leaves are in contact with moist soil, they can quickly succumb to rot. Make sure to remove them completely or trim them so they don’t bridge the gap.
- A little warmth helps wonders: While not strictly essential, placing your pots on a warm propagation mat can significantly speed up root development. It mimics the warmth of spring soil and gives those roots a real kickstart.
Aftercare & Troubleshooting
Once your cuttings are planted, the waiting game begins. Keep the soil consistently moist but not soggy. Think of it as a damp sponge. Mist the leaves occasionally if the humidity seems to be dropping.
You’ll know your cuttings have taken when you see new growth emerging from the top – a little leaf unfurling, a tiny shoot appearing. This usually happens within 3-6 weeks. You can also give a very gentle tug on the cutting; if there’s resistance, it means roots are forming.
Troubleshooting:
The most common culprit for failure is rot. If your cuttings turn black and mushy, that’s a sign of overwatering or poor drainage. Don’t be discouraged if a few don’t make it; it’s part of the learning process. Ensure your soil drains well and that the environment isn’t too wet. If you notice mold on the soil surface, improve air circulation by slightly opening your propagation bag for a short period each day.
A Encouraging Closing
And there you have it! Propagating Cymopterus glomeratus is a journey of patience and observation. Don’t be disheartened by any setbacks. Each cutting is a chance to learn more about your plants and the wonderful rhythm of nature. So, grab your shears, get your hands in the soil, and enjoy the magical process of bringing more of these beautiful fan flowers into your garden. Happy propagating!
Resource:
https://identify.plantnet.org/k-world-flora/species/Cymopterus%20glomeratus%20(Nutt.)%20DC./data