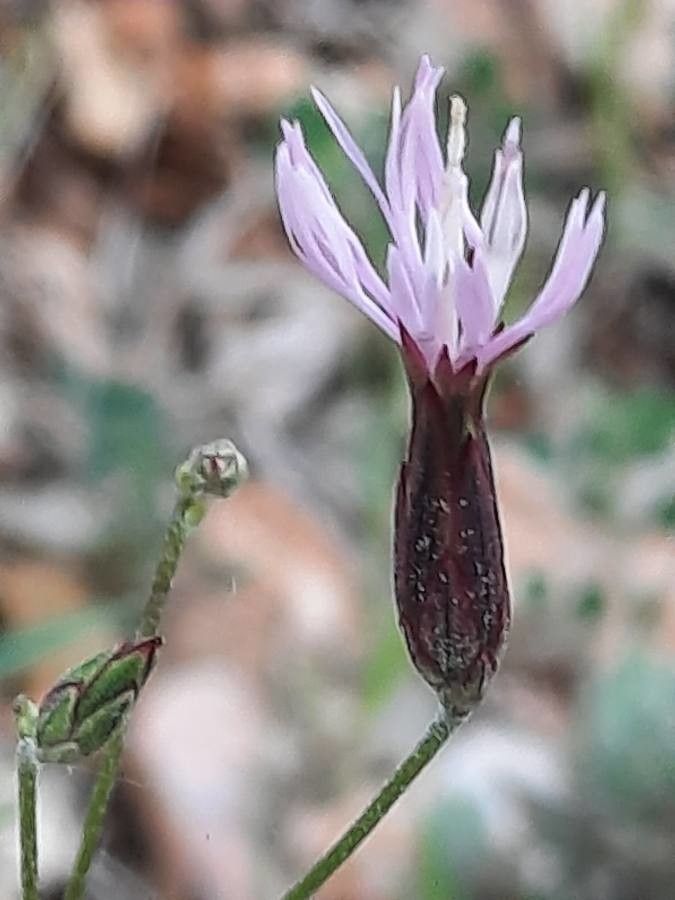
Oh, hello there! Come on in, grab a mug. Today, we’re going to chat about something wonderfully rewarding: propagating Crupina vulgaris. This little gem, often called common crupina, is a charmer with its delicate, thistle-like flowers that bring a lovely touch of wild beauty to the garden. Wanting to spread that loveliness around? Propagating it is absolutely doable, and honestly, it feels like a little bit of magic when you see a new life emerge from a piece of your existing plant. For beginners? I’d say it’s moderately easy, a fantastic project to sink your teeth into.
The Best Time to Start
For the best chance of success with Crupina vulgaris, aim for late spring or early summer. This is when the plant is actively growing and has plenty of energy to put into developing new roots. You’re looking for stems that are firm but not yet woody – think of them as being in that “just right” stage of growth.
Supplies You’ll Need
Here’s what you’ll want to gather before we dive in:
- Sharp, clean pruning shears or a sharp knife: Essential for making clean cuts.
- Rooting hormone (optional, but helpful): Dip your cuttings into this before planting to encourage root development.
- Well-draining potting mix: A mix of peat moss, perlite, and vermiculite is ideal. You can also use seed-starting mix.
- Small pots or trays: Clean, small containers with drainage holes are perfect.
- Watering can or spray bottle: To keep things moist but not soggy.
- Plastic bags or a propagation dome: To create a humid environment.
Propagation Methods
Let’s get our hands dirty with a couple of ways to multiply your crupina.
1. Stem Cuttings: The Classic Approach
This is my go-to for Crupina vulgaris.
- Take the cutting: Select a healthy stem, about 4-6 inches long. Make a clean cut just below a leaf node (where a leaf attaches to the stem). Remove the lower leaves, leaving just a few at the top.
- Prepare for rooting: If you’re using rooting hormone, dip the cut end into it, tapping off any excess.
- Planting: Fill your small pots with your well-draining mix. Make a hole with your finger or a pencil and gently insert the cutting. Firm the soil around the stem to ensure good contact.
- Create humidity: Water the soil gently. Now, cover the pot with a plastic bag or a propagation dome. This traps moisture and creates a mini-greenhouse effect.
2. Water Propagation: A Glimpse of Progress
This method is fun because you can actually see the roots forming!
- Select and cut: Similar to stem cuttings, choose a healthy stem and make a clean cut below a leaf node. Again, remove the lower leaves.
- Place in water: Fill a clean jar or glass with fresh water. Place the cutting in the water, making sure no leaves are submerged. This is crucial to prevent rot.
- Find a good spot: Put the jar in a bright spot, but out of direct, harsh sunlight. Change the water every few days to keep it fresh.
- Watch and wait: You should start to see tiny white roots emerging from the cut end within a few weeks. Once the roots are about an inch long, you can pot them up.
The “Secret Sauce” (Pro Tips)
Every gardener has a few tricks up their sleeve, and here are a couple that work wonders for crupina:
- Bottom Heat is Your Friend: If you have a seedling heat mat, placing your potted cuttings on it can significantly speed up root formation. It mimics the warmth of spring soil and gives those roots a real boost. I’ve found it makes a noticeable difference.
- Don’t Be Afraid to Mist: Once your cuttings are planted and covered, a light misting of water inside the plastic dome or bag every few days can help keep the humidity levels high. But always ensure good air circulation – we don’t want fungal issues!
Aftercare & Troubleshooting
Once your cuttings have developed a good root system (you’ll know because they’ll resist a gentle tug), it’s time to transition them to a slightly larger pot, or even into the garden if your climate is suitable. Gradually acclimate them to drier air by leaving the plastic bag open for longer periods.
The biggest challenge you might face is rot. This usually happens if the soil is too wet and there isn’t enough air circulation. If you see yellowing leaves or a mushy stem base, it’s a sign of trouble. Act quickly: remove the affected part and try to increase airflow. Overwatering is the most common culprit, so be mindful of that.
A Little Patience Goes a Long Way
Propagating plants is an exercise in patience and observation. Some take root quickly, while others need a bit more time to get established. Don’t get discouraged if your first few attempts aren’t perfect. Keep trying, keep learning, and most importantly, enjoy the process. Soon enough, you’ll have more of these lovely Crupina vulgaris to grace your garden! Happy gardening!
Resource:
https://identify.plantnet.org/k-world-flora/species/Crupina%20vulgaris%20Pers.%20ex%20Cass./data