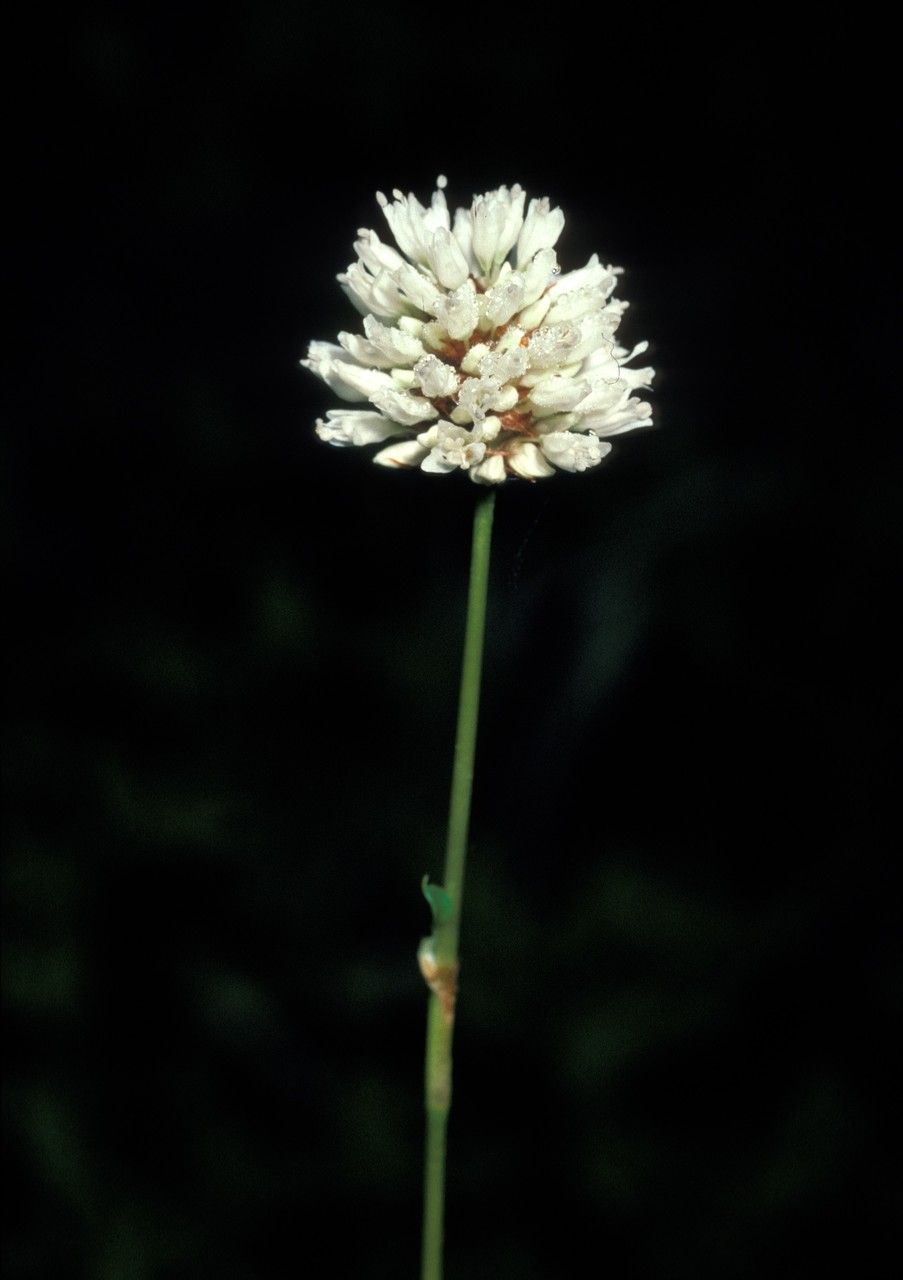
Hey there, fellow plant lovers! If you’ve ever admired the charming, spiky blooms of Bistorta bistortoides (often called American Bistort or Snakeroot), you know how much joy it brings to a garden. Its airy, white or pinkish flower spikes are simply delightful, and growing more of this beauty yourself is incredibly rewarding. I’ve found that propagating Bistorta bistortoides is fairly straightforward, even for those who are just starting their plant-parenting journey. Let’s get your hands dirty and grow some new friends together!
The Best Time to Start
For the absolute best luck with your Bistorta propagation, I highly recommend working with established plants in mid-spring. This is when the plant is waking up from its winter rest and has plenty of fresh energy to spare. You’ll see new growth emerging, making it the perfect time to either take cuttings or divide the plant. If you miss spring, early fall can also work, but you’ll just want to make sure the new plantlets have enough time to establish before winter sets in.
Supplies You’ll Need
Gathering your tools beforehand makes the whole process smoother. Here’s what I typically have on hand:
- Sharp pruning shears or a clean knife: for making clean cuts.
- A well-draining potting mix: I like a blend of seed-starting mix and perlite – about a 50/50 ratio. This ensures good aeration.
- Small pots or trays: with drainage holes, of course!
- Rooting hormone (optional but helpful): particularly for stem cuttings.
- A watering can with a fine rose attachment: for gentle watering.
- Labels and a permanent marker: to keep track of what you’ve propagated.
Propagation Methods
I usually go with two main methods for Bistorta bistortoides, both yielding great results.
Division
This is my go-to method because it’s so effective with Bistorta.
- Gently unearth the plant: In spring, carefully dig around the base of your established Bistorta. Try to lift the entire root ball out of the soil.
- Clean the roots: Gently brush away excess soil. You’ll see distinct crowns or clumps forming.
- Separate the divisions: Using your hands or a clean knife, carefully pull or cut apart the plant into sections. Each division should have its own roots and at least one or two leafy shoots.
- Replant immediately: Pot each division into its own container filled with your well-draining soil mix. Water thoroughly.
Stem Cuttings
This method is fantastic for increasing your plant numbers!
- Take cuttings: In spring, select healthy, non-flowering stems. Using your clean pruners, cut stems that are about 4-6 inches long. Make your cut just below a leaf node (where a leaf attaches to the stem).
- Prepare the cuttings: Remove the lower leaves, leaving just a couple of sets at the top. If you’re using rooting hormone, dip the cut end into it now.
- Plant the cuttings: Insert the cut end of each stem about an inch deep into a pot filled with your seed-starting mix. Two or three cuttings per pot is a good number.
- Water gently: Moisten the soil, but don’t soak it.
The “Secret Sauce” (Pro Tips)
Here are a few little tricks I’ve learned over the years that really boost your success rates.
- Don’t let the leaves touch the water (if water propagating): While I generally recommend soil propagation for Bistorta, if you do try water propagation with cuttings, make sure the leaves aren’t submerged. This prevents them from rotting before they can root.
- Warmth is key for cuttings: For stem cuttings, I find placing the pots on a heating mat or in a warm spot really speeds up root development. It mimics that cozy spring soil temperature.
- Humidity helps cuttings establish: To keep those cut stems from drying out while they’re trying to root, you can cover the pots loosely with a plastic bag or dome. Make sure to open it for a bit of fresh air each day.
Aftercare & Troubleshooting
Once your divisions are planted or your cuttings have started to show signs of rooting (you’ll see new leaf growth, and gently tugging on a cutting will reveal resistance), it’s time for a little extra TLC.
- Watering: Keep the soil consistently moist but not soggy. Overwatering is the quickest way to spell disaster, leading to root rot.
- Light: Place your new Bistortas in a spot with bright, indirect light. Avoid harsh, direct sun as their young leaves can scorch.
- Acclimation: Once they have a good root system, you can start to gradually harden them off by exposing them to outdoor conditions for increasing periods before planting them permanently.
The most common issue you might encounter is rot, which is usually a sign of too much moisture. If you see wilting, mushy stems, or a foul smell from the soil, it’s likely rot. Unfortunately, once it sets in, it’s hard to recover. Prevention through good drainage and careful watering is your best bet!
A Encouraging Closing
Growing more of these lovely Bistorta plants is such a satisfying endeavor. Remember to be patient! Nature works on its own timeline, and sometimes it takes a little while for roots to form and new growth to appear. Enjoy the process, learn from each attempt, and soon you’ll be rewarded with a garden full of these charming snakeroot blooms. Happy propagating!
Resource:
https://identify.plantnet.org/k-world-flora/species/Bistorta%20bistortoides%20(Pursh)%20Small/data