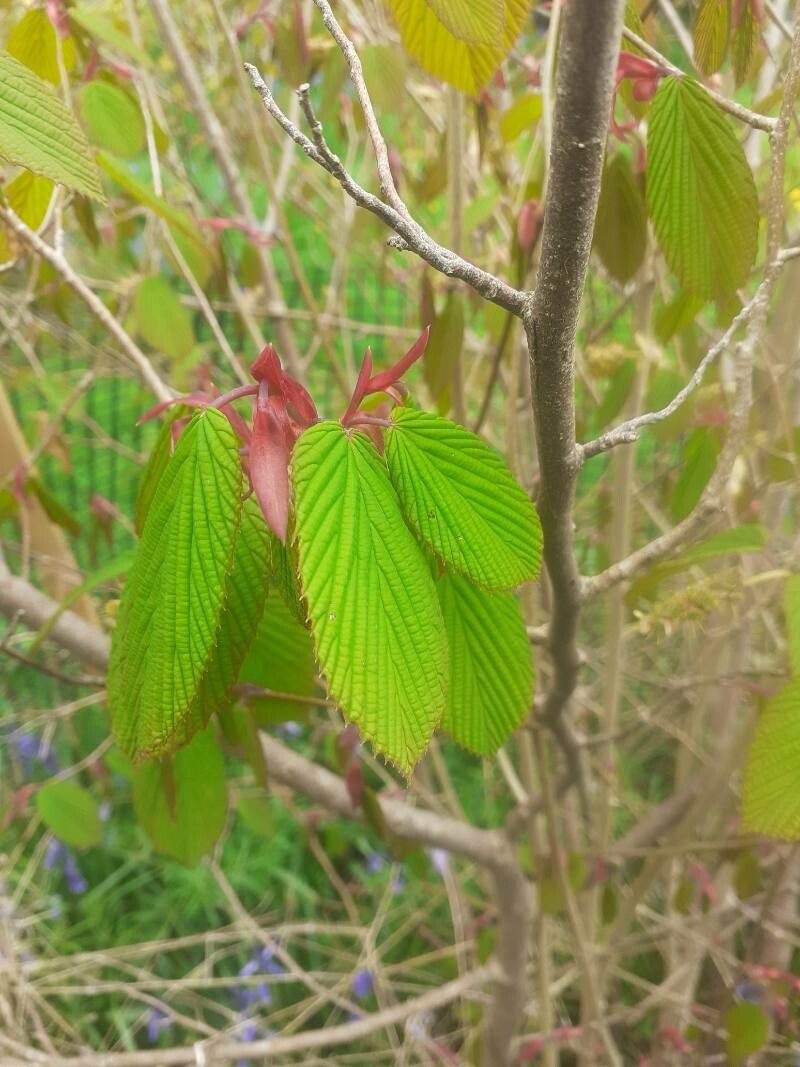
Ah, the beautiful Winter Hazel, Corylopsis multiflora! Isn’t it just a delight? With those gorgeous, early spring yellow blooms that practically glow on bare branches, it’s a real showstopper when most of the garden is still snoozing. And the fragrance! Oh, it’s delicate and lovely. If you’re looking to fill your garden with more of these beauties, or share them with fellow plant lovers, propagating them is a truly rewarding endeavor. Now, you might be wondering if it’s a tricky business. I’d say for the absolute beginner, it can be a bit of a learning curve, but with a few pointers, I think you’ll find it quite manageable.
The Best Time to Start
For Corylopsis multiflora, I find that late spring to early summer is absolutely the sweet spot for taking stem cuttings. Think of it like this: the plant has finished its spectacular bloom display and is now putting its energy into fresh, new growth. This vigorous young growth is far more forgiving and eager to root than older, woodier stems.
Supplies You’ll Need
Gathering your materials beforehand makes the whole process so much smoother. Here’s what I always have on hand:
- Sharp, clean pruning shears or secateurs: Essential for making clean cuts that heal well.
- Rooting hormone (optional but recommended): A powdered or liquid form will give your cuttings a good head start.
- Well-draining potting mix: I like a blend of perlite, peat moss, and a bit of sand. You can also buy ready-made seed starting mixes.
- Small pots or seed trays: Make sure they have drainage holes!
- Filtered water or rainwater: Tap water can sometimes contain chemicals that hinder rooting.
- Plastic bags or a propagation dome: This is key for maintaining humidity.
- Labels and a permanent marker: Trust me, you’ll forget what you potted and when!
Propagation Methods
While you can divide Corylopsis in the fall, I find taking stem cuttings to be the most reliable and accessible method for most gardeners wanting to increase their plant numbers.
- Select Your Cuttings: On your Corylopsis, look for healthy, non-flowering, semi-hardwood shoots. These are usually about pencil-thick and have started to firm up but are still a little flexible. You want to take cuttings that are roughly 4-6 inches long.
- Make the Cut: Using your clean shears, make a cut just below a leaf node (where a leaf attaches to the stem). This is where the plant is naturally inclined to produce roots.
- Prepare the Cutting: Gently remove the lower leaves from the cutting, leaving just a couple of leaves at the very top. If the remaining leaves are very large, you can even snip them in half to reduce water loss through transpiration.
- Apply Rooting Hormone (Optional): If you’re using rooting hormone, dip the cut end of the stem into the powder or liquid. Tap off any excess.
- Plant Your Cuttings: Fill your pots with your prepared potting mix. Make a hole in the soil with a pencil or your finger, and gently insert the cutting, pushing the soil around the stem to secure it. Make sure the leaf nodes that were below the soil line are covered.
- Water Gently: Water the soil thoroughly but gently. You don’t want to wash away your cuttings.
- Create a Humid Environment: This is crucial! Cover the pot loosely with a clear plastic bag or place it under a propagation dome. This traps moisture around the cuttings, preventing them from drying out. Make sure the leaves don’t touch the plastic if possible.
The “Secret Sauce” (Pro Tips)
Here are a couple of things I’ve learned over the years that really make a difference:
- Bottom Heat is Your Friend: If you have a propagation mat or can place your pots on a gently warm surface (like a router!), this can significantly speed up root development. Corylopsis loves a little warmth from below.
- Don’t Rush the Transplant: This is a biggie. Resist the urge to tug on your cuttings! It’s best to wait until you see definite signs of new leaf growth or feel gentle resistance when you very carefully tug the cutting. This usually takes anywhere from 4 to 8 weeks, or even longer. Patience is a virtue here!
Aftercare & Troubleshooting
Once your cuttings have rooted, it’s time to transition them to a slightly less humid environment.
- Gradual Acclimation: Over a week or so, gradually increase the ventilation by opening the plastic bag or dome a little each day.
- Watering Needs: Keep the soil consistently moist but never waterlogged. As the new plant establishes, it will require more regular watering.
- First Potting: When your cutting looks robust, gently transplant it into its own small pot with a good quality potting mix.
- Signs of Failure: The most common reason cuttings fail is rot. If your cutting turns mushy, black, or just keeps wilting, it’s likely succumbed to fungal issues, often from too much moisture and not enough air circulation. If you see this, remove the offending cutting to prevent it from spreading. Sometimes, it simply means the conditions weren’t quite right, and that’s okay! We learn from every attempt.
A Little Encouragement
Propagating Corylopsis multiflora is a wonderful way to multiply this garden gem. Be patient with yourself and the process. Not every cutting will take, and that’s perfectly normal. Celebrate the successes, learn from any disappointments, and most importantly, enjoy the journey of nurturing life from a simple stem. Happy gardening!
Resource:
https://identify.plantnet.org/k-world-flora/species/Corylopsis%20multiflora%20Hance/data