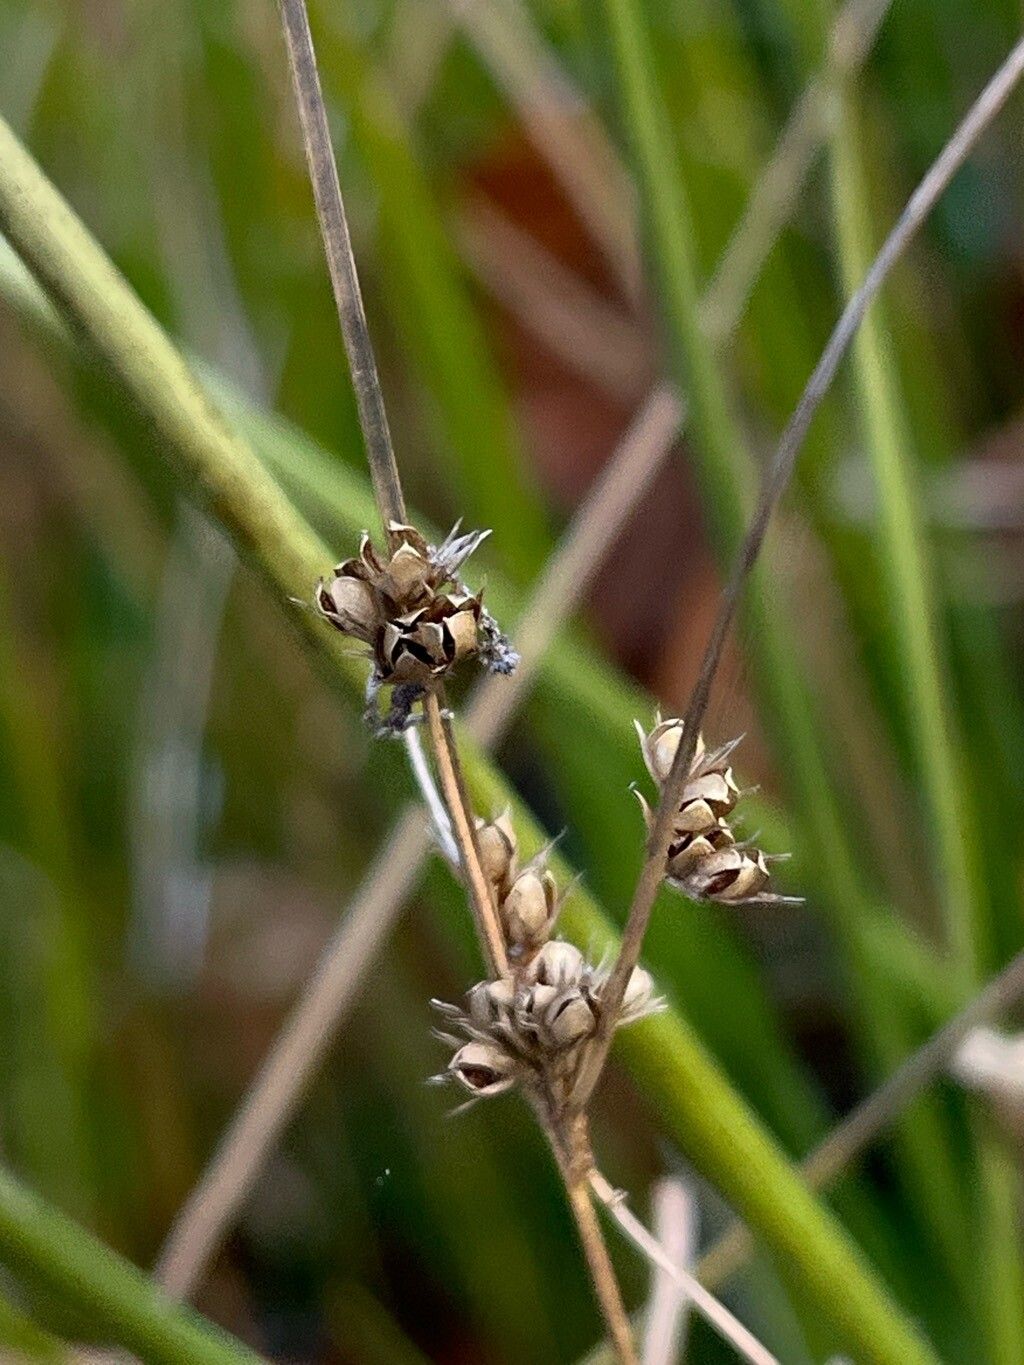
Ah, Juncus dudleyi! Sometimes called Dudley rush, this is a plant that brings such a wonderful sweep of texture and year-round structure to a garden. Its fine, grass-like foliage arching gracefully, whether it’s tucked into a damp corner or shining in a sunny water feature, it truly adds a touch of wild elegance. And let me tell you, propagating it yourself is incredibly rewarding! It’s not a shy plant to work with, either. I’d say Juncus dudleyi is quite forgiving, making it a great one for beginners looking to expand their collection without too much stress.
The Best Time to Start
For the highest success rates with Juncus dudleyi, I always aim for late spring to early summer. This is when the plant is actively growing and has plenty of energy to put into developing new roots. You can also have success with division in the fall, but for cuttings or starting new plants from scratch, spring is your golden ticket.
Supplies You’ll Need
Gathering your supplies beforehand makes the whole process smoother. For propagating Juncus dudleyi, here’s what I typically have on hand:
- Sharp Pruning Shears or a Clean Knife: For taking clean cuts.
- Small Pots or Trays: With good drainage holes.
- Propagation Mix: A light, fluffy mix is best. I often use a blend of 50% perlite and 50% peat moss or coconut coir. You can also use a good quality seed starting mix.
- Rooting Hormone (Optional but Recommended): A powdered or gel product can give your cuttings a helpful boost.
- Watering Can with a Fine Rose: For gentle watering.
- Plastic Bags or a Propagator Lid: To maintain humidity.
Propagation Methods
Juncus dudleyi is wonderfully adaptable, and I’ve had great luck with a couple of methods.
Division (My Favorite for Established Plants)
This is hands-down the easiest way to get more Juncus dudleyi if you already have a mature plant.
- Dig Up the Plant: Gently dig up your existing Juncus dudleyi from its pot or garden bed. Try to disturb the root ball as little as possible, but don’t be afraid to get in there.
- Inspect the Root Ball: Gently tease apart the soil to get a good look at the crown of the plant. You’ll see where new shoots are emerging from the older growth.
- Divide: Using your hands or a clean knife, gently pull or cut the root ball into sections. Aim for sections that have several healthy shoots and a good amount of root attached. If a section looks weak or diseased, leave it.
- Pot Up: Immediately pot up each division into its own container with your fresh propagation mix. Water them in well.
Stem Cuttings (For More Plants from One)
This method is excellent for creating multiple new plants from a single parent.
- Take Cuttings: In late spring or early summer, select healthy, non-flowering stems. Using your sharp pruning shears or knife, cut stems that are about 4-6 inches long. Make your cut just below a node (where leaves emerge). Remove any lower leaves, leaving only a few at the top.
- Apply Rooting Hormone: If you’re using rooting hormone, lightly dip the cut end of each stem into the powder or gel. Tap off any excess.
- Plant the Cuttings: Fill your small pots or trays with the propagation mix and moisten it thoroughly. Make small holes with your finger or a pencil and insert the cuttings. Gently firm the soil around them.
- Create a Humid Environment: Cover the pots with a plastic bag or place them in a propagator lid. Make sure no leaves are touching the plastic. Place them in a bright spot, but out of direct sunlight.
The “Secret Sauce” (Pro Tips)
Here are a couple of little tricks I’ve learned over the years that can really make a difference:
- Don’t Drown Your Cuttings: When water propagating (which I don’t usually recommend for Juncus but it’s a common gardener question!), it’s crucial to ensure that none of the foliage touches the water. Only the cut stem end should be submerged. This prevents rot. For division and cuttings in soil, err on the side of consistently moist, but not waterlogged.
- Bottom Heat Works Wonders: If you have a seedling heat mat, pop your pots of cuttings or divisions on it. Gentle bottom heat encourages root development much faster than relying on ambient room temperature alone, especially if your propagation spot is a bit cooler.
Aftercare & Troubleshooting
Once your divisions are potted or your cuttings have started to root (you can gently tug one to see if there’s resistance), it’s time for a little tender loving care.
- Watering: Keep the soil consistently moist but not soggy. This is key for rushes. They like to be damp! As the new plants establish, you can gradually transition them to a slightly less frequent watering schedule, but they still prefer a bit of moisture.
- Light: Continue to provide bright, indirect light until they are visibly growing well. Once they’ve got a good root system, you can slowly acclimate them to more sun, depending on your specific Juncus variety and climate.
- Signs of Trouble: The most common issue you’ll face is rot, which usually indicates overwatering or poor drainage. If you see stems turning mushy or becoming yellow and floppy, it’s a bad sign. Ensure your pots have good drainage and don’t let them sit in standing water. If you catch it early, you can try repotting into drier soil, but sometimes it’s hard to recover from root rot.
A Little Patience Goes a Long Way
There you have it! Propagating Juncus dudleyi is a straightforward and deeply satisfying endeavor. Don’t be discouraged if your first attempt isn’t perfect; gardening is all about learning and observing. Just keep trying, be patient with your little green charges, and enjoy the magic of watching new life sprout from your efforts. Happy gardening!
Resource:
https://identify.plantnet.org/k-world-flora/species/Juncus%20dudleyi%20Wiegand/data