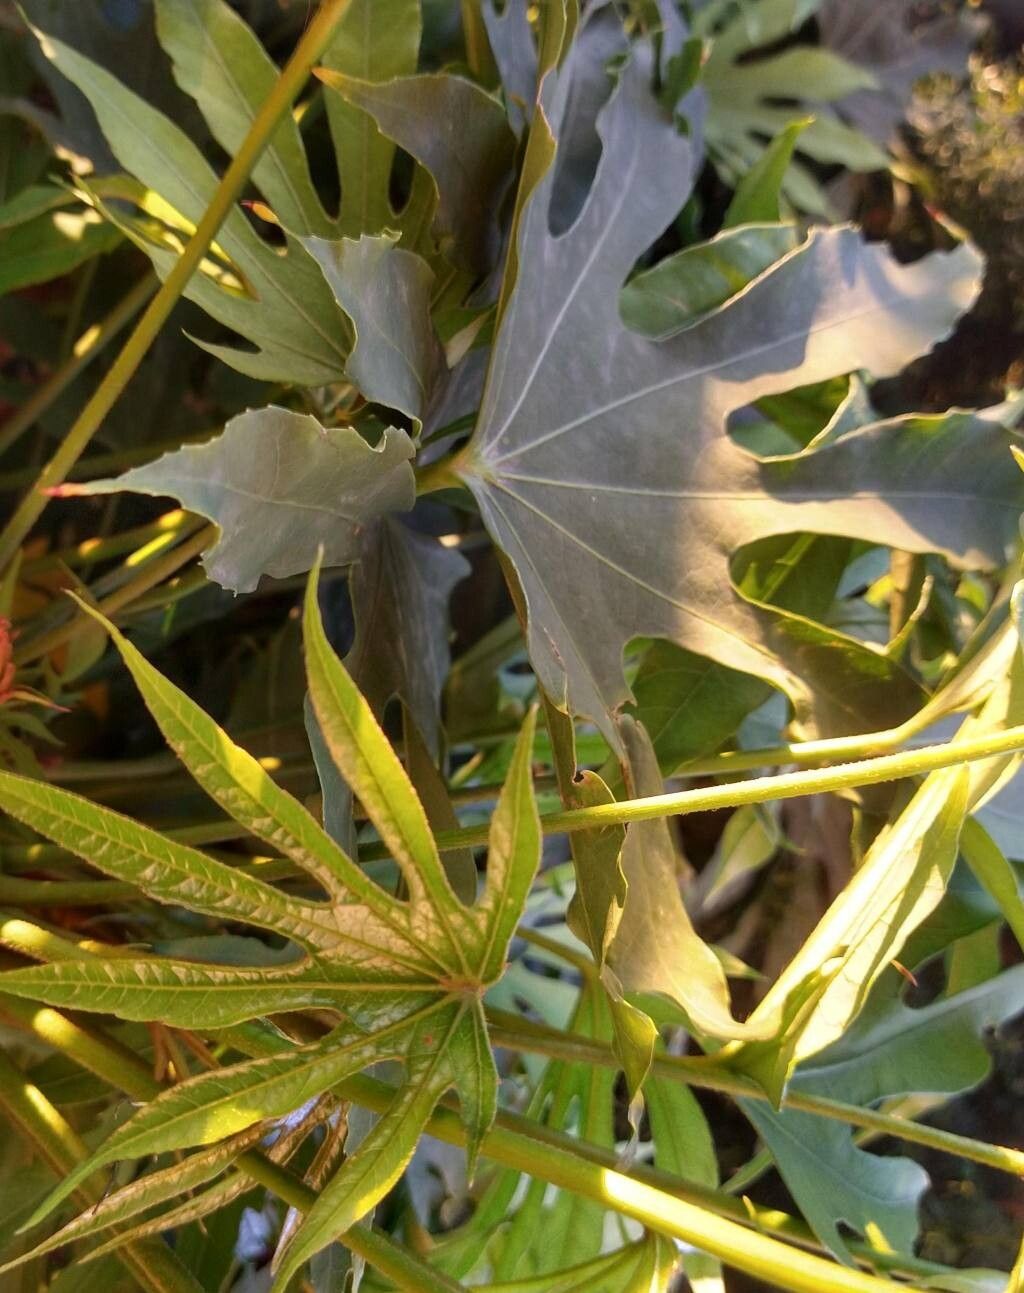
Oh, hello there! Grab a mug, and let’s chat about one of my favorite leafy companions: the Fatsia polycarpa. If you’ve ever admired those statuesque, architectural beauties with their glossy, architectural leaves, you’re not alone. And the best part? You can easily bring more of that lushness into your own garden, or even your home, by propagating them! It’s a wonderfully rewarding process, and I promise, it’s not as daunting as it might sound. For the most part, Fatsia polycarpa is quite amenable to propagating, making it a great project for gardeners of all levels.
The Best Time to Start
When it comes to coaxing new life from your Fatsia, spring and early summer are your golden windows. This is when the plant is actively growing and has plenty of energy to put into developing new roots. You’ll want to select stems that are semi-hardwood, meaning they’re not brand new and floppy, but not old and woody either. Think of a stem that you can bend slightly without it snapping, but it holds its shape reasonably well.
Supplies You’ll Need
Before we get our hands dirty, let’s gather our tools. Having everything ready will make the whole process smoother.
- Sharp, clean pruning shears or a knife: Essential for taking clean cuts.
- Rooting hormone (optional, but recommended): A little boost can work wonders! Look for a powder or gel.
- Small pots or seed trays: Clean and with drainage holes, of course.
- Well-draining potting mix: A good blend for this is usually a 50/50 mix of perlite and peat moss or coco coir. You can also buy custom seedling mixes.
- Watering can or spray bottle: For gentle watering.
- A clear plastic bag or propagation dome: To create a humid environment.
- Labels: To remember what you’ve planted and when!
Propagation Methods
There are a couple of fantastic ways to get new Fatsia polycarpa plants going. I usually lean towards stem cuttings, as they’re very reliable for this plant.
Stem Cuttings
This is my go-to method for Fatsias. It’s straightforward and yields great results.
- Take your cuttings: Using your clean shears, snip off healthy stems that are about 6-8 inches long. Make the cut just below a leaf node (where a leaf attaches to the stem).
- Prepare the cuttings: Gently remove the lower leaves, leaving just a couple at the very top of the stem. This prevents them from rotting in the soil. If your cutting is very large, you can even cut the remaining leaves in half horizontally. This reduces water loss while the plant tries to root.
- Apply rooting hormone (if using): Dip the cut end of the stem into your rooting hormone powder or gel, tapping off any excess.
- Plant your cuttings: Fill your small pots with your prepared potting mix. Make a hole in the center with your finger or a pencil, then insert the cutting. Gently firm the soil around the base of the stem.
- Water gently: Give the soil a light watering.
- Create a humid environment: Place the pot inside a clear plastic bag, or cover it with a propagation dome. Ensure the leaves don’t touch the plastic if possible. Find a bright spot for your pot, but avoid direct sunlight, which can scorch the delicate cuttings.
Water Propagation (for experienced enthusiasts seeking speedy results)
While I generally prefer soil, some folks love to watch roots develop in water. This works well for Fatsias too, with a slight caveat.
- Take cuttings: Same as above, about 6-8 inches long, with lower leaves removed.
- Place in water: Pop the cuttings into a clean jar or vase filled with room-temperature water.
- Change water regularly: Change the water every few days to keep it fresh and prevent bacterial growth.
- Wait for roots: You should see roots appearing in a few weeks. Once the roots are at least an inch long, it’s time to transition them to soil. This part can be tricky, as they need to adjust from water to soil. Plant them in your well-draining mix as you would a soil-propagated cutting.
The “Secret Sauce” (Pro Tips)
Every gardener has a few little tricks up their sleeve, right? Here are a couple I’ve found particularly helpful with Fatsia polycarpa:
- Bottom heat is your friend: If you have a seedling heat mat, using it can significantly speed up root development. The warmth encourages the plant to start producing those crucial roots. Just place your pots on top of it.
- Don’t overwater in the beginning: It’s tempting to keep things super moist, but a soggy environment is a rot party. Let the top inch of soil dry out slightly between waterings. You’ll learn to feel it!
- Patience with the leaves after planting: If you’ve used the leaf-cutting-in-half trick, don’t be alarmed when those cut edges brown slightly. That’s entirely normal as the energy focuses on root production.
Aftercare & Troubleshooting
Once you see new growth peeking out from the soil, or significant root development, you’re on the right track!
- Acclimate slowly: If you’ve used a plastic bag or dome, gradually open it up over a week or so. This helps the new plant get used to lower humidity.
- Watering: Continue to water when the top inch of soil feels dry. As the plant matures, it will become a bit more forgiving.
- When to pot up: Once the roots are filling the pot and you see good, healthy top growth, it’s time to move your new Fatsia to a slightly larger pot.
The most common sign of failure, sadly, is rot. This usually happens from overwatering or not having enough drainage. If a cutting looks mushy, black, or is wilting dramatically despite being watered, it’s likely a goner. Sometimes, a cutting just doesn’t take, and that’s okay too! Don’t get discouraged.
A Most Encouraging Closing
Propagating your Fatsia polycarpa is a journey, and like any good gardening adventure, it’s filled with learning and a touch of magic. Be patient with your little green charges. Watch for those tiny signs of life, and take joy in the process of creating something new. Happy growing!
Resource:
https://identify.plantnet.org/k-world-flora/species/Fatsia%20polycarpa%20Hayata/data